How to Delete Addresses in Outlook Autocomplete
Autocomplete can save you a lot of typing, but it can also cause you a lot of embarrassment if you accidentally email the wrong person or the right person at the wrong address. The good news is that it's easy to clear addresses off of Outlook's autocomplete list.
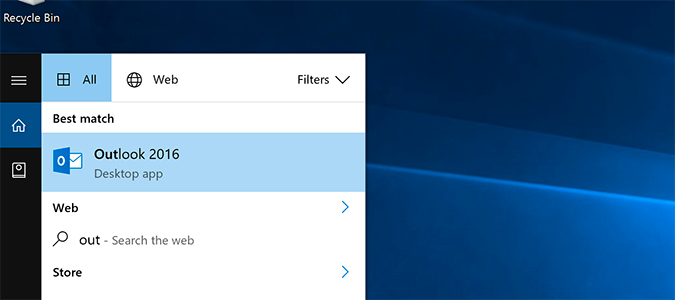
1. Open the Outlook desktop client.
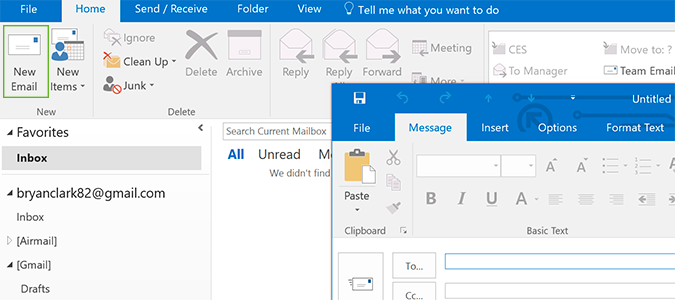
2. Create a new email.
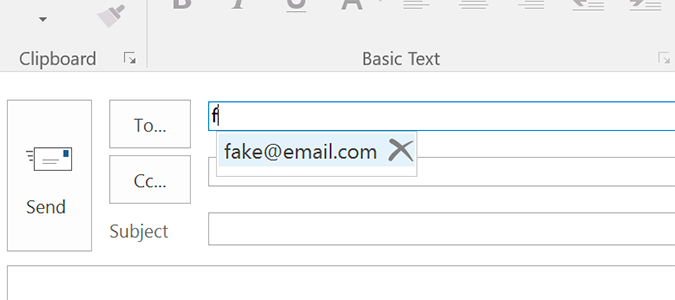
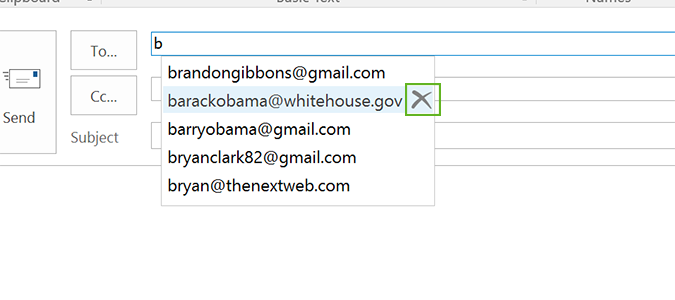
3. Start typing a name you’d like to remove.
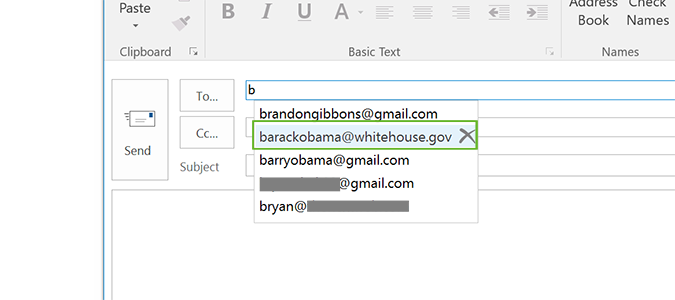
4. Click the down arrow and highlight the entry to remove.
5. Press delete or click the X next to the entry.
If you’d like to delete contacts on the web version of Outlook (Outlook.com) keep reading.
Sign up to receive The Snapshot, a free special dispatch from Laptop Mag, in your inbox.
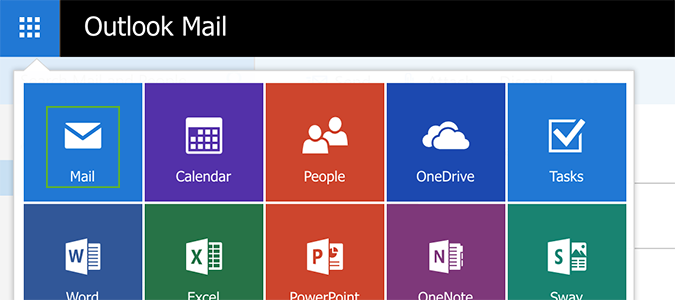
6. Open Outlook Mail.
7. Click New to open a new message.
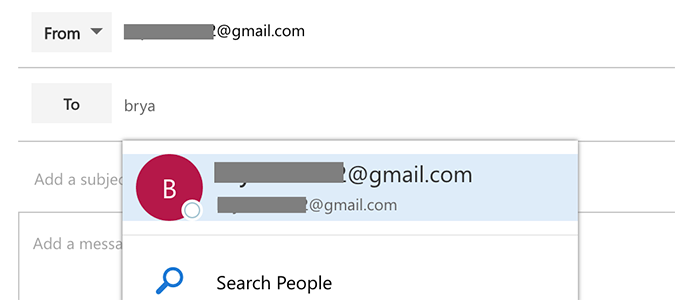
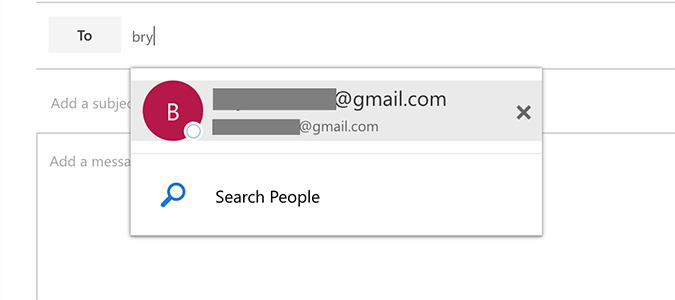
8. Start typing in an address in the To field and use the down button to find the name you’d like to remove.
9. Click the X next to the name to delete it from your autocomplete contact list.
Microsoft Outlook Tips
- Block a Sender in Outlook 2016
- How to Instantly Mark Messages as Read in Outlook 2016 and Prior
- Edit New Message Alerts in Outlook
- How to Mail Merge in Office 2016
- Set an Out of Office Reply in Outlook
- How to Create Custom Groups in Outlook 2016
- Download Your Address Book in Outlook 2016 and Prior
- How to Archive Mail in Outlook 2016
- Create an Email Signature in Outlook 2016 and Prior
- Attach a Calendar Event to an Email
- Set Up a Universal Inbox
- Import Contacts to macOS Address Book
- Purge Deleted Messages
- Change the Attachment Size Limit in Outlook
- Import Contacts via CSV
- Back Up Outlook Data
- Change Fonts in Outlook
- Export Contacts to CSV
- Add an Image to Your Signature
- Set Up Out-of-Office Messages
- Create Email Templates
- Restrict Notifications to Important Emails Only
- Get Read Receipts
- Use Two Time Zones for Meetings
- Recall an Email
- Save Common Searches
- Filter Email
- Block Unwanted Mail
- Stop Sending Winmail.dat
- Automate Repetitive Actions
- Schedule Outgoing Mail
- Create Canned Replies
Bryan covers everything you need to know about Windows, social media, and the internet at large for Laptop Mag. Thanks to his extensive knowledge of operating systems and some of the most popular software out there, Bryan has written hundreds of helpful guides, including tips related to Windows 11 drivers, upgrading to a newer version of the OS, editing in Microsoft Photos, or rearranging pages in Google Docs.
