How to Change Your Mac's Default Screenshot Directory
Screenshots can prove a fundamentally important way of explaining what's going on with your Mac. Those images are saved to the desktop by default, though, so making many screenshots can clutter your space (and waste system resources).
- How to save a GIF or video from Twitter
- How to Hide Individual Cells in Excel (But Still Use Them in Formulas)
- How to Uninstall Outlook Add-Ins
One warning: Do not delete the folder you select for screenshots unless you've repeated the process below, using the same Terminal command. If that folder is deleted, you're going to have problems.
If you want to switch things back in future so that images are saved on your desktop again, simply input the Terminal command as above, but for step 6 and 7, use the command "defaults write com.apple.screencapture location ~/Desktop"
Here's how to change where they go:
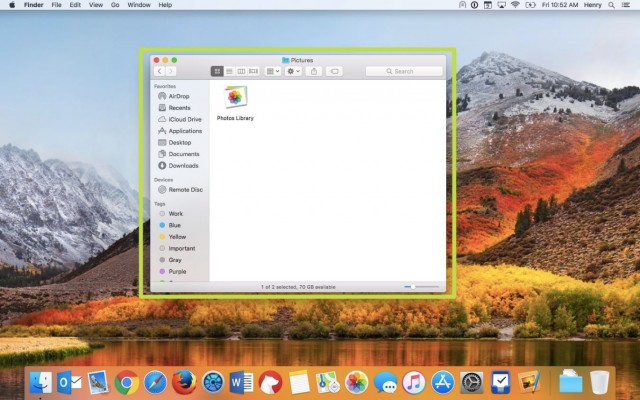
1. Click Command+N to open a new Finder window.
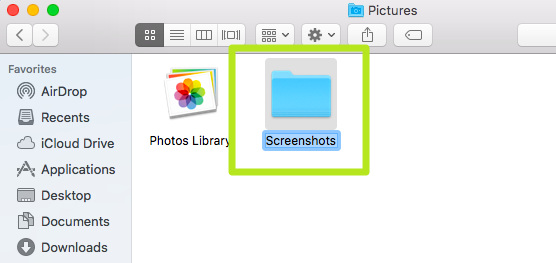
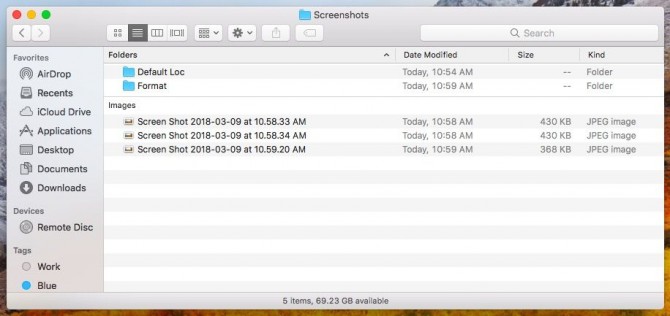
2. Click Command+Shift+N to create a new folder, where your screenshots will go. Keep this window open, and hit Command+1 to make sure it's in Grid mode.
3. Hit Command+Space to open Spotlight.
Sign up to receive The Snapshot, a free special dispatch from Laptop Mag, in your inbox.
4. Type "terminal" and select Terminal.
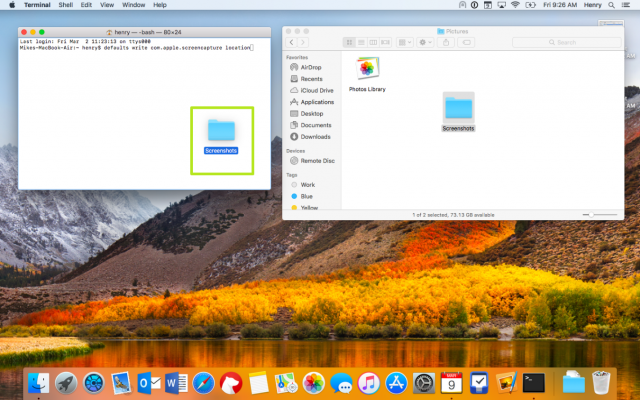
5. Ignoring the quotation marks, type "defaults write com.apple.screencapture location " making sure to enter the space at the end after 'location'.
6. Drag the folder you made into the Terminal window. The system directory path to the folder will appear.
7. Click Enter.
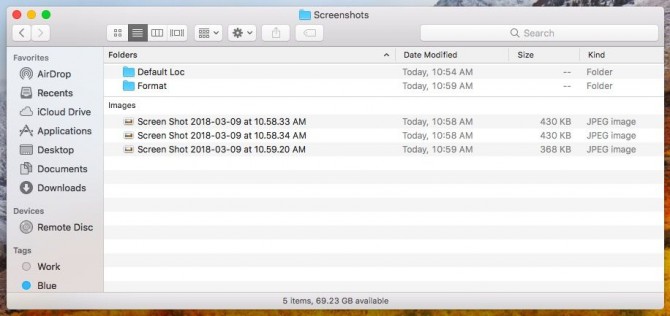
Now, your screenshots will appear in this folder.
Again, a warning: Do not delete the folder you select for screenshots unless you've repeated the process below, using the same Terminal command. If that folder is deleted, you're going to have problems.
If you want to switch things back in future so that images are saved on your desktop again, simply input the Terminal command as above, but for step 6 and 7, use the command "defaults write com.apple.screencapture location ~/Desktop"
macOS Guide
- How to Password Protect a Folder in a Mac
- How to Force Quit or Close Frozen Applications
- Move Your Mac files to a Windows PC
- How to Dual-Boot Windows and macOS
- Increase the Text Size on Your Mac
- Install or Uninstall Mac Apps
- How to Eject USB Devices and Memory Cards in macOS
- Switch Between Open Apps in macOS
- How to Unlock a MacBook with Your Apple Watch
- Clean Out Your macOS LaunchPad
- How to Use Trackpad Gestures to Navigate macOS
- How to Use Right-Click in macOS
- Use Siri on Your Mac
- How to Customize the Notification Center
- Add a Signature to PDFs with Mac Preview
- Use Memories in the Photos App on Mac
- How to Use Night Shift in macOS
- How to Change Your Mac's Password
- How to Edit Siri's Activation Keyboard Shortcuts on macOS
- Change Views in Finder
- Use macOS Dark Mode
- Transfer Files with AirDrop
- How to Use Mission Control on a Mac
- Use Optimized Storage
- How to Enable Parental Controls on a Mac
- How to Mark Up PDFs in macOS
- Back Up Mac with Time Machine
- How to Use Dictation on a Mac
- How to Use the macOS Feature
- Use Apple Pay in macOS
- How to Block Websites on Your Mac
Henry was a contributing writer at Laptop Mag. He penned hundreds of articles, including helpful how-tos for Windows, Mac, and Gmail. Henry has also written about some of the best Chromebooks, and he has reviewed many Apple devices, including various MacBook Air laptops. He is now a managing editor at our sister site Tom's Guide, covering streaming media, laptops, and all things Apple.
