How to Use Trackpad Gestures to Navigate macOS
Sign up to receive The Snapshot, a free special dispatch from Laptop Mag, in your inbox.
You are now subscribed
Your newsletter sign-up was successful
One of the areas where Macs beats PCs is gesture support. The MacBook trackpad features a wide range of gestures that allow you to quickly perform actions, such as switching between apps, zooming and seeing all of your notifications. Use these gestures to start zipping around macOS like a pro:
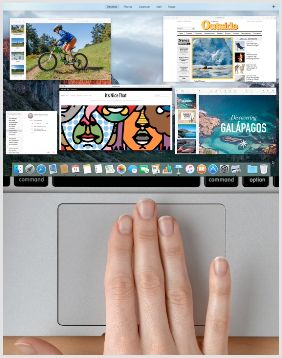
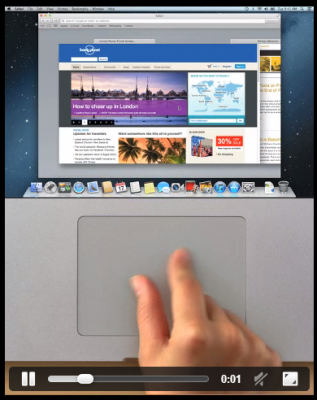
View Mission Control: Swiping up on the trackpad with three fingers causes your open windows to explode outward, allowing you to see all of the windows simultaneously. Apple calls this Mission Control. Swiping back down with three fingers collapses the windows, placing the window you last viewed at the top.
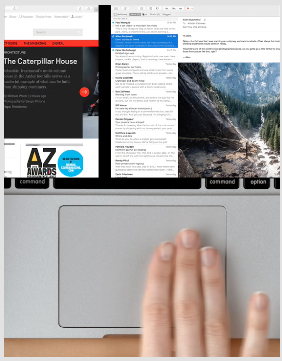
Swipe between full-screen apps: Swipe with three fingers to the left or right to switch between any apps that you have open in full-screen mode.
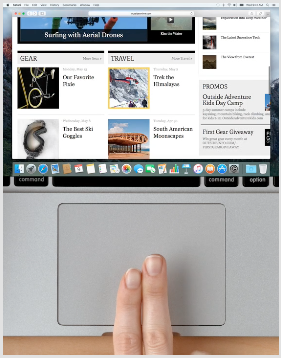
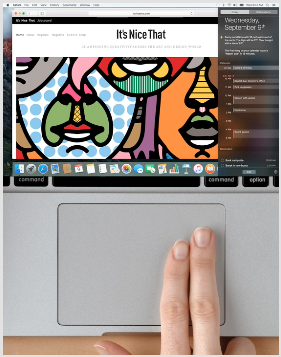
Tap to zoom: Tap the trackpad with two fingers simultaneously to zoom in on a page in Safari or a PDF.
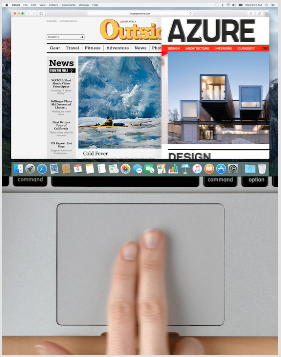
Swipe to navigate: Swipe with two fingers to the left or right to flip through Web pages and documents.
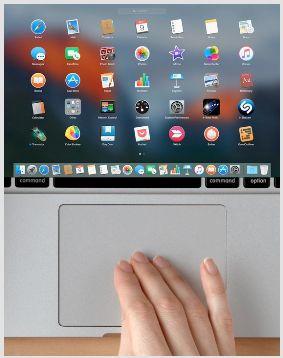
Open Launchpad: Pinch toward the center of the trackpad with your thumb placed in either the bottom left or bottom right corner and three fingers in the opposite corner above. The Launchpad lets you see your installed apps and launch them with a single click.
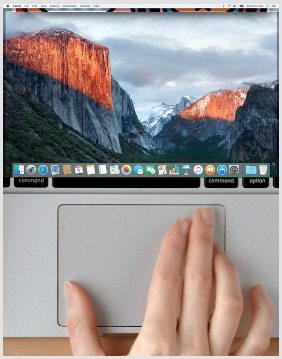
Show desktop: Spread your thumb and three fingers apart to show the desktop. This gesture is the exact opposite of the previous gesture.
Sign up to receive The Snapshot, a free special dispatch from Laptop Mag, in your inbox.
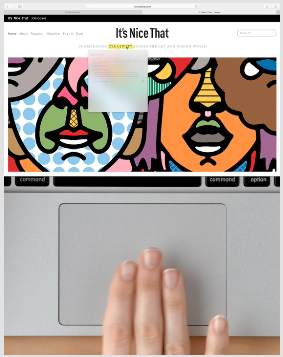
Look up: Tap a word with three fingers to immediately look up the word’s definition, synonym and more.
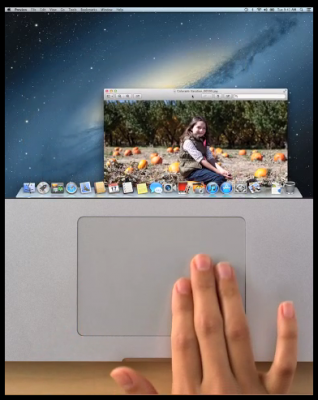
Three-finger drag: Slide three fingers around the trackpad when you've positioned the cursor at the top of the window to drag the window around the screen.
Notification Center: Swipe in with fingers from the left to open the Notification Center.
Show Safari tabs: Pinch with two fingers to see all of your Safari tabs simultaneously, and then swipe left or right with two fingers to scroll between the tabs.
PC to Mac Guide: How to Make the Switch
- How to Use Keyboard Shortcuts in OS X
- Eject USB Devices in OS X
- How to Use Gestures to Navigate OS X
- How to Right Click in OS X
- Install Apps in OS X
- How to Find Files and Folders in OS X
- Take Screenshots in OS X
- Make Desktop Shortcuts in Mac OS X
- How to Browse Your Applications in OS X
- How to Force Close Frozen Applications in OS X
- Quit Applications in OS X
- How to Use Full Screen Apps in OS X
- Use Spotlight to Find Files in OS X
- Create an Apple ID
- Move Your PC files to a Mac
- How to set up Mail and Calendar accounts on OS X
- Use OS X El Capitan's Split Screen Mode
- Increase the Text Size on Mac
David was a writer at Laptop Mag. His coverage spanned how-to guides, reviews, and product rankings. He reviewed Asus, Lenovo, and Gigabyte laptops; guided readers on how to do various things in Excel, and even how to force quit an app in macOS. Outside of Laptop Mag, his work has appeared on sites such as Tom's Guide and TechRadar.
