How to Set Up Mail and Calendar Accounts in OS X
If you're switching from a PC to a Mac, you may want your new MacBook to have the same integration with your email and calendars that Windows 10 offers. Fortunately, OS X allows you to sign in with accounts from services including Google, Yahoo, AOL and Microsoft Exchange.
Not only will this bring your inboxes and schedule onto your Mac, but you'll now be able to share websites, notes and other files via email using the Share button in an App's toolbar. Another perk of signing your accounts into OS X is that you can also receive notifications for new messages and upcoming appointments.
MORE: Best Apple Laptops
If you get your email and calendar from other companies, you can add those accounts by using the Add Other Account option. There you'll have to enter your email address and password for each kind of service you want to add, and OS X will do the rest of the work. OS X also supports accounts that use the POP and IMAP email standards, as well as the CalDAV calendar standard.
Many of the changes from Windows 10 and OS X are confusing, but since both operating systems have apps named Mail and Calendar, there are at least two fewer things to get used to. Here are our step-by-step instructions for setting up these iCloud services in Windows 10.
How to Set Up Mail and Calendar accounts on OS X
1. Click the Apple logo.
2. Select System Preferences.
Sign up to receive The Snapshot, a free special dispatch from Laptop Mag, in your inbox.
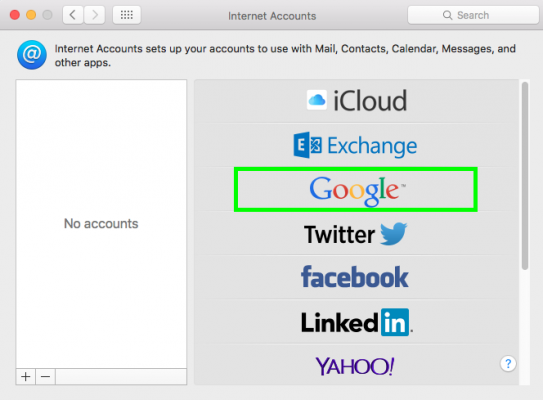
3. Click Internet Accounts.
4. Select the service of your choice. If your service is not listed, scroll down and click Add Other Account. There you can add email accounts and calendar accounts one at a time.
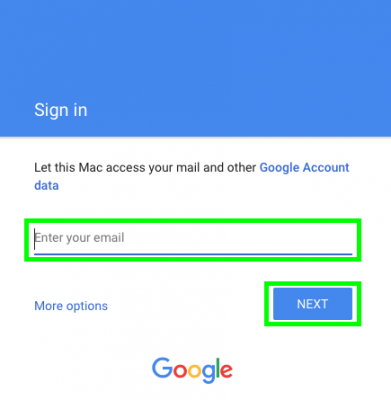
5. Enter your email address and click Next. The following instructions are for Gmail, but since each service is slightly different, simply follow the instructions until your account is added.
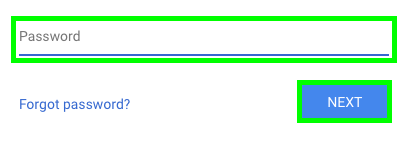
6. Enter your password and click Next.
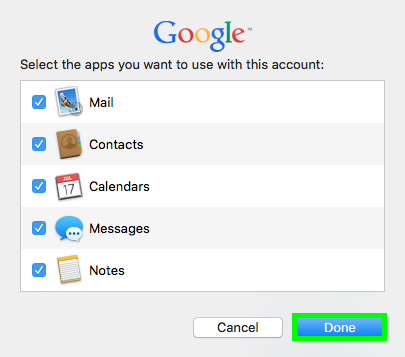
7. Select Done. If there are any parts of this account you don't want on this Mac, uncheck those boxes.
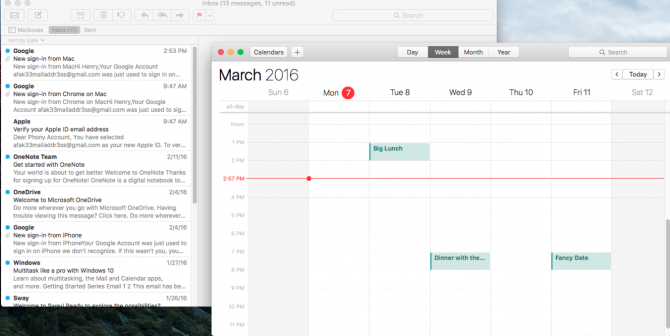
When you open Mail and Calendars, your accounts will now appear.
PC to Mac Guide: How to Make the Switch
- How to Use Keyboard Shortcuts in OS X
- Eject USB Devices in OS X
- How to Use Gestures to Navigate OS X
- How to Right Click in OS X
- Install Apps in OS X
- How to Find Files and Folders in OS X
- Take Screenshots in OS X
- Make Desktop Shortcuts in Mac OS X
- How to Browse Your Applications in OS X
- How to Force Close Frozen Applications in OS X
- Quit Applications in OS X
- How to Use Full Screen Apps in OS X
- Use Spotlight to Find Files in OS X
- Create an Apple ID
- Move Your PC files to a Mac
- Use OS X El Capitan's Split Screen Mode
- Increase the Text Size on Mac
Henry was a contributing writer at Laptop Mag. He penned hundreds of articles, including helpful how-tos for Windows, Mac, and Gmail. Henry has also written about some of the best Chromebooks, and he has reviewed many Apple devices, including various MacBook Air laptops. He is now a managing editor at our sister site Tom's Guide, covering streaming media, laptops, and all things Apple.
