How to Set Up a Metered Internet Connection in Windows 10
Sign up to receive The Snapshot, a free special dispatch from Laptop Mag, in your inbox.
You are now subscribed
Your newsletter sign-up was successful
Whether you're tethered to a mobile network with a limited amount of data or you just don't want to suck up too much bandwidth from your home network, Windows 10 has a solution. The operating system features a built-in "Metered connection" mode that reduces bandwidth usage whenever you're connected to the networks you designate.
Here's how to set up a Metered Connection in Windows 10.
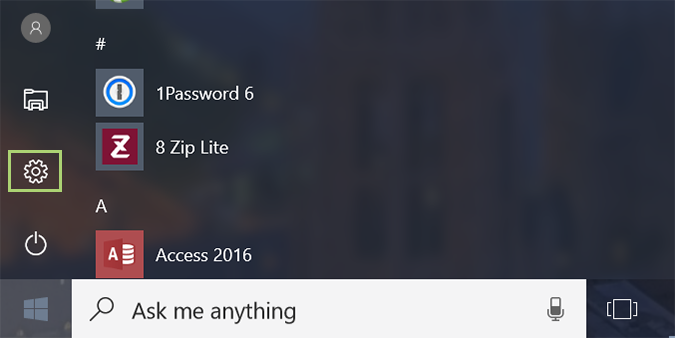
1. Open the start menu and select Settings.
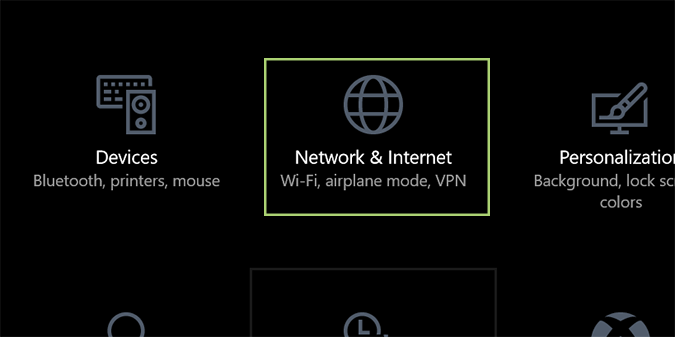
2. Click the Network and Internet link.
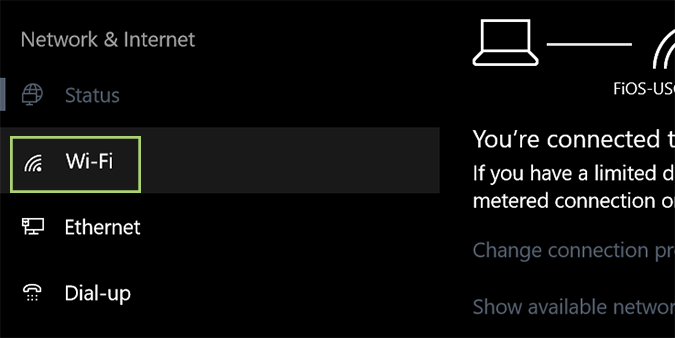
3. Select Wi-Fi from the sidebar.
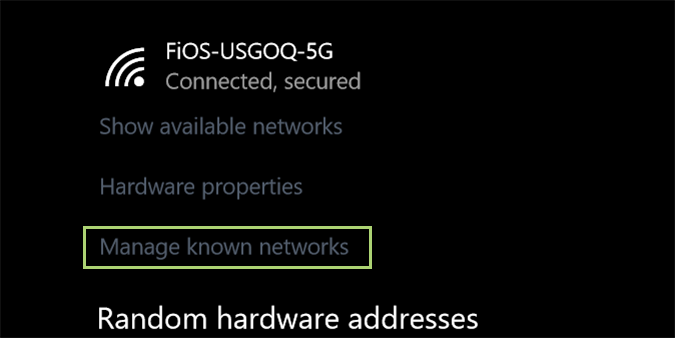
4. Click the Manage known network link under your existing connection.
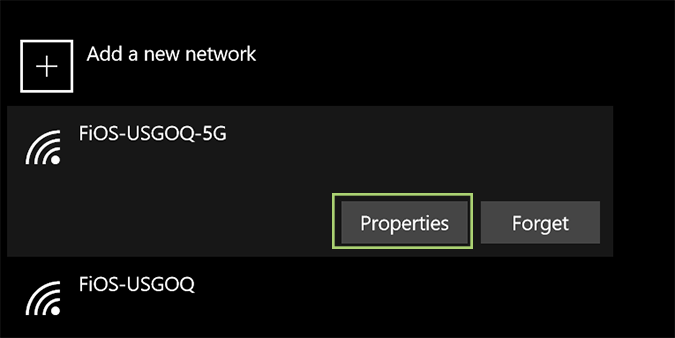
5. Choose the network you’re currently using from the list of available ones.
Sign up to receive The Snapshot, a free special dispatch from Laptop Mag, in your inbox.
6. Click Properties.
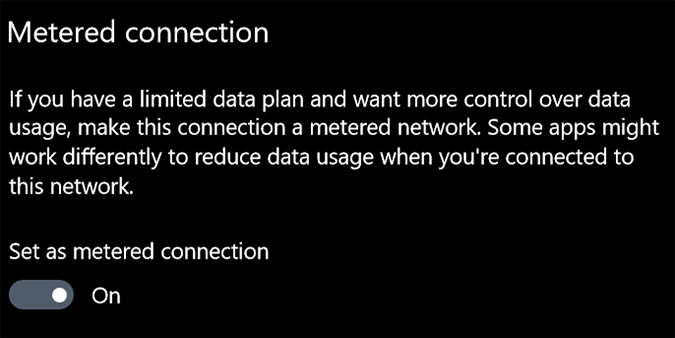
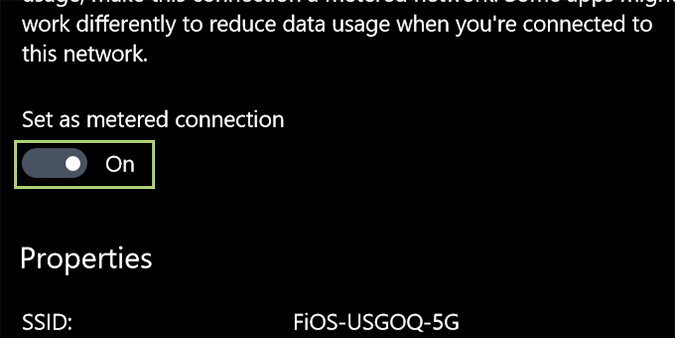
7. Find the Metered connection section and toggle the switch to On.
Windows 10 Performance and Productivity
- Best Windows 10 Keyboard Shortcuts
- MIrror Your Screen to a TV or Monitor
- Speed Windows 10 Boot Time
- Get Superfast Mouse, Touchpad Speeds
- Calibrate Your Monitor
- Activate 'God Mode'
- Defragment Your Hard Drive
- Measure the Time it Takes for Apps to Load at Boot
- Use Maximum CPU Power
- Enable Swipe to Delete in Email
- Copy and Paste at the Command Prompt
- How to record your screen in Windows 10
- Use Offline Maps
- Get the Full Layout in Windows 10’s Touch Keyboard
- Create a .Reg File for Easy Registry Hacks
- Record PC Gameplay on the Xbox App
- Perform a Clean Install of Windows 10
- Uninstall Windows 10 and Roll Back to 7 or 8
- Enable the Linux Bash Shell
- Generate a Detailed Battery Report
- Turn a PC into a Wireless Display
- Open Folders in the Taskbar
- Open Sites in the Taskbar
- Import Gmail Contacts
- Get Android Notifications
- Use Multiple Desktops
- Use Eye Control
- Use the Timeline Feature to Resume a Task
- Send Web Pages from Phone to PC
- All Windows 10 Tips
- Increase your Battery Life
Bryan covers everything you need to know about Windows, social media, and the internet at large for Laptop Mag. Thanks to his extensive knowledge of operating systems and some of the most popular software out there, Bryan has written hundreds of helpful guides, including tips related to Windows 11 drivers, upgrading to a newer version of the OS, editing in Microsoft Photos, or rearranging pages in Google Docs.
