How to Delete a Locked File in Windows 10
When you run into a locked folder in Windows 10, the system won’t allow you to do anything with it -- open it, delete it, or move it -- without the password. For folders that you didn’t lock, finding the password often isn’t an option. You can’t open these folders, but you can delete them -- even though a simple right-click “Delete” won’t work, nor will the delete button.
It should be noted, however, that deleting these files could wreak havoc on your system if you’re not sure why they’re there in the first place. Proceed with caution.
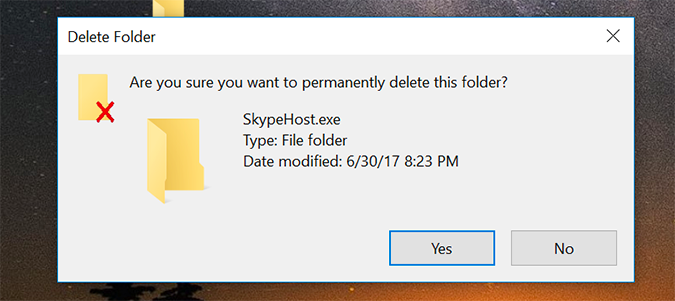
1. Locate the folder you wish to delete. I don’t have any locked folders I’m willing to delete, so let’s create an unlocked folder -- and call it SkypeHost.exe (a copy of an actual locked file) -- for the sake of the tutorial. It works the same, but you can just as easily remove this folder with the delete button.
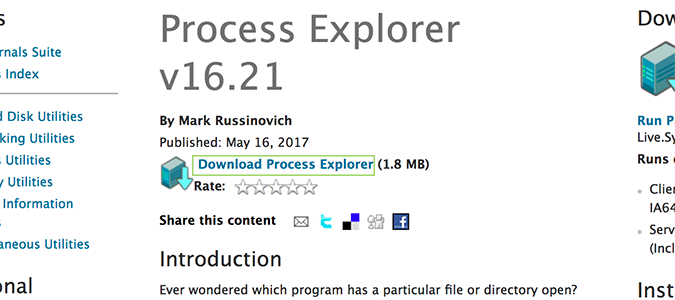
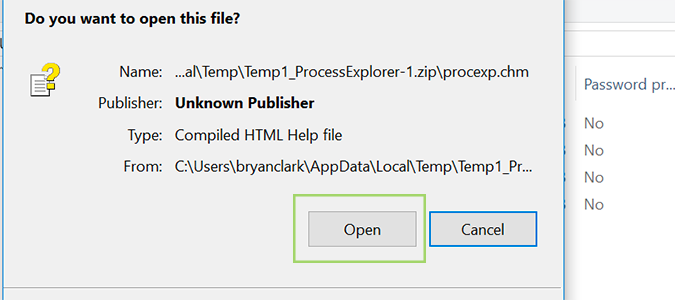
2. Download Process Explorer from Microsoft’s website, and press OK on the pop-up window.
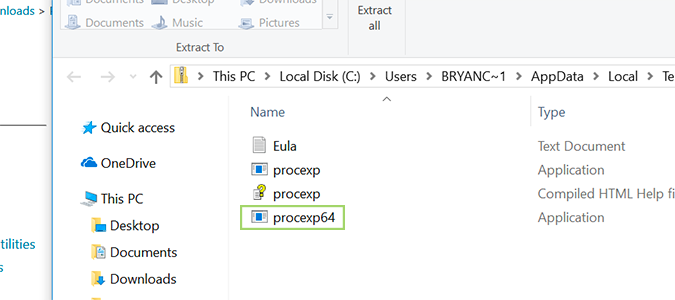
3. Double click processexp64 to extract the file.
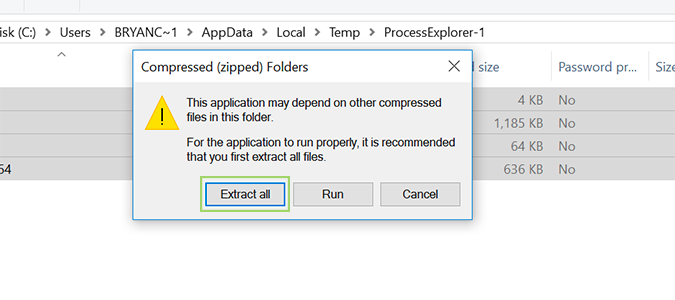
4. Choose Extract All.
5. Click Open.
Sign up to receive The Snapshot, a free special dispatch from Laptop Mag, in your inbox.
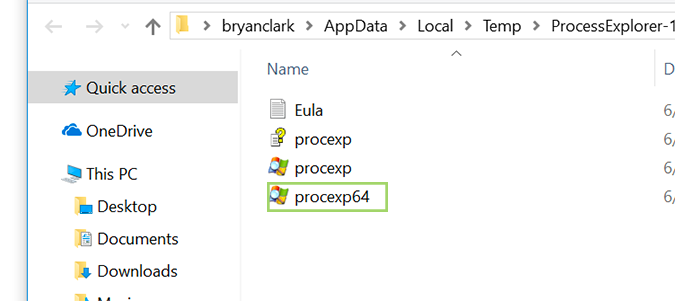
6. Double click the procexp64 application to open the application.
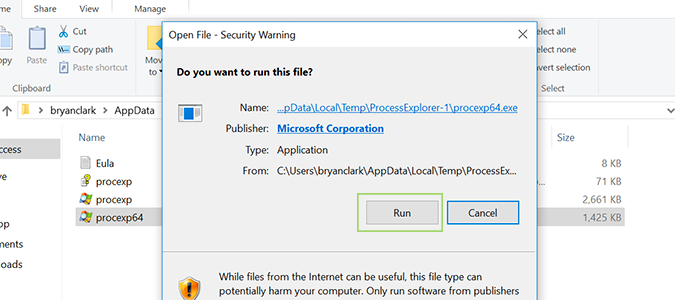
7. Select Run.
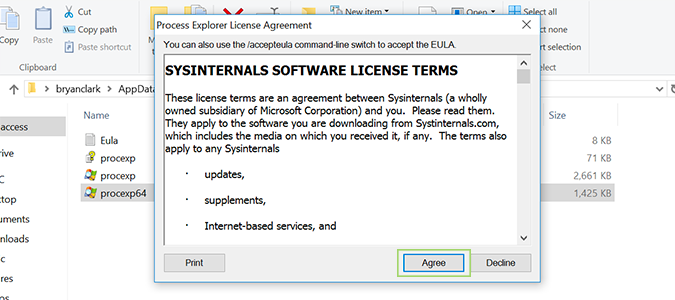
8. Read the terms and press the Agree button.
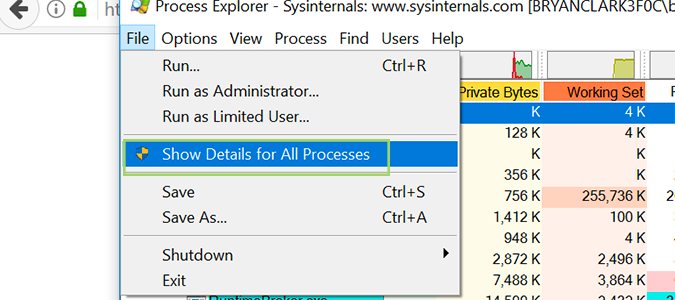
9. In the Process Explorer window, choose File > Show Details for All Processes.
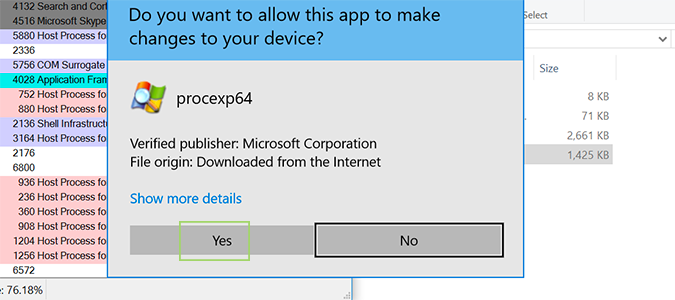
10. Allow the app to make changes by pressing the Yes button.
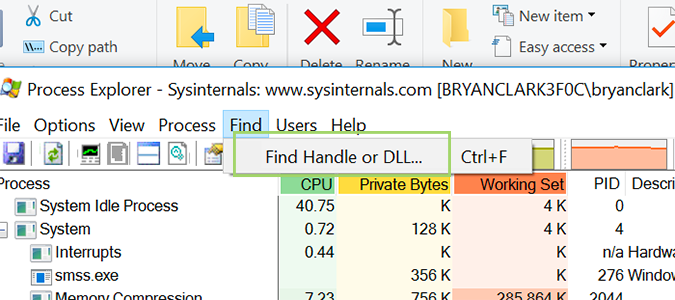
11. Go the the Find menu at the top and select Find Handle or DLL.
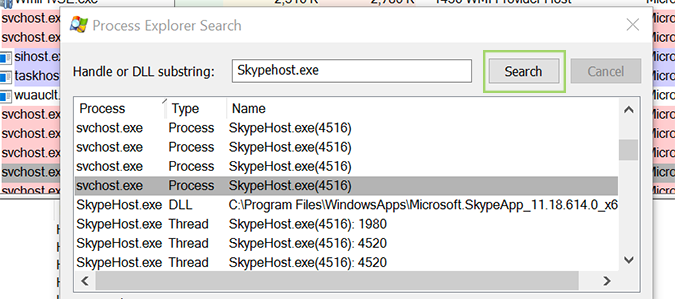
12. Type in the file name and hit Search.
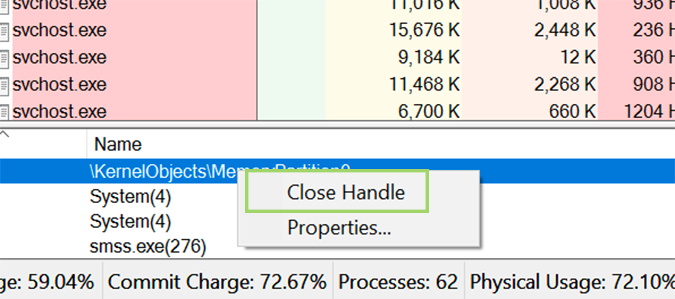
13. Right click the process in the bottom of the Process Explorer screen and select Close Handle. If there are multiple processes listed here, you’ll need to repeat this step to close all of them.
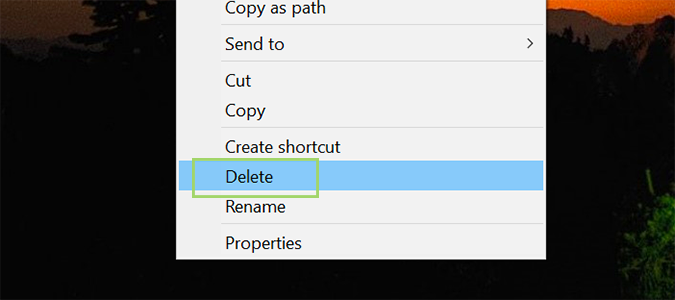
14. Delete the file as you would normally.
Windows 10 Annoyances and Problems
- Repair Windows 10
- Remove the Lock Screen
- Disable or Enable Grayscale Mode
- Set Compatibility Mode for Apps
- Access the BIOS on a Windows 10 PC
- Stop Windows Update from Automatically Restarting Your PC
- Turn Off App Notifications
- Fix a Slow-Opening Windows Downloads Folder
- Disable Personalized Ads on Microsoft Sites and Apps
- Stop Skype’s Annoying Auto Updates
- Fix a 'Boot Configuration Data File is Missing' Error
- Clear the Run Command's History
- Disable Cortana
- Uninstall and Restore Built-in Apps
- Restore a Missing Battery Icon
- Fix a Boot Configuration File Error
- Get to the Advanced Startup Options Menu
- Delete a Locked File
- Restart without Rebooting
- Roll Back Windows 10 to an Earlier Version
- Disable Automatic Driver Downloads
- Disable Internet Explorer
- Pause Windows Updates for Up to 35 Days
- Use Battery Saver
- Downgrade to Windows 10 S
- Save Netflix Videos for Offline Viewing
- All Windows 10 Tips
- Worst Windows 10 Annoyances
- Disable Password Prompt on Wake
Bryan covers everything you need to know about Windows, social media, and the internet at large for Laptop Mag. Thanks to his extensive knowledge of operating systems and some of the most popular software out there, Bryan has written hundreds of helpful guides, including tips related to Windows 11 drivers, upgrading to a newer version of the OS, editing in Microsoft Photos, or rearranging pages in Google Docs.
