How to Install and Use Airport Utility for Windows
Sign up to receive The Snapshot, a free special dispatch from Laptop Mag, in your inbox.
You are now subscribed
Your newsletter sign-up was successful
If you're switching to a PC from a Mac, there's a good chance your wireless router was one of Apple's own Airport devices, and you may be wondering if you can keep using it without your MacBook. While the administration options for many PC routers can be accessed through a Web browser, you'll need Apple software – specifically the Airport Utility application – to manage its routers.
Fortunately, PC owners can download a Windows version of Airport Utility, so their Airport router doesn't need to be thrown out as they move to Windows. Just so you know, for the last step of the process, your PC will need to be logged into the wireless network that the Airport router is running.
Here are our step-by-step instructions for getting your PC ready to administrate an Apple Airport router.
How to Install and Use Airport Utility for Windows
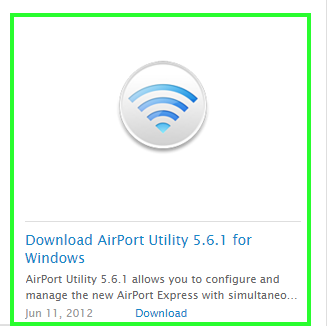
1. Visit the Airport Utility download page and click on "Download Airport Utility for Windows."
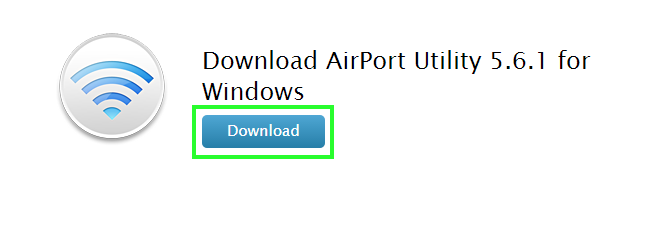
2. Click Download.
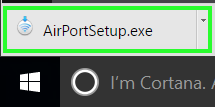
3. Click AirPortSetup.exe.
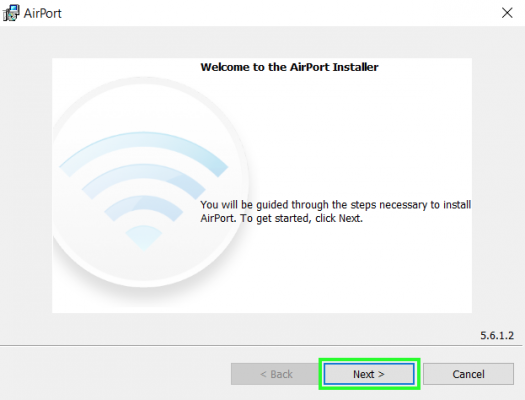
4. Select Next.
Sign up to receive The Snapshot, a free special dispatch from Laptop Mag, in your inbox.
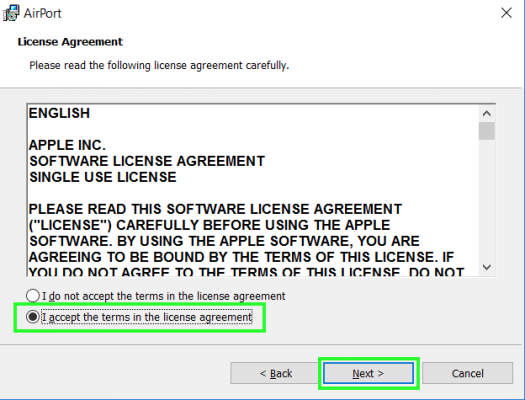
5. Select "I accept the terms in the license agreement" and click Next.
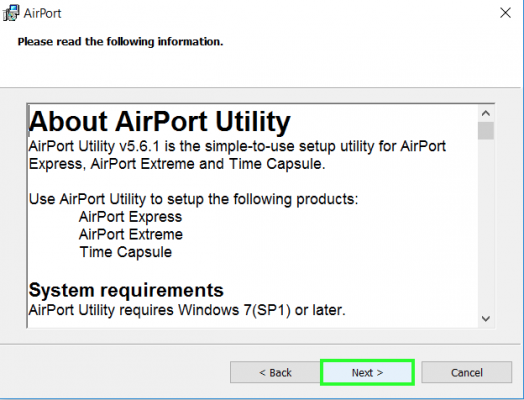
6. Select Next.
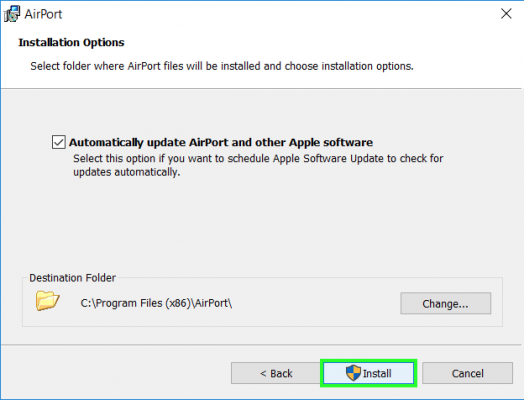
7. Select Install. After this, you'll have to select Yes twice, when prompted by the User Account Control window.
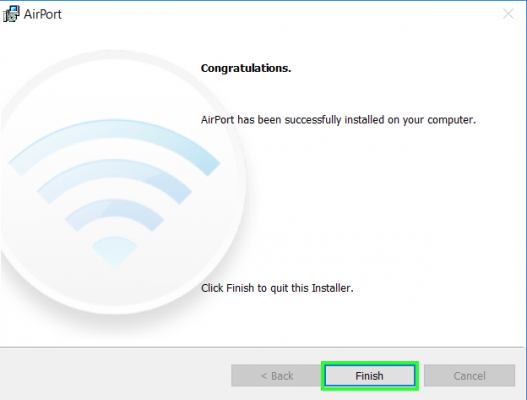
8. Select Finish.
9. Click the Start button.
10. Type Airport.
11. Select Airport Utility.
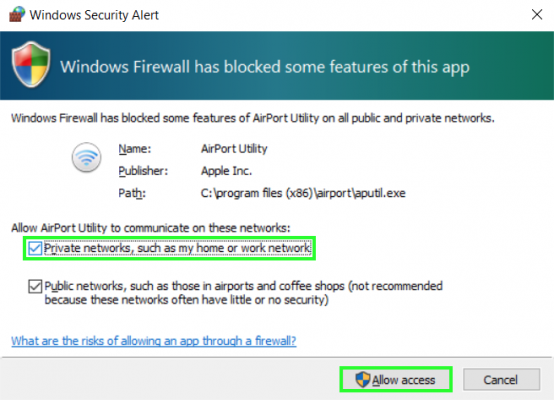
12. Check the box next to "Private networks, such as my home or work network."
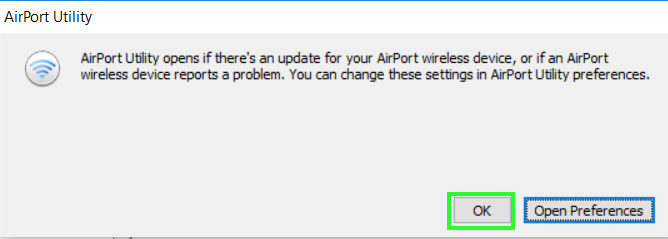
13. Click OK.
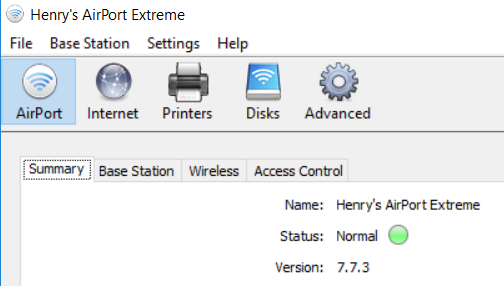
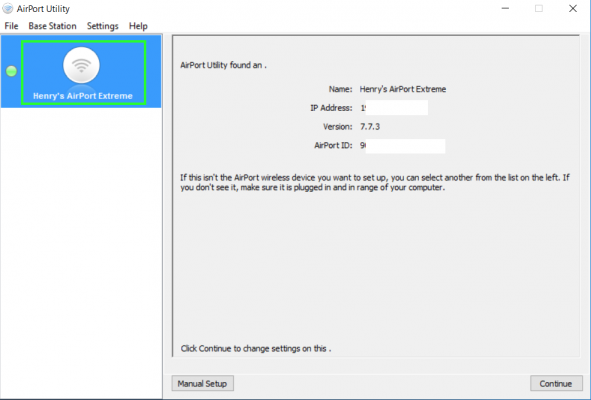
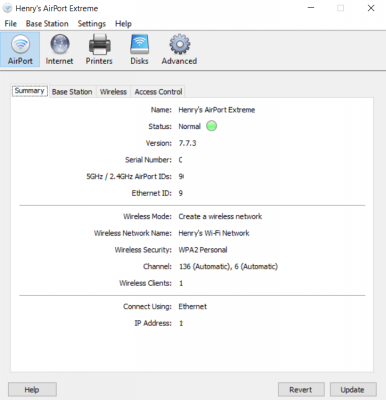
14. Double-click on your Airport network.
You can now administer your Airport router from your PC, so you can control access, shared printers and hard drives and other settings.
Mac to PC Guide: How to Make the Switch
- Create a Microsoft Account
- Set Up and Use iCloud on Windows
- Format a Hard Drive For Both Windows and Mac
- Move Your Mac files to a Windows PC
- Convert Mac-Specific Files To Work on Windows 10
- Authorize Your New PC with Your iTunes Account
- How to Import iPhone Photos to Windows 10
- A Guide to Windows 10 Touchpad Gestures for Mac Users
- A Mac User’s Guide to Windows 10 Keyboard Shortcuts
- Sign Into Facebook and Twitter in Windows 10
- Set Up iCloud Email and Calendars on Windows 10
- How to Force Quit in Windows 10
- How to Install Apps in Windows 10
- Make Desktop Shortcuts in Windows 10
- Snap 4 Windows at Once in Windows 10
- How to Use Cortana in Windows 10: Tips and How-Tos
- Install QuickTime on Windows 10
Henry was a contributing writer at Laptop Mag. He penned hundreds of articles, including helpful how-tos for Windows, Mac, and Gmail. Henry has also written about some of the best Chromebooks, and he has reviewed many Apple devices, including various MacBook Air laptops. He is now a managing editor at our sister site Tom's Guide, covering streaming media, laptops, and all things Apple.
