How to Set Up iCloud Email and Calendars on Windows 10
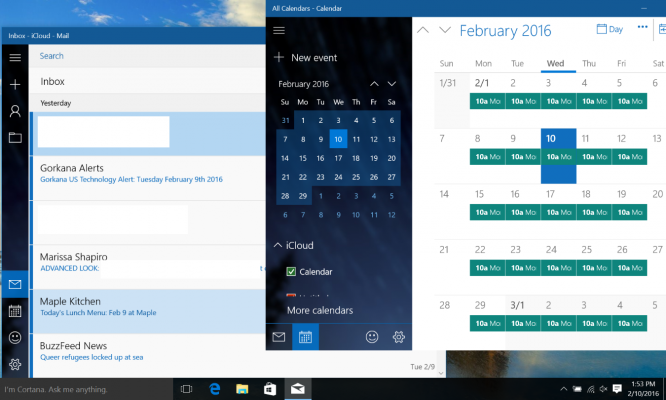
If you're moving from a Mac to a PC, you may want to retain your iCloud email and calendar accounts, rather than get a new address or set up automatic forwarding. Fortunately, Apple's internet services are compatible with the Windows 10's Mail and Calendar applications, and it's not that difficult or time consuming to set it all up.
While you'll need to download the iCloud on Windows application to access the photos and bookmarks from your iCloud account, all you need to get your mail and calendars running on Windows is your sign-in information. Once you set up your iCloud account up in Windows 10, the Live Tiles in the Start Menu will now contain up-to-the-minute information, with your upcoming appointments and the subject lines from your unread email messages.
MORE: Windows 10: Full Review
A lot of the changes from OS X to Windows 10 are confusing, but since both operating systems have apps named Mail and Calendar, there are at least two fewer thing you'll have to get used to. Here are our step-by-step instructions for setting up these iCloud services in Windows 10.
How to Install iCloud Email and Calendars on Windows 10
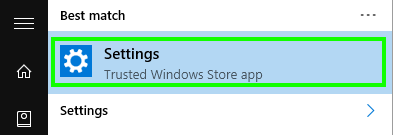
1. Click the Start button.
2. Type "settings".
3. Select the Settings app.
Sign up to receive The Snapshot, a free special dispatch from Laptop Mag, in your inbox.
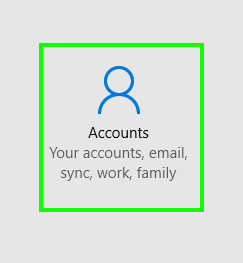
4. Click Accounts.
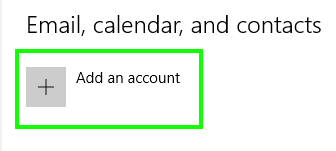
5. Click Add an account.
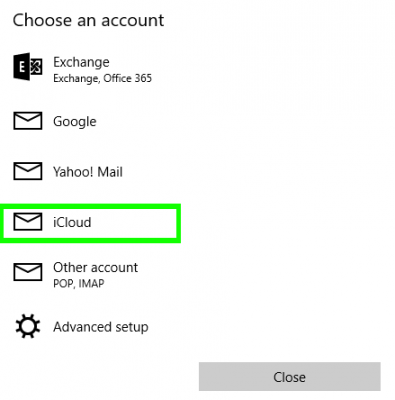
6. Select iCloud.
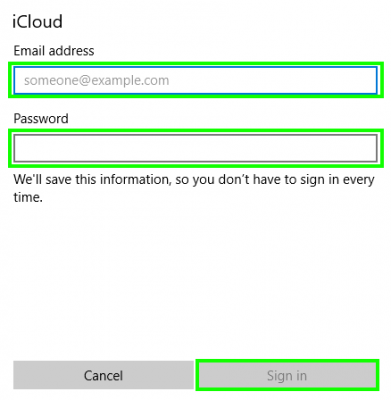
7. Enter your iCloud email address and password, and click Sign in. If you have two-factor authentication enabled for iCloud, you'll need to generate a new password from the Apple ID website.
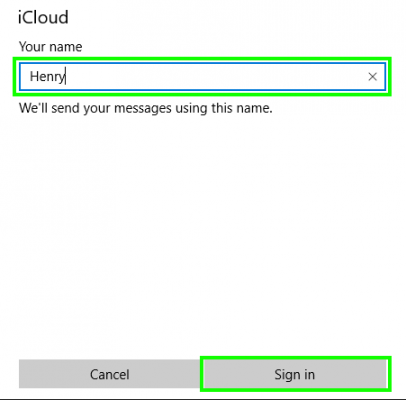
9. Click Done.
10. Click the Start button.
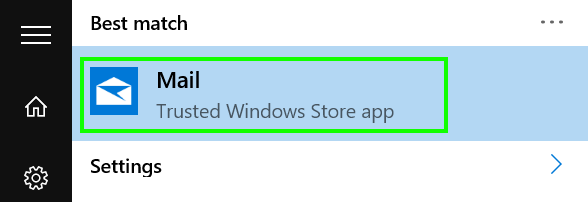
11. Type "mail".
12. Select Mail.
13. Click Get Started.
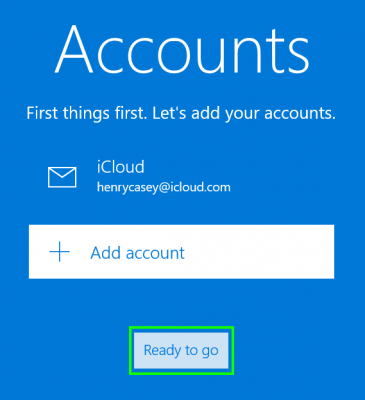
14. Click Ready to go.
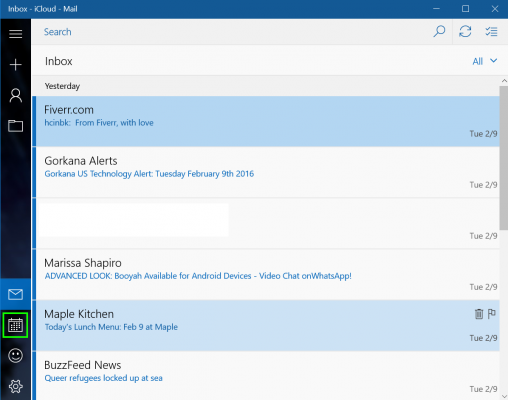
15. Click the Calendar icon. Your iCloud email will begin downloading.
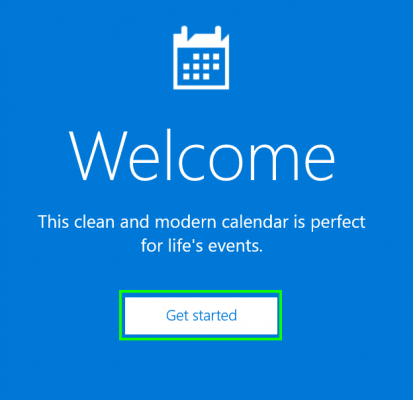
16. Click Get Started.
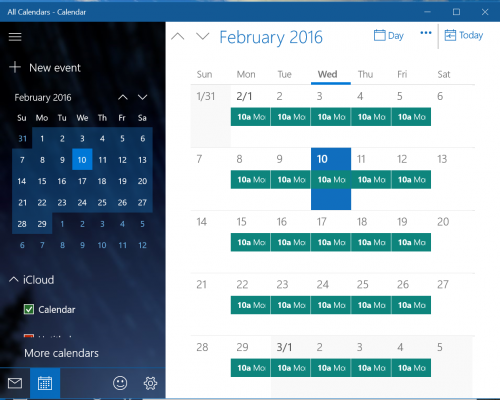
17. Click Ready to go.
Now your iCloud email and calendars are set up on your PC!
Mac to PC Guide: How to Make the Switch
- Create a Microsoft Account
- Set Up and Use iCloud on Windows
- Format a Hard Drive For Both Windows and Mac
- Move Your Mac files to a Windows PC
- Convert Mac-Specific Files To Work on Windows 10
- Authorize Your New PC with Your iTunes Account
- How to Import iPhone Photos to Windows 10
- A Guide to Windows 10 Touchpad Gestures for Mac Users
- A Mac User’s Guide to Windows 10 Keyboard Shortcuts
- Sign Into Facebook and Twitter in Windows 10
- How to Force Quit in Windows 10
- How to Install Apps in Windows 10
- Make Desktop Shortcuts in Windows 10
- Snap 4 Windows at Once in Windows 10
- How to Use Cortana in Windows 10: Tips and How-Tos
- Install QuickTime on Windows 10
Henry was a contributing writer at Laptop Mag. He penned hundreds of articles, including helpful how-tos for Windows, Mac, and Gmail. Henry has also written about some of the best Chromebooks, and he has reviewed many Apple devices, including various MacBook Air laptops. He is now a managing editor at our sister site Tom's Guide, covering streaming media, laptops, and all things Apple.
