How to Delete Blank Cells in Excel
Sign up to receive The Snapshot, a free special dispatch from Laptop Mag, in your inbox.
You are now subscribed
Your newsletter sign-up was successful
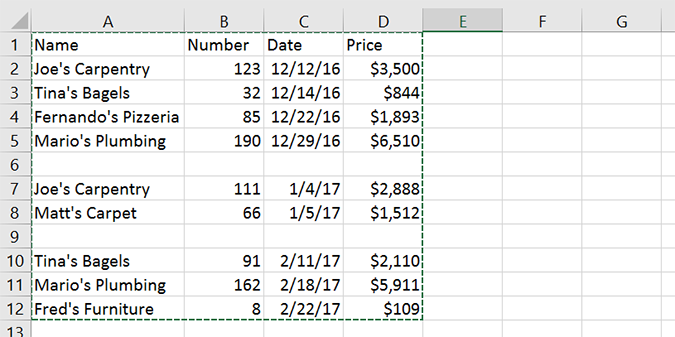
There’s nothing wrong with leaving blank cells in a spreadsheet, but when you’re striving for that professional look, it’s often best to take them out. Like most things in Excel, this is actually relatively easy once you’ve done it before.
With this tip comes one potential caveat: it could be detrimental to the data itself if you’re using formulas, or data ranges. Deleting cells leads to blank rows or columns, and if either of these are in the wrong place, it could impact some of Excel’s more powerful features. In most cases, though, it works just fine. And if you ever run into issues, you can always save a version from before your cell deletion to go back to should things go awry.
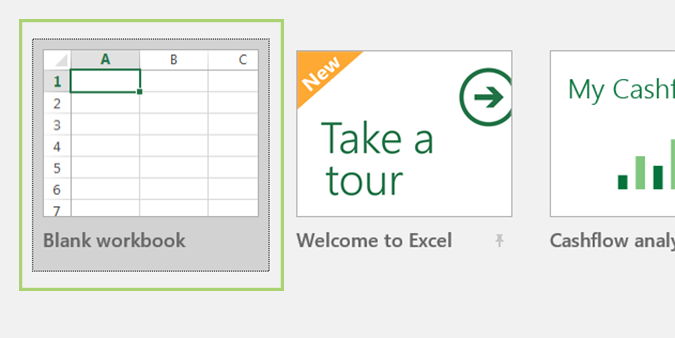
1. Open an Excel workbook. In this case, we’re just going to create a blank one, and use dummy data to demonstrate the method.
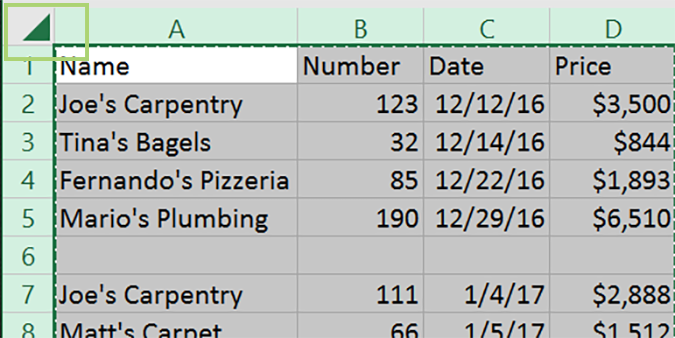
2. Press the triangle icon between the A column and the 1 row to select the entirety of the data.
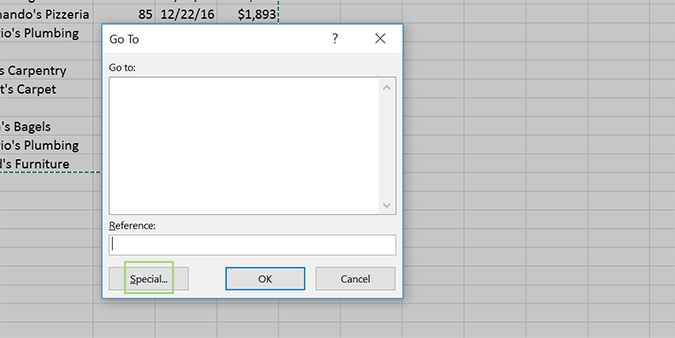
3. Press the F5 key to open a pop-up, and then select Special from the bottom left.
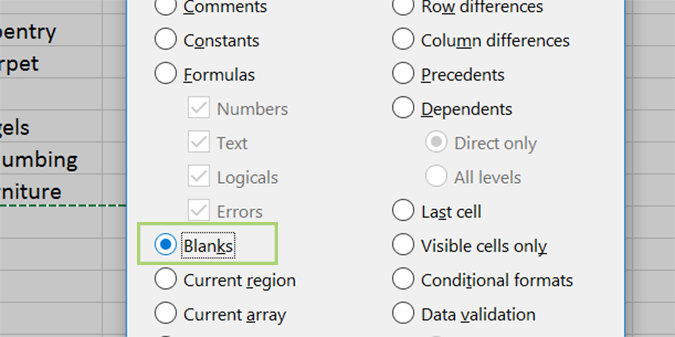
4. Choose the Blanks option, and then press OK. This selects all the blank cells in the spreadsheet. Now we’re going to delete them.
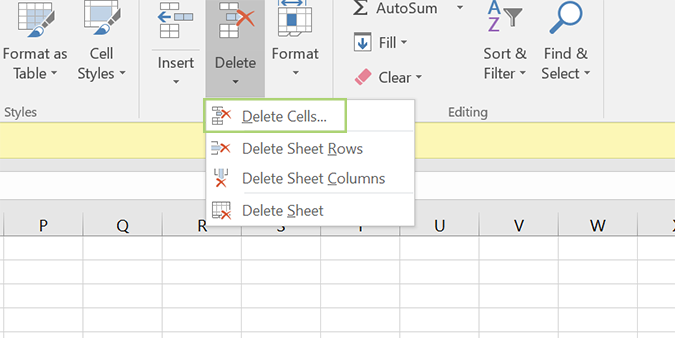
5. On the right side of the ribbon, click the Delete option and then Delete Cells.
Sign up to receive The Snapshot, a free special dispatch from Laptop Mag, in your inbox.
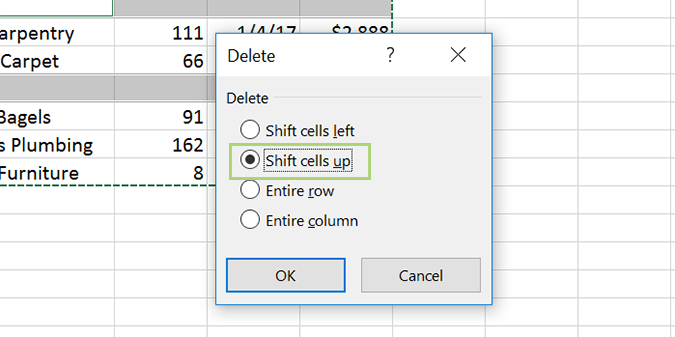
6. The next menu asks what you want to do with your now blank cells. In this case, we’re going to choose the Shift cells up option.
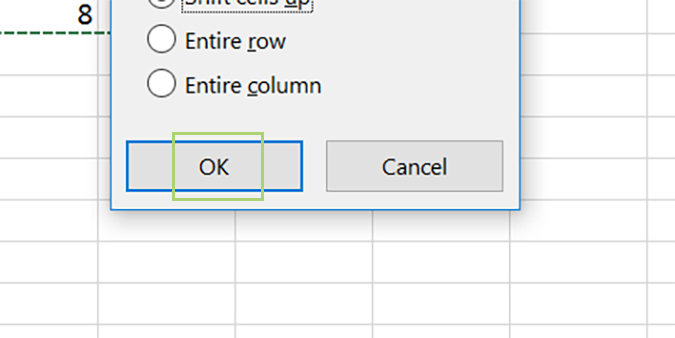
7. Click OK.
Microsoft Excel Tips
- Use VLOOKUP in Excel
- Back Up Files Automatically in Excel
- Remove Duplicate Data in Excel
- Create a Waterfall Chart in Excel
- Lock Cells in Excel
- Freeze Rows and Columns in Excel
- Build a Forecast Chart in Excel
- Create a Funnel Chart in Excel
- Make a Treemap in Excel
- Convert Excel Sheets to Google Sheets
- Open Google Sheets in Excel
- Combine Data from Different Cells
- Merge Cells to Span Multiple Columns
- Use AutoFill for Repetitive Data
- Copy and Paste Repetitive Data the Easy Way
- Use Text to Columns
- Draw Diagonal Line in a Cell
- Create a New Shortcut Menu
- Transpose Columns Using Paste Special
Bryan covers everything you need to know about Windows, social media, and the internet at large for Laptop Mag. Thanks to his extensive knowledge of operating systems and some of the most popular software out there, Bryan has written hundreds of helpful guides, including tips related to Windows 11 drivers, upgrading to a newer version of the OS, editing in Microsoft Photos, or rearranging pages in Google Docs.
