How to Use Text-to-Columns in Excel
Sign up to receive The Snapshot, a free special dispatch from Laptop Mag, in your inbox.
You are now subscribed
Your newsletter sign-up was successful
When adding information to a spreadsheet, most take the approach of it has to be right the first time, or it’ll involve lots of mundane copy/pasting to fix it later. Excel has dozens of features to help with these sorts of problems if you change your mind later and would like to format your entries in a different way. One of these, Text to Columns, allows you to move text from one column into another, effectively splitting text entries into two separate spaces.
The best use case is for names, but it’ll come in handy for lots of other surprising things the more you use Excel.
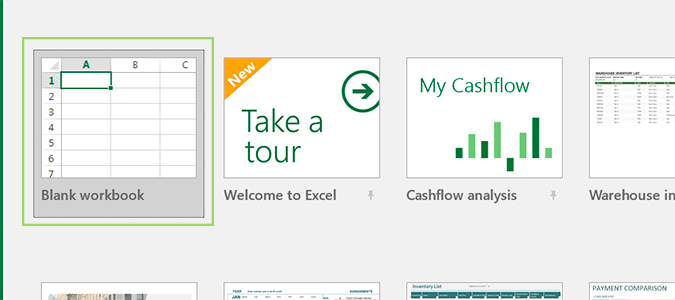
1. Open Excel and start a new Blank workbook.
2. Add entries to the first column and select them all.
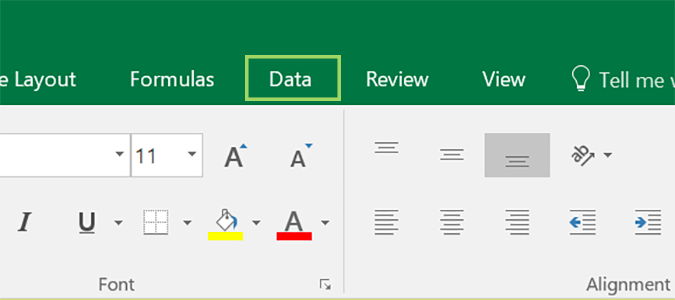
3. Choose the Data tab atop the ribbon.
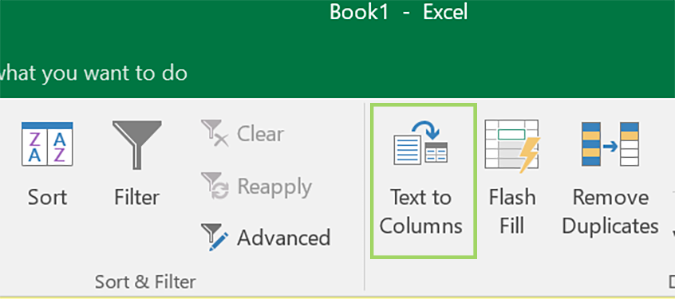
4. Select Text to Columns.
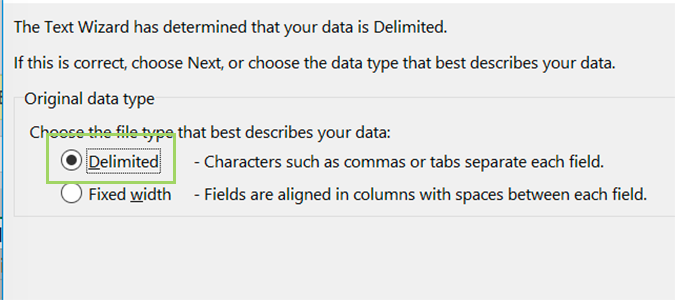
5. Ensure Delimited is selected and click Next.
Sign up to receive The Snapshot, a free special dispatch from Laptop Mag, in your inbox.
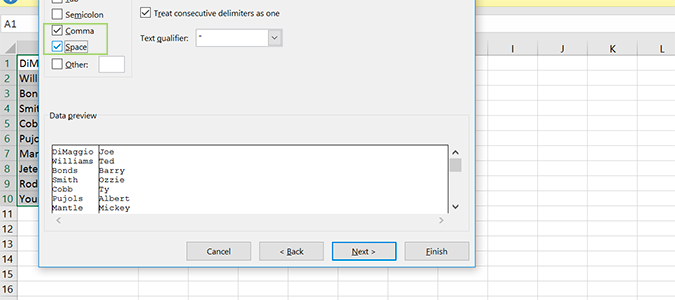
6. Clear each box in the Delimiters section and instead choose Comma and Space.
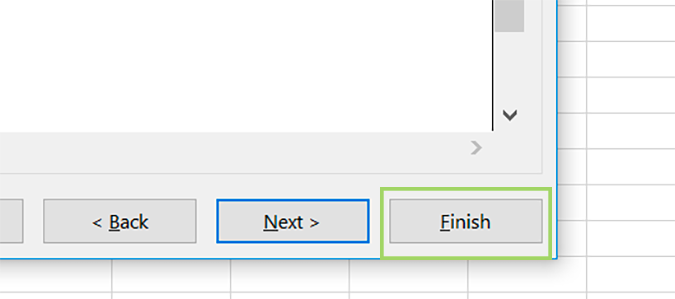
7. Click Finish.
Microsoft Excel Tips
- Use VLOOKUP in Excel
- Back Up Files Automatically in Excel
- Remove Duplicate Data in Excel
- Create a Waterfall Chart in Excel
- Lock Cells in Excel
- Freeze Rows and Columns in Excel
- Build a Forecast Chart in Excel
- Create a Funnel Chart in Excel
- Make a Treemap in Excel
- Convert Excel Sheets to Google Sheets
- Open Google Sheets in Excel
- Combine Data from Different Cells
- Merge Cells to Span Multiple Columns
- Use AutoFill for Repetitive Data
- Copy and Paste Repetitive Data the Easy Way
- Use Text to Columns
- Draw Diagonal Line in a Cell
- Create a New Shortcut Menu
- Transpose Columns Using Paste Special
Bryan covers everything you need to know about Windows, social media, and the internet at large for Laptop Mag. Thanks to his extensive knowledge of operating systems and some of the most popular software out there, Bryan has written hundreds of helpful guides, including tips related to Windows 11 drivers, upgrading to a newer version of the OS, editing in Microsoft Photos, or rearranging pages in Google Docs.
