How to Draw a Diagonal Line Through a Cell in Excel
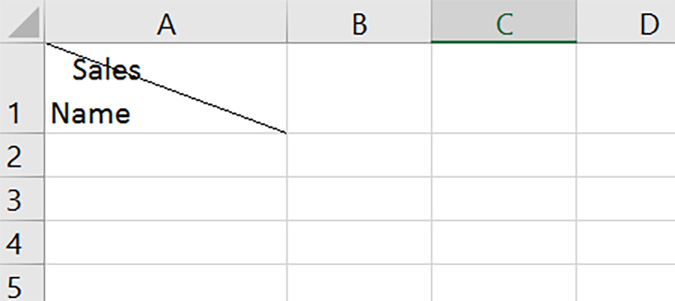
Admittedly, there aren’t many cases where you’ll need to, but if you should ever need to draw a line, diagonally, through a spreadsheet, it’s actually quite easy. I found myself with this problem recently -- needing to draw a diagonal line in a workbook -- and was quite perplexed on how to do it. After some Googling, I found the answer, and today I’ll share it with you.
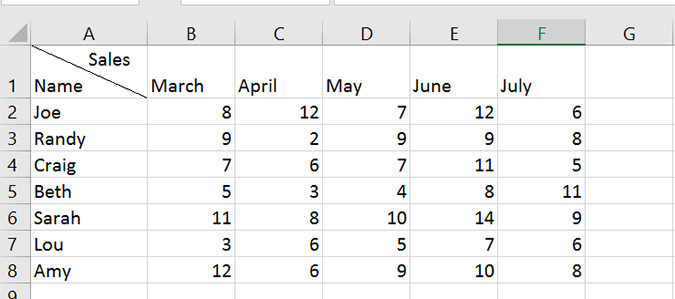
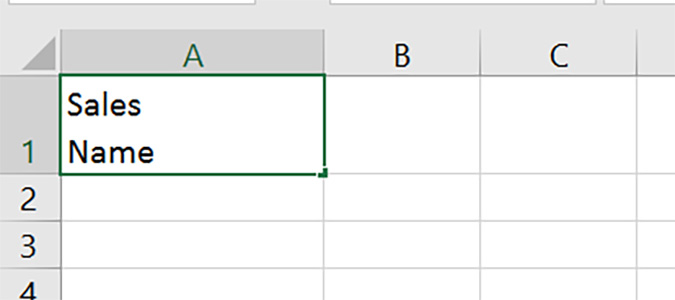
In my example, I needed to add a dividing line in the top left cell separated Name and Sales in a way that made it clear Names went in Column A and Ages were part of Row 1. We’ll repeat that for this example.
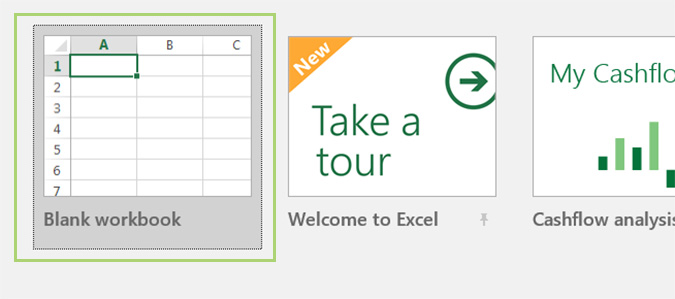
1. Open a Blank workbook in Excel.
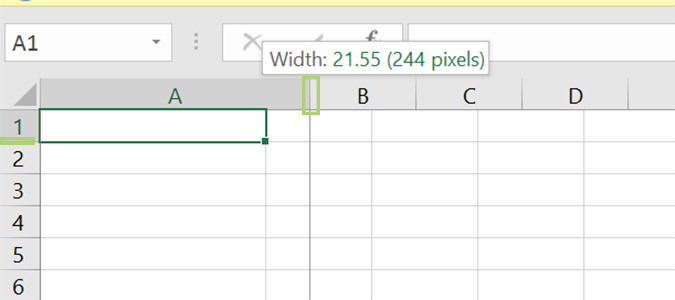
2. You can do this in any size of cell, but it’s easier to understand if you make it larger first. To do that, we’ll just click and hold the line between Row 1 and 2, and then drag until it’s at the desired height. Then do the same for the column to expand it horizontally.
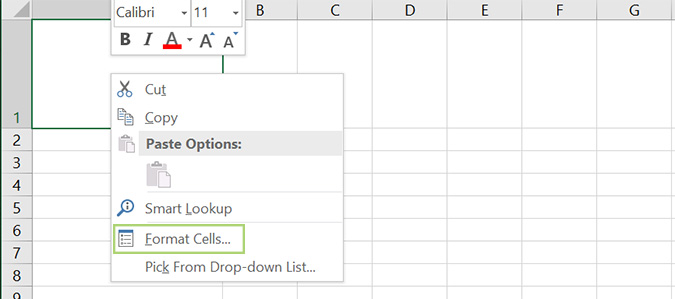
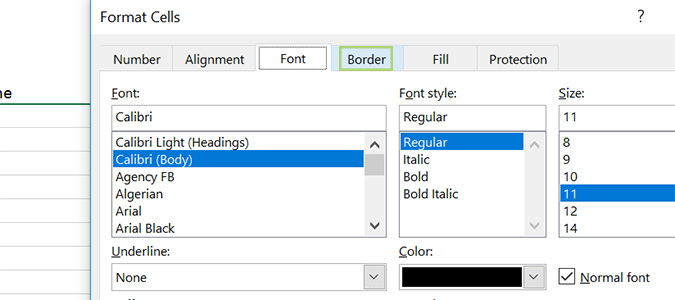
3. Right click the cell and select Format Cells.
4. At the top, click the Border tab.
Sign up to receive The Snapshot, a free special dispatch from Laptop Mag, in your inbox.
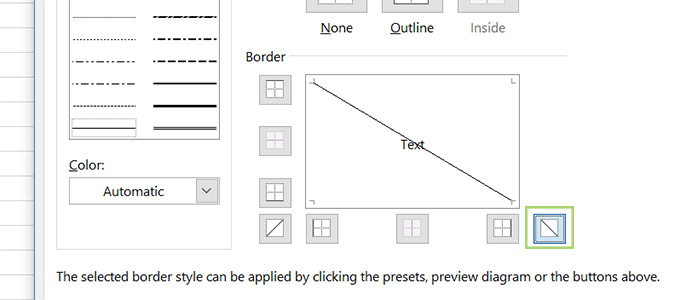
5. And then choose the diagonal line option at the bottom right of the menu. You can choose to draw your line in the opposite orientation by clicking the other diagonal line icon on the lower left of the menu.
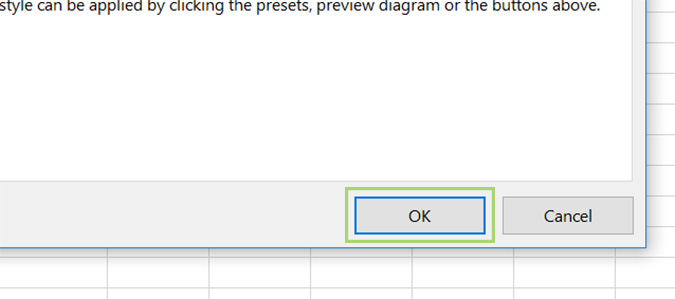
6. Click OK.
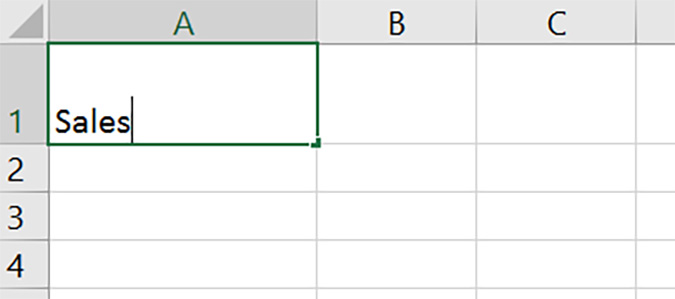
7. Now type the text you want at the top of your diagonal line and press Alt + Enter to move to a new line.
8. Type the text on the bottom, and then press enter.
9. If the formatting is off, just double click within the cell and use the spacebar to move the top text over.
Microsoft Excel Tips
- Use VLOOKUP in Excel
- Back Up Files Automatically in Excel
- Remove Duplicate Data in Excel
- Create a Waterfall Chart in Excel
- Lock Cells in Excel
- Freeze Rows and Columns in Excel
- Build a Forecast Chart in Excel
- Create a Funnel Chart in Excel
- Make a Treemap in Excel
- Convert Excel Sheets to Google Sheets
- Open Google Sheets in Excel
- Combine Data from Different Cells
- Merge Cells to Span Multiple Columns
- Use AutoFill for Repetitive Data
- Copy and Paste Repetitive Data the Easy Way
- Use Text to Columns
- Draw Diagonal Line in a Cell
- Create a New Shortcut Menu
- Transpose Columns Using Paste Special
Bryan covers everything you need to know about Windows, social media, and the internet at large for Laptop Mag. Thanks to his extensive knowledge of operating systems and some of the most popular software out there, Bryan has written hundreds of helpful guides, including tips related to Windows 11 drivers, upgrading to a newer version of the OS, editing in Microsoft Photos, or rearranging pages in Google Docs.
