How to Use macOS Mojave's New Screenshot Tools
Sign up to receive The Snapshot, a free special dispatch from Laptop Mag, in your inbox.
You are now subscribed
Your newsletter sign-up was successful
Taking screenshots on a Mac used to require multiple keyboard shortcuts, one for each of the different — and equally helpful — types of recording your display. Thanks to macOS Mojave, though, that's all changed.
Now, you need to know just one shortcut to open a menu that contains all of the different functions. Better yet, there's an options menu for deciding where macOS saves its screenshots, and what these images show.
MORE: macOS Mojave Preview
Also, this new menu makes it easy to set a timer for your screenshots. If you just rolled your eyes at that feature, you've probably never tried to capture something on a screen that disappears as soon as you hit a key. It's an incredibly useful new feature that I'm super excited about, even if its usefulness is situational.
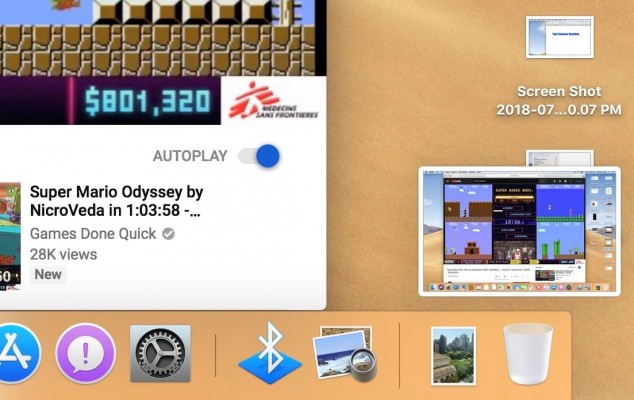
Furthermore, new screenshots appear in the bottom-right corner, just as they do on iOS. Here's everything you need to know to master screenshots in macOS Mojave:
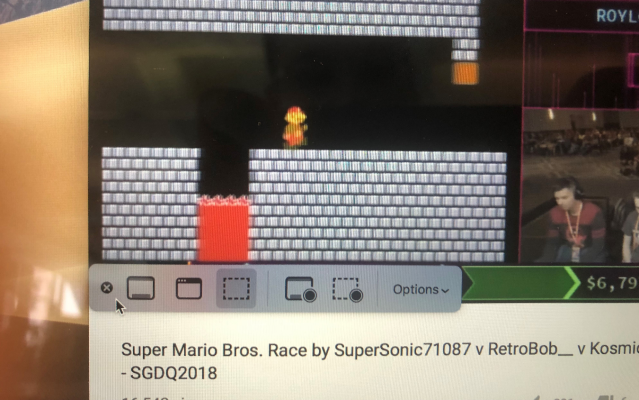
1. Hit Command+Shift+5 to open the screenshot interface.
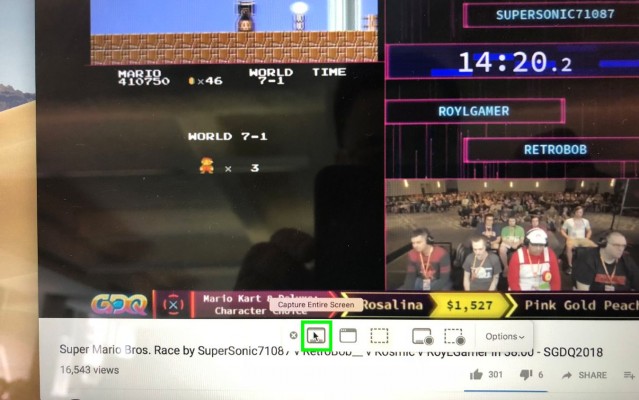
2. The basic screenshot tool Capture Entire Screen is next to the X that closes the interface.
Sign up to receive The Snapshot, a free special dispatch from Laptop Mag, in your inbox.
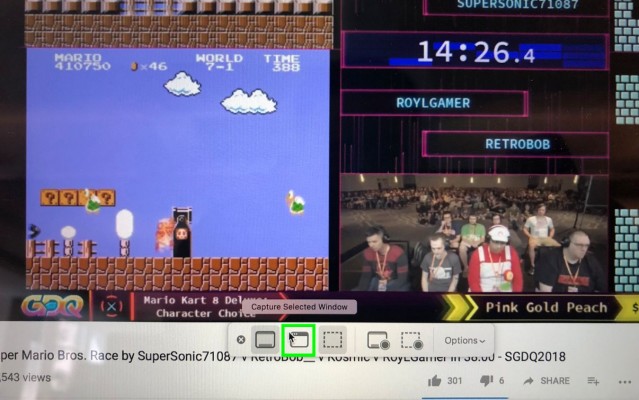
3. Click the Capture Selected Window button, and you'll get a screenshot of the next window you click.
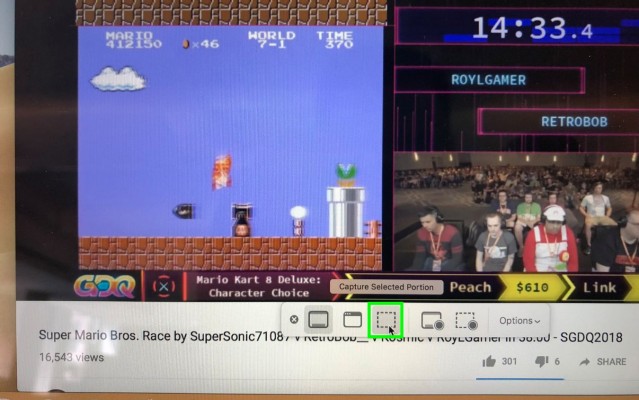
4. Click Capture Selected Portion and your cursor will turn into crosshairs, so you can click and drag your cursor to select a specific range.
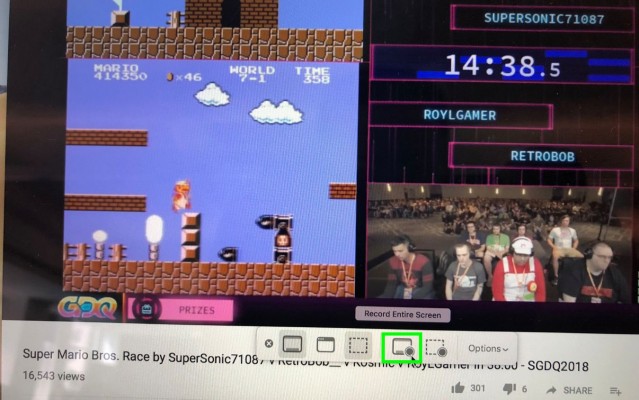
5. Click Record Entire Screen to start taking video of your whole screen.
6. Click the Stop button to end your recording.
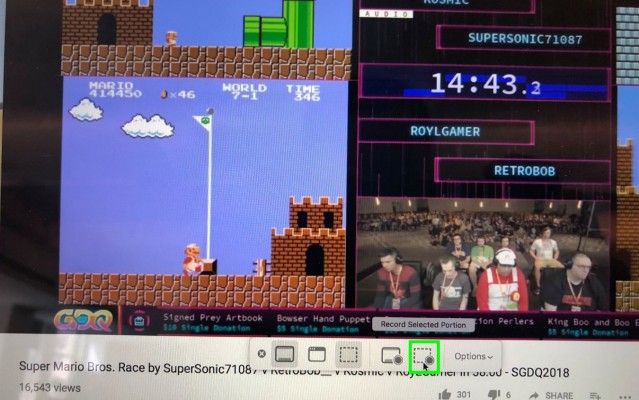
7. Click Record Selected Portion to get crosshairs (as in Step 4), but this time you'll capture video of that portion instead of a static screenshot.
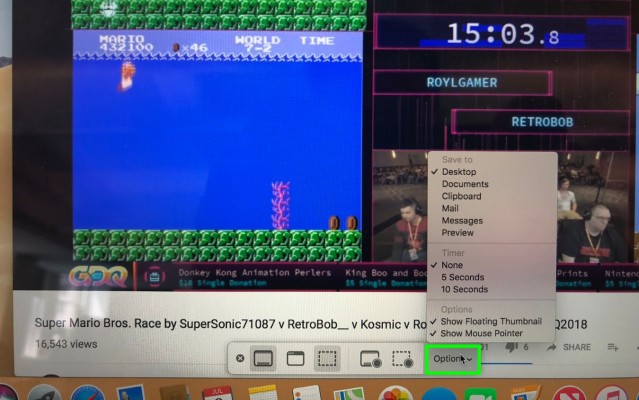
8. Clicking Options brings up a series of preferences, including where you save your screenshots and clips.
You can also choose to open them directly in an app of your preference. Additionally, the menu lets you set a 5 or 10-second timer, or let your cursor and previous screenshots (which appear as thumbnails in the bottom-right) show up in your new screenshots.
Congrats! You've learned everything you need to know about taking screenshots in macOS Mojave.
macOS Mojave Tips
Henry was a contributing writer at Laptop Mag. He penned hundreds of articles, including helpful how-tos for Windows, Mac, and Gmail. Henry has also written about some of the best Chromebooks, and he has reviewed many Apple devices, including various MacBook Air laptops. He is now a managing editor at our sister site Tom's Guide, covering streaming media, laptops, and all things Apple.
