How to Use Continuity Camera in macOS Mojave
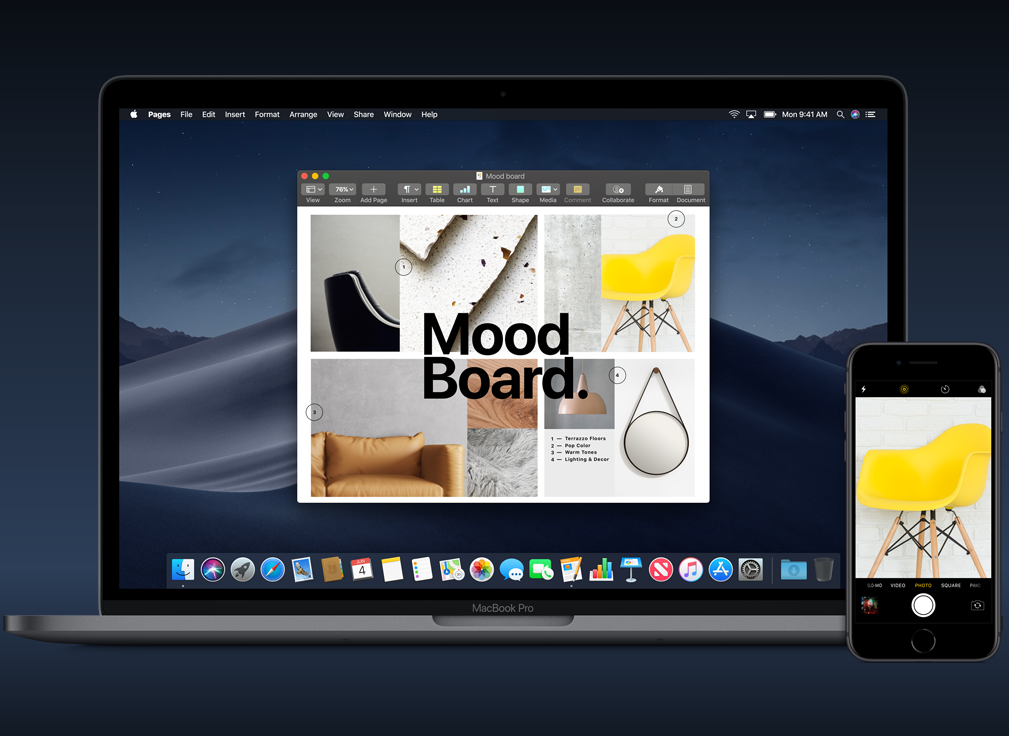
Macs and iOS devices have worked in harmony for years, and macOS Mojave has brought that to the next level with Continuity Camera.
This new tool allows you to send images directly into apps on your MacBook after shooting them on your iPhone or iPad.
Currently, Continuity Camera support is limited to Apple's apps, as macOS Mojave is currently in beta, and developers haven't had the chance to build it into their software.
MORE: How to Download the macOS Mojave Public Beta
But if you're willing to put beta software on your machine, it's time to get familiar with macOS Mojave's Continuity Camera:
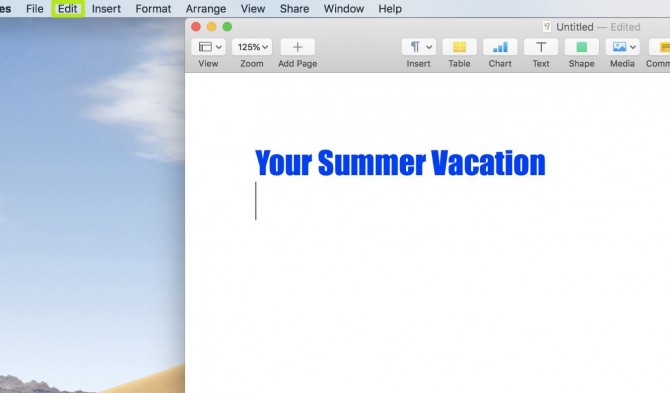
1. In a supported macOS app, click Edit.
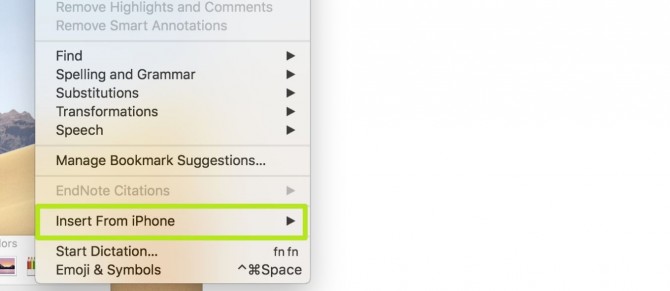
2. Select Insert from iPhone.
Sign up to receive The Snapshot, a free special dispatch from Laptop Mag, in your inbox.
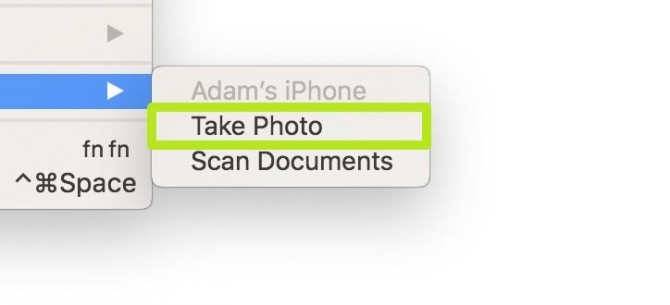
3. Select Take Photo. Selecting Scan Documents turns your smartphone or tablet into a scanner, allowing you to photograph a document before it adjusts it to look like a scanned PDF.
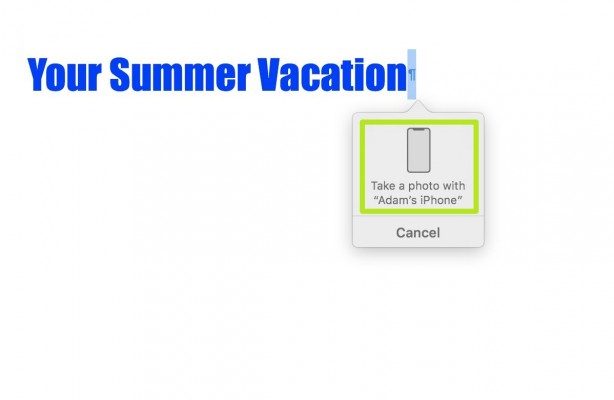
4. You'll see an alert to take a photo with your device.
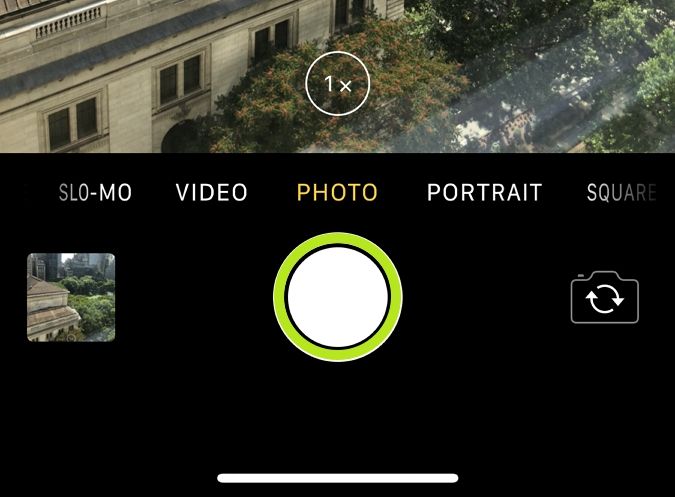
5. Take the photo.
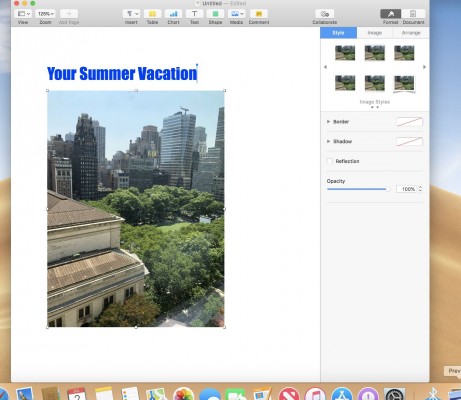
It will be inserted!
macOS Mojave Tips
Henry was a contributing writer at Laptop Mag. He penned hundreds of articles, including helpful how-tos for Windows, Mac, and Gmail. Henry has also written about some of the best Chromebooks, and he has reviewed many Apple devices, including various MacBook Air laptops. He is now a managing editor at our sister site Tom's Guide, covering streaming media, laptops, and all things Apple.
