How to Rip DVDs Using HandBrake
If you’re like me, you’ve amassed a serious collection of physical media over the years. Personally, I can’t remember the last time I touched most of it, but it’s still on my shelves taking up valuable real estate that would be better served if used for something else. Recently, I finally got around to ripping my physical media onto an external hard drive, and I really couldn’t be happier. All of my films are available with a few clicks, and better still, I don’t have to get off the couch to find what I’m looking for.
Here’s how I did it.
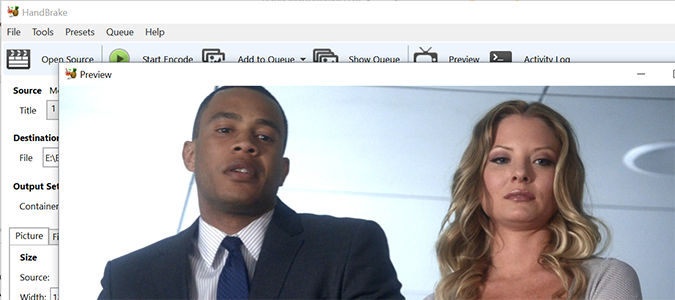
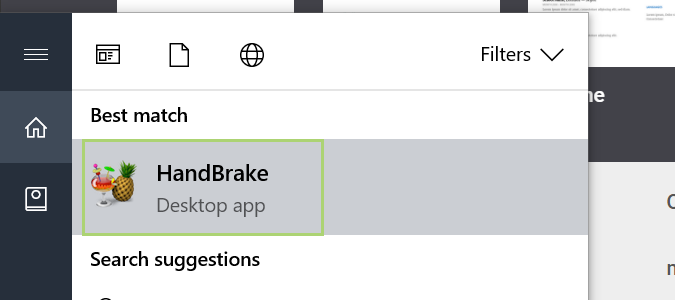
1. Open HandBrake. If you don’t have it, HandBrake is an Open Source tool you can download for free, here.
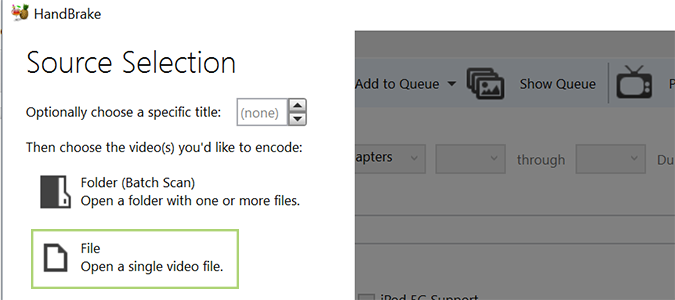
2. Choose the file you want to rip by pressing the file icon on the left upon startup. If this is a DVD or other piece of physical media, you’ll select the DVD drive, and its contents.
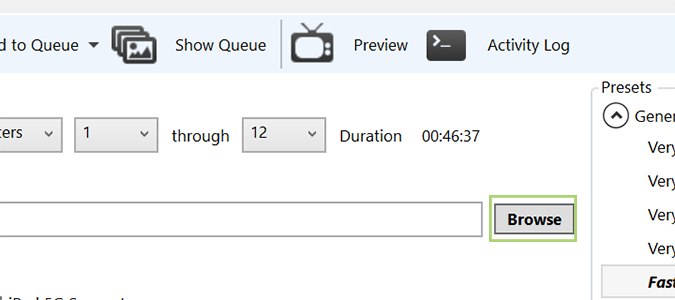
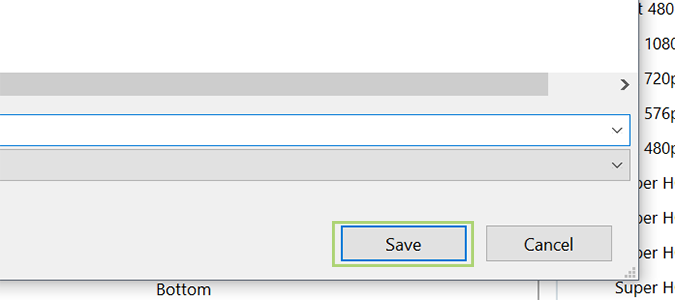
3. Press the Browse button and choose the destination to save the stored file. For the sake of this tutorial, I’m going to use an external drive, but you can choose to store it on your HDD (or SSD), a thumb drive, or even in the cloud.
4. Click Save after making the selection.
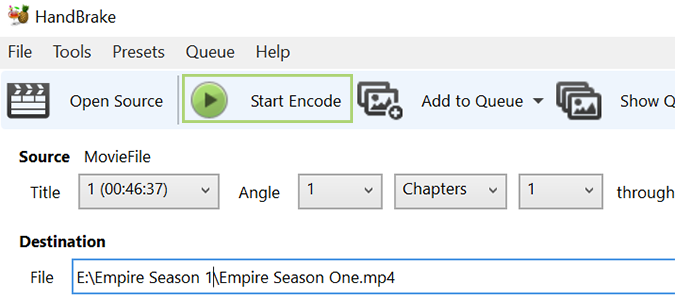
5. Press Start Encode at the top to begin ripping the DVD.
Sign up to receive The Snapshot, a free special dispatch from Laptop Mag, in your inbox.
VLC Media Player Tips
- How to Convert Video Using VLC
- How to Record Your Desktop Using VLC
- How to Rip a DVD with VLC
- How to Use VLC to Put Your Computer on a Sleep Timer
- How to Record a Webcam Video with VLC
- How to Create a Video Desktop Wallpaper With VLC
- How to Play or Download an Online Video with VLC
Bryan covers everything you need to know about Windows, social media, and the internet at large for Laptop Mag. Thanks to his extensive knowledge of operating systems and some of the most popular software out there, Bryan has written hundreds of helpful guides, including tips related to Windows 11 drivers, upgrading to a newer version of the OS, editing in Microsoft Photos, or rearranging pages in Google Docs.
