How to Merge Shapes in PowerPoint 2013

With the new Microsoft PowerPoint 2013, you can make much more than just standard presentations. With the software's Shapes feature, you can get creative by designing logos and icons to your heart’s content. Read these tips before you get started.
To insert a Shape in PowerPoint 2013:
1. Click the Insert tab at the top of your screen and select Shapes.
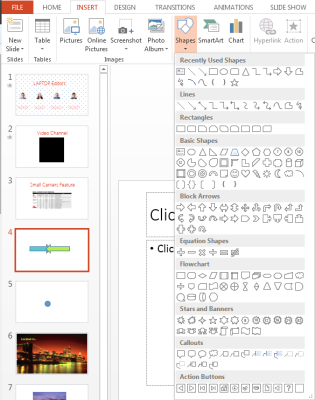
2. Choose from a wide range of preexisting geometric shapes. You also can change the shape's size and color.
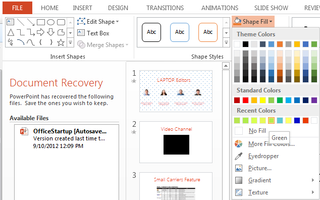
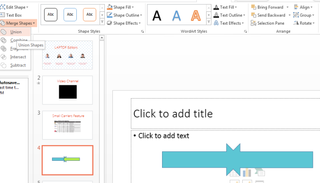
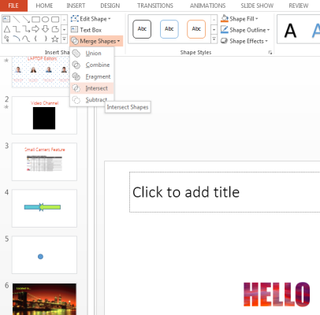
3. Customize a pre-existing shape, by merging two into one. Select both shapes by holding down Ctrl and clicking. Then, beneath the Format tab, click Merge Shapes near the top left. Click Union to make the two shapes one.
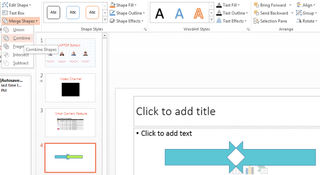
4. Click Combine to make one shape with the overlapping part of the shapes omitted.
5. Click Fragment to make both shapes one color and outline the part where they overlap.
Stay in the know with Laptop Mag
Get our in-depth reviews, helpful tips, great deals, and the biggest news stories delivered to your inbox.
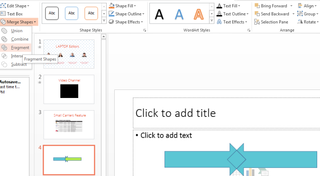
6. Click Intersect to erase both of the shapes except the parts that overlap.

7. To subtract one shape from another, click Subtract. Merging shapes is a cool option for creating logos or presentation art, and is easy to do.
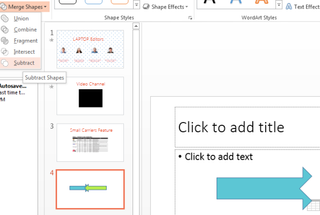
To give a shape a cool background (like something in a photograph):
1. Click Insert on the top nav bar. Then click Pictures and select which image on your computer you’d like to insert.
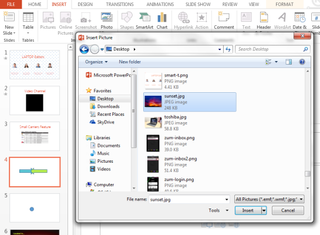
2. Insert a text box on top of the photo and enter your text.

3. Click Format and select both shapes by holding Ctrl and clicking. Then select Merge Shapes.
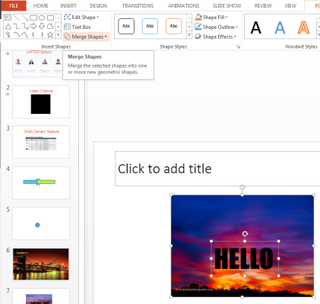
4. Select the Intersect tool from the Merge Shapes menu, and voila, your text will be filled in with your background image.
More PowerPoint 2013 Tips:
- How to Customize Your PowerPoint Presentation
- How to Use PowerPoint's Presenter View
- How to Use PowerPoint's Slide Zoom
- How to Collaborate Using PowerPoint
- How to Integrate Multimedia Into PowerPoint
- How to Add Audio to PowerPoint
- How to Use PowerPoint's Eyedropper Tool
- How to Use PowerPoint's Smart Guides
- How to Present a PowerPoint Presentation Online
