In macOS Mojave, Apple introduced an all-new built-in screenshot tool. It’s a an effective tool that’s both intuitive and feature-rich. A handful of quick keyboard shortcuts make it a breeze to capture the whole screen, part of the screen, or just the active window. You can even capture recordings of actions taken on the desktop.
As nice as it is, there’s one downside: by default, these screenshots are saved on the desktop. Without careful management these screenshots will start to become a problem, creating an unsightly, cluttered mess. But you can easily change it.
For my needs, I like to keep a dedicated folder named “Screenshots” in the Pictures folder. This keeps all my images in one place, while separating screenshots from photos.
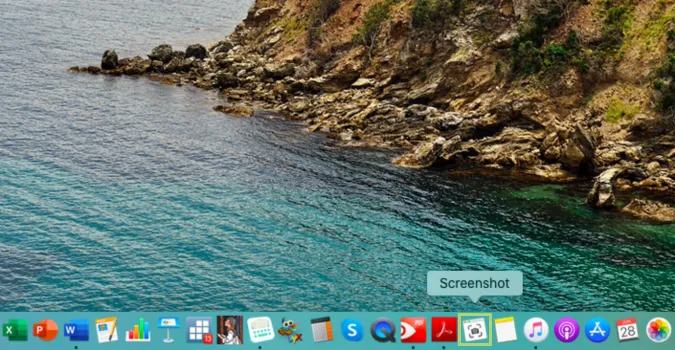
1) To open the Screenshot tool click the Screenshot icon on the Dock or press Command + 5 on the keyboard.
2) Click Options to open the Screenshot menu.

3) In the menu that opens up, select Other Location.

4) In the Finder window that opens up navigate to the location you prefer and click New Folder.

5) Type a name for the folder.

6) Click Create to complete the process.

7) Click Choose to select the new folder as the default location to save screenshots.

