How to Enable WMM Support on Your Router
Sign up to receive The Snapshot, a free special dispatch from Laptop Mag, in your inbox.
You are now subscribed
Your newsletter sign-up was successful
WMM (Wi-Fi Multimedia) is an automated service that gives priority to multimedia running through your wireless network. That includes voice, video and audio that, when you’re using, you want to always work. WMM essentially funnels more of your bandwidth to devices using these criteria so you spend less time buffering and more time streaming the content you want.
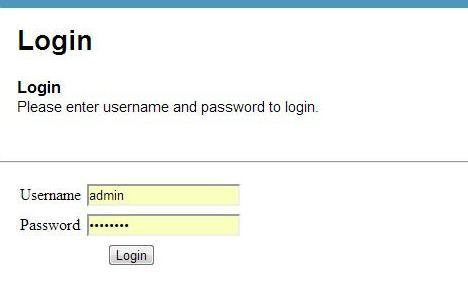
1. Log into your account. Open your browser and enter the manufacturer’s default IP address, typically located on the underside of your router or in the user manual or a custom one that you set. Using your username and password, log into your router settings page.
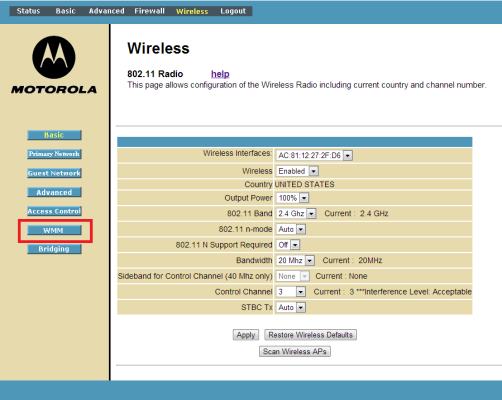
2. Open the Wireless tab to edit your wireless settings. Once there, go to the “WMM” (or equivalent) tab if you’re not already on the correct page.
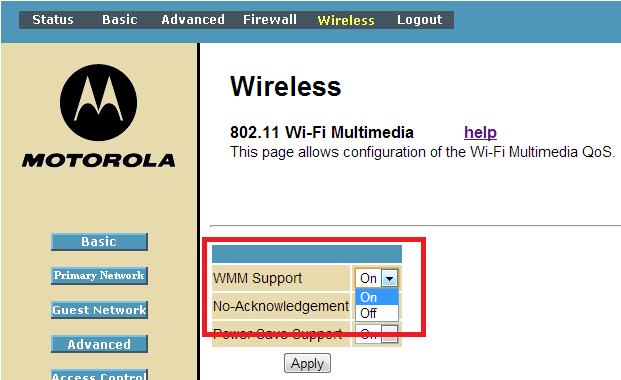
3. Toggle WMM Support to On or Enabled. The WMM setting will either be in its own category or within a subheading under your wireless settings menu. Simply click the drop-down box (or button, depending on your router) and select the desired setting. There will likely be some other advanced options available to you in this menu, but you’ll likely want to stay away from these unless you know what you’re doing.
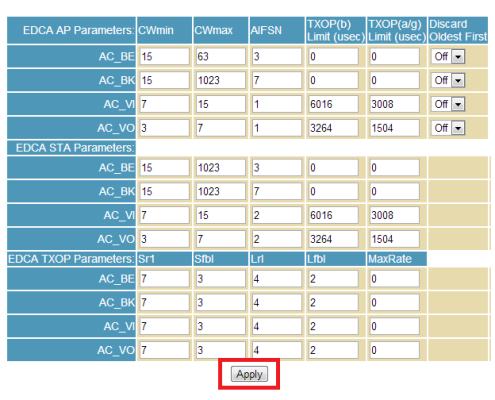
4. Click Apply. Then reboot your router under the general settings.
Sign up to receive The Snapshot, a free special dispatch from Laptop Mag, in your inbox.


