How to use Apple Pay on iPhone
Learn how to make speedy purchases with your iOS device
Sign up to receive The Snapshot, a free special dispatch from Laptop Mag, in your inbox.
You are now subscribed
Your newsletter sign-up was successful
"How to use Apple Pay on iPhone" is a popular query we've been getting among iOS device owners. Perhaps they've overheard someone ask, "Do you have Apple Pay?" And after getting a yes, they'd whip out their iPhone, swiftly pay for their purchase, and be on their way. And they want to join the fast, contactless payment party, too!
Fortunately, getting set up with Apple Pay on iPhone is easy. Check out our step-by-step guide on how to get started.
How to use Apple Pay on iPhone
Before we dive in, make sure that your iPhone is signed in with the Apple ID you'd like to use with Apple Pay. Once you've done that, follow the steps below to securely pay for items with your iOS device.
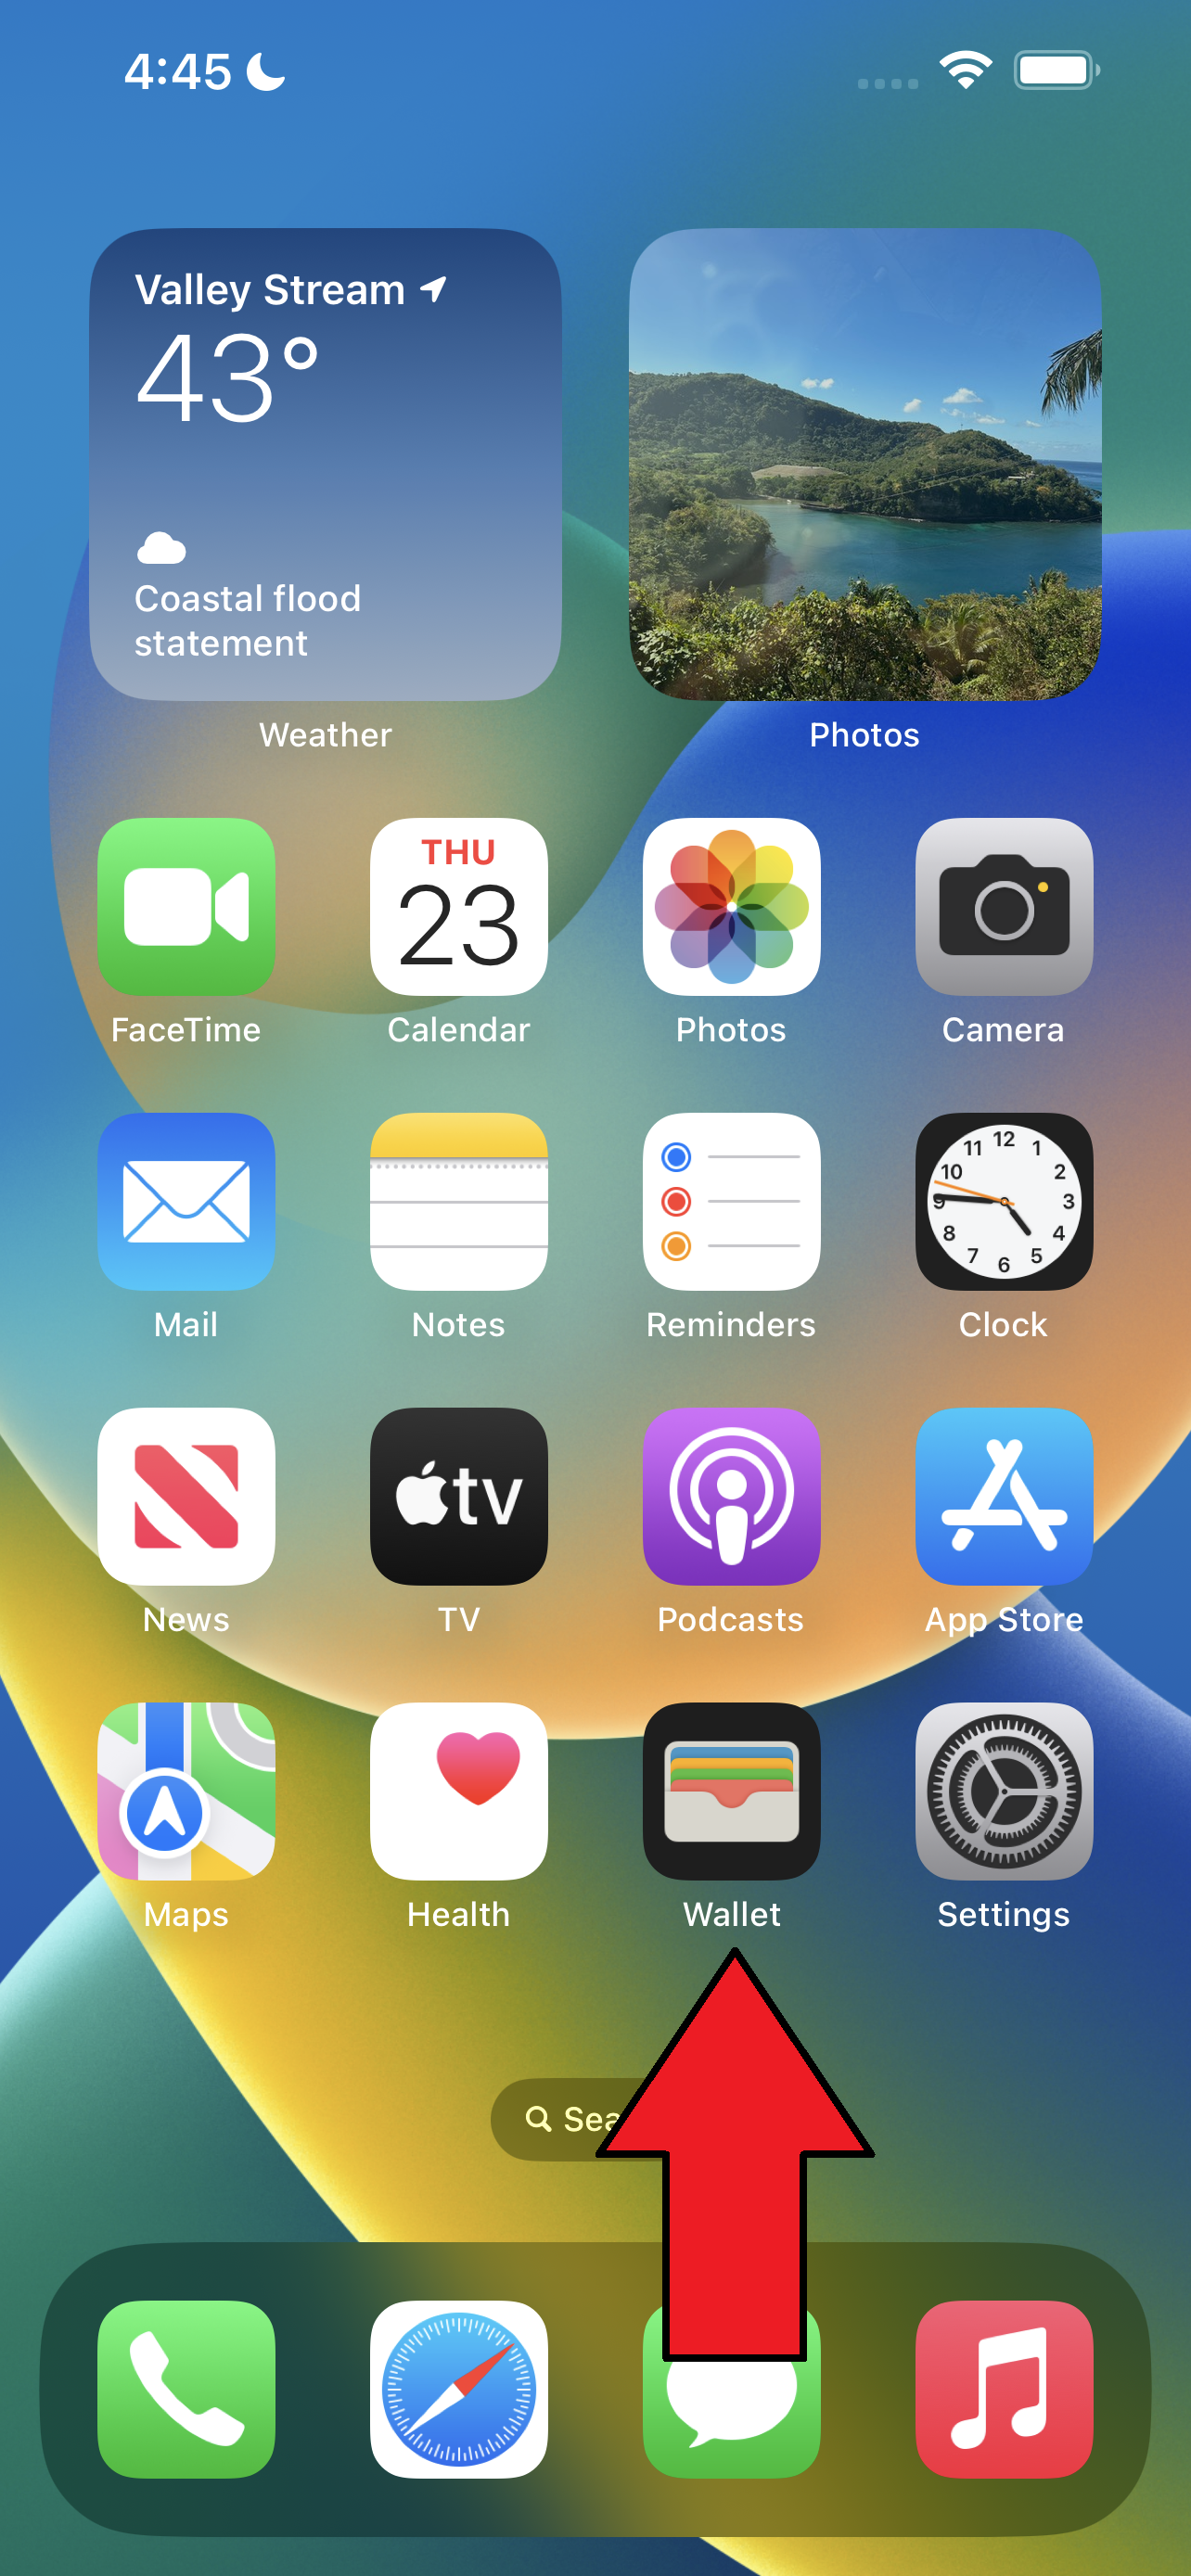
1. Open the Wallet app.
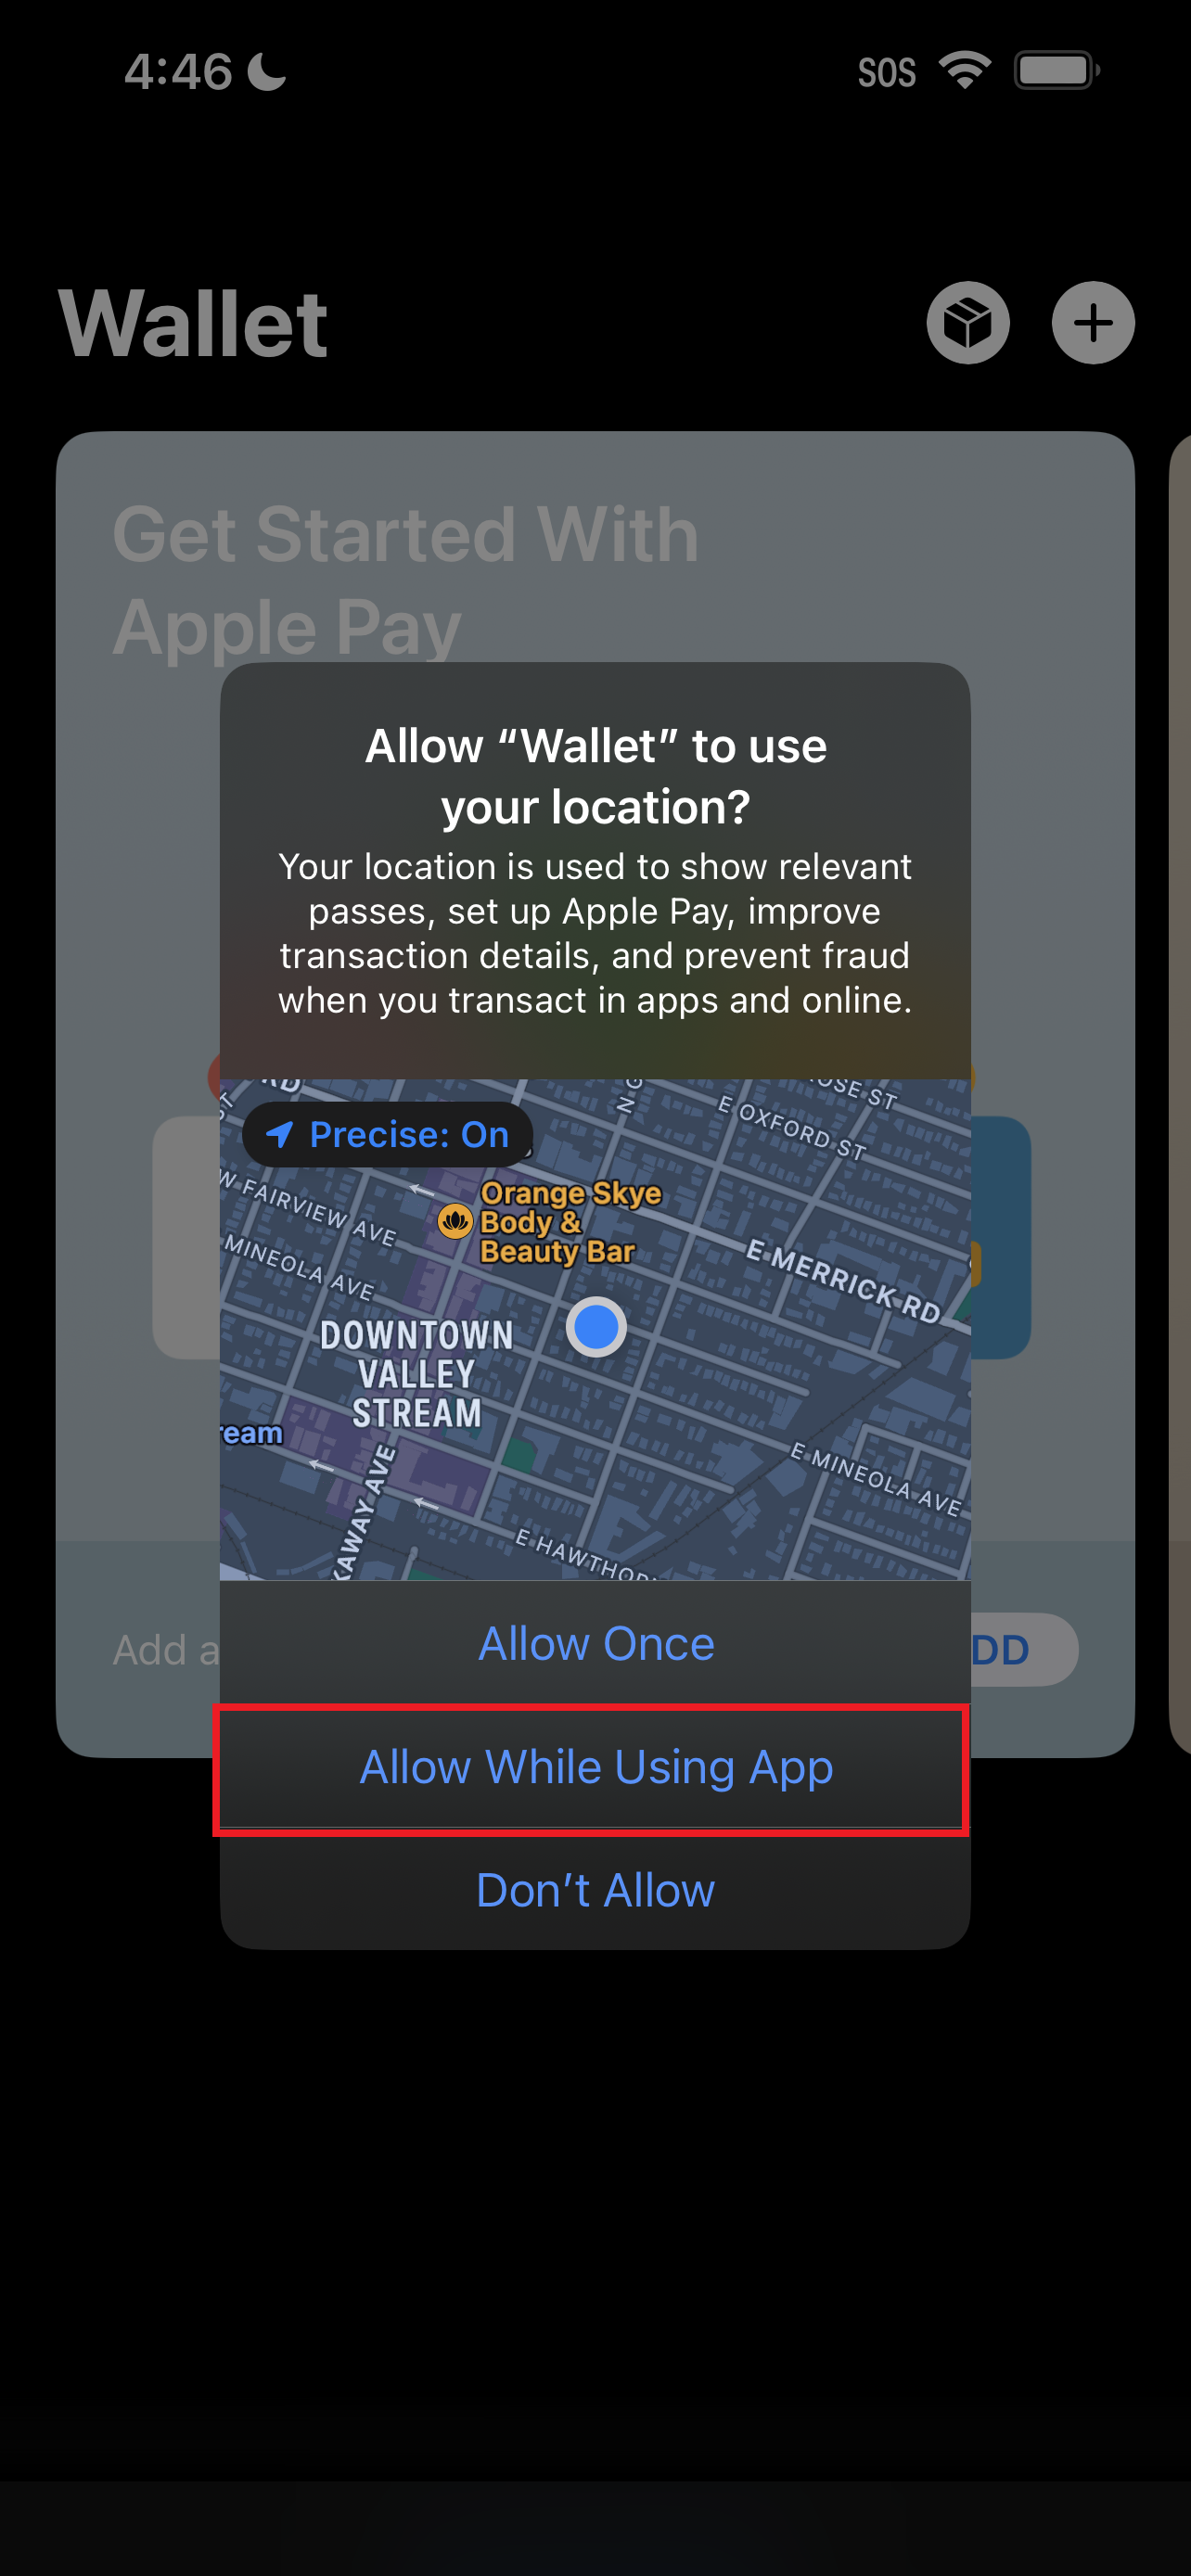
2. If you get a prompt asking whether Wallet can use your location, tap Allow While Using App. According to Apple, your location will be used to show relevant passes, set up Apple Pay, improve transaction details, and prevent fraud while making transactions in apps and online.
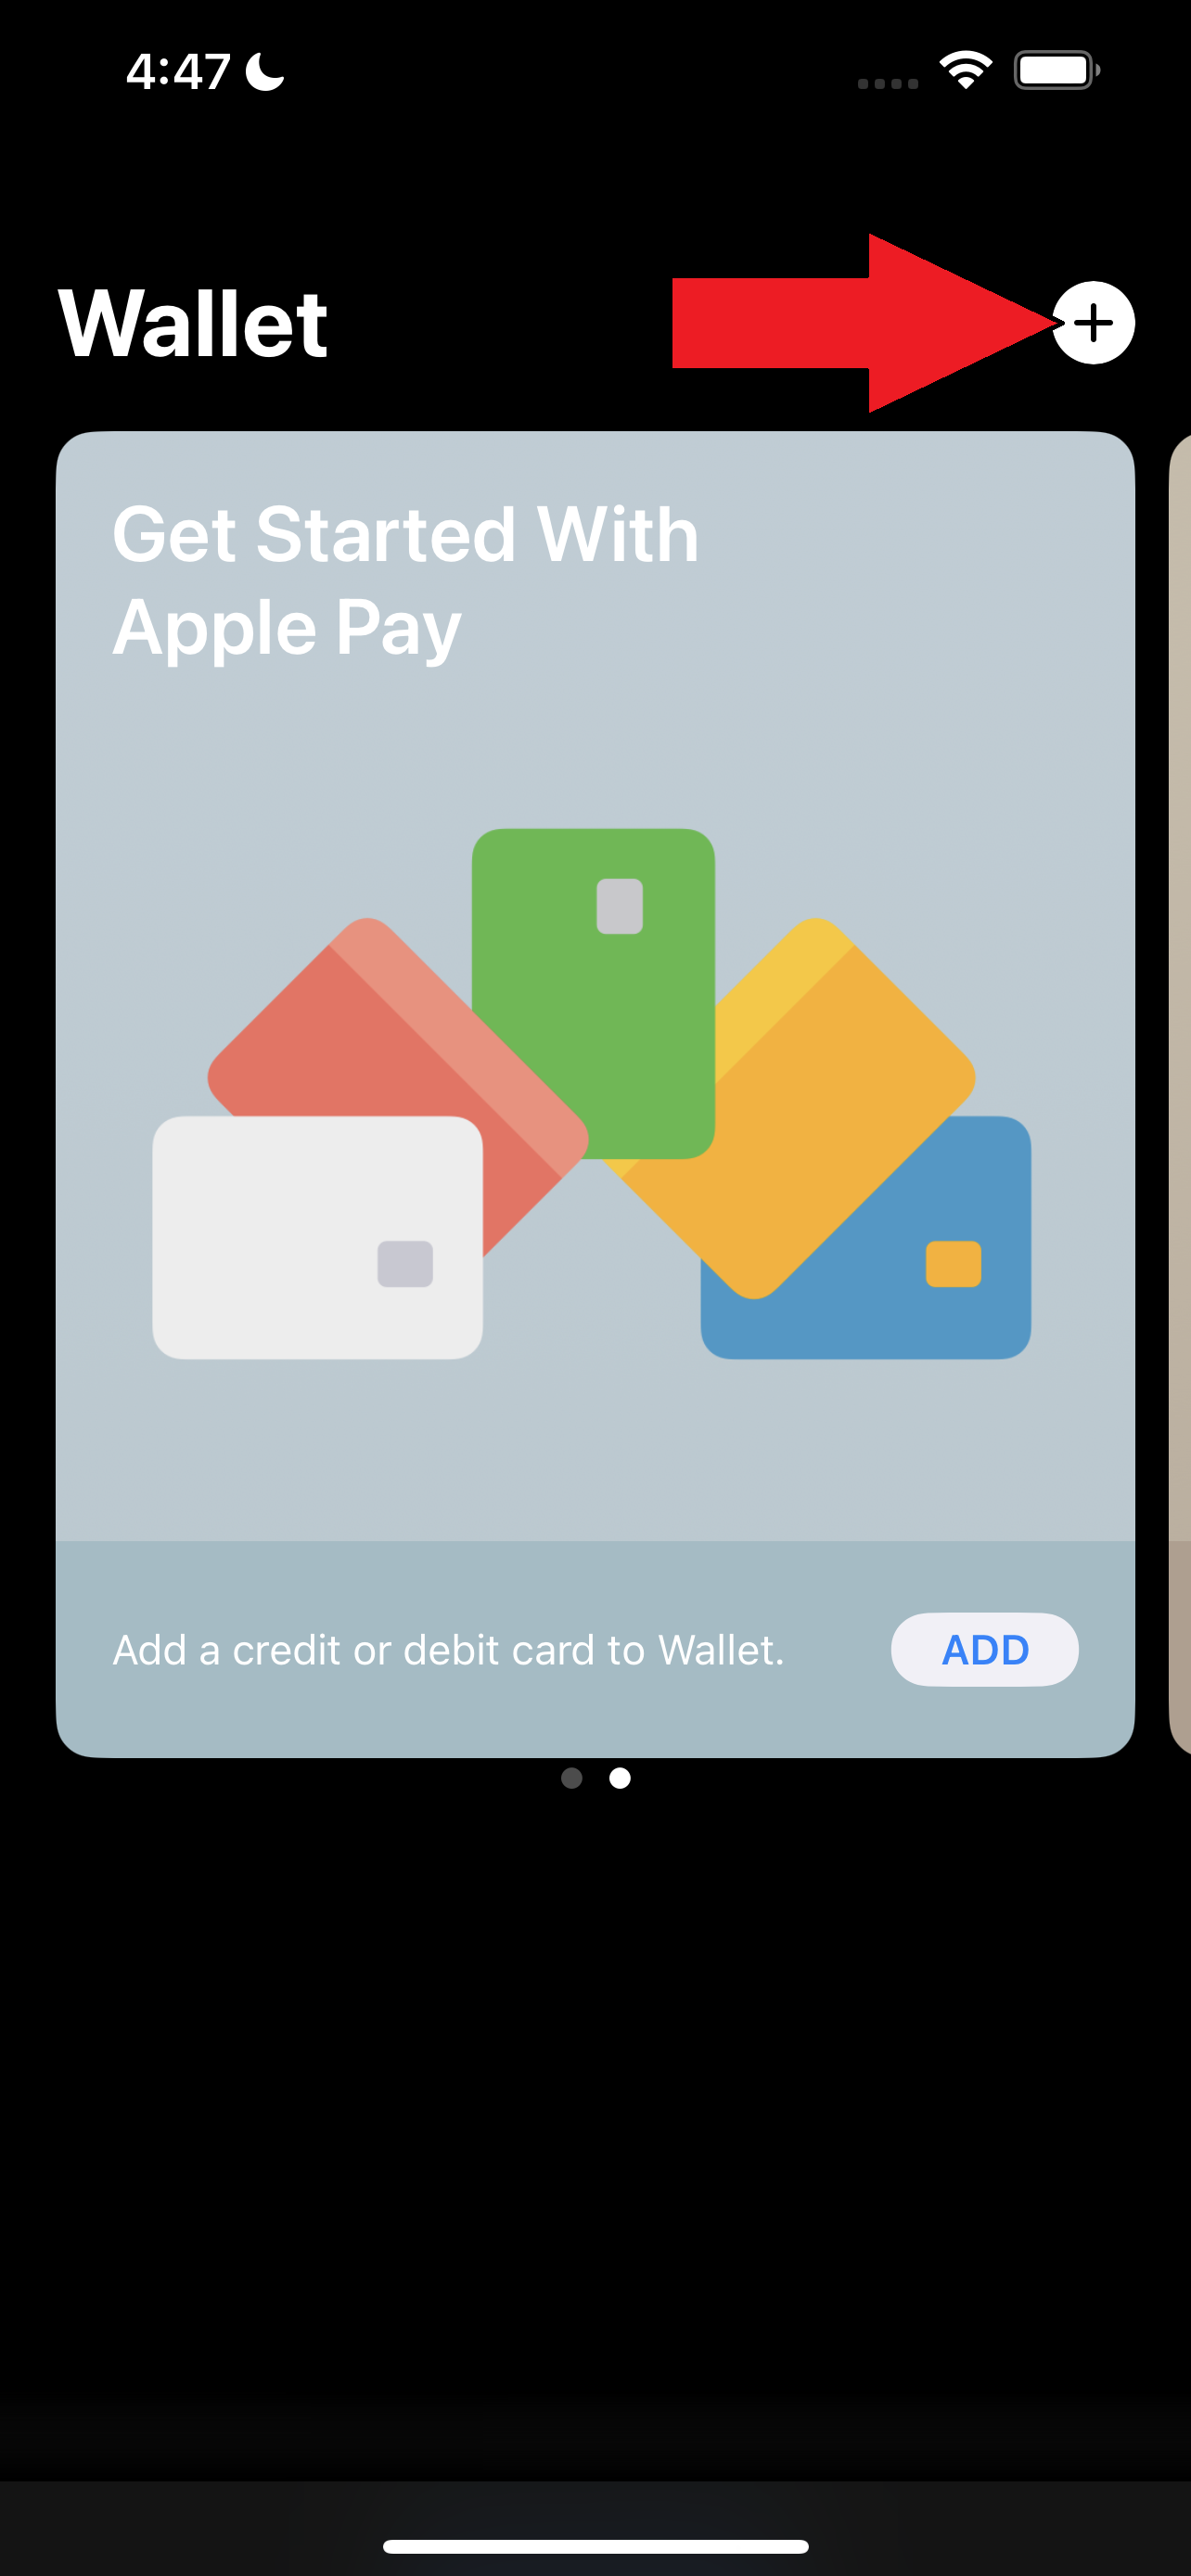
3. Tap on the plus sign on the top-right corner. (If you're prompted to set up biometric authentication, tap on Set Up Face ID & Passcode).
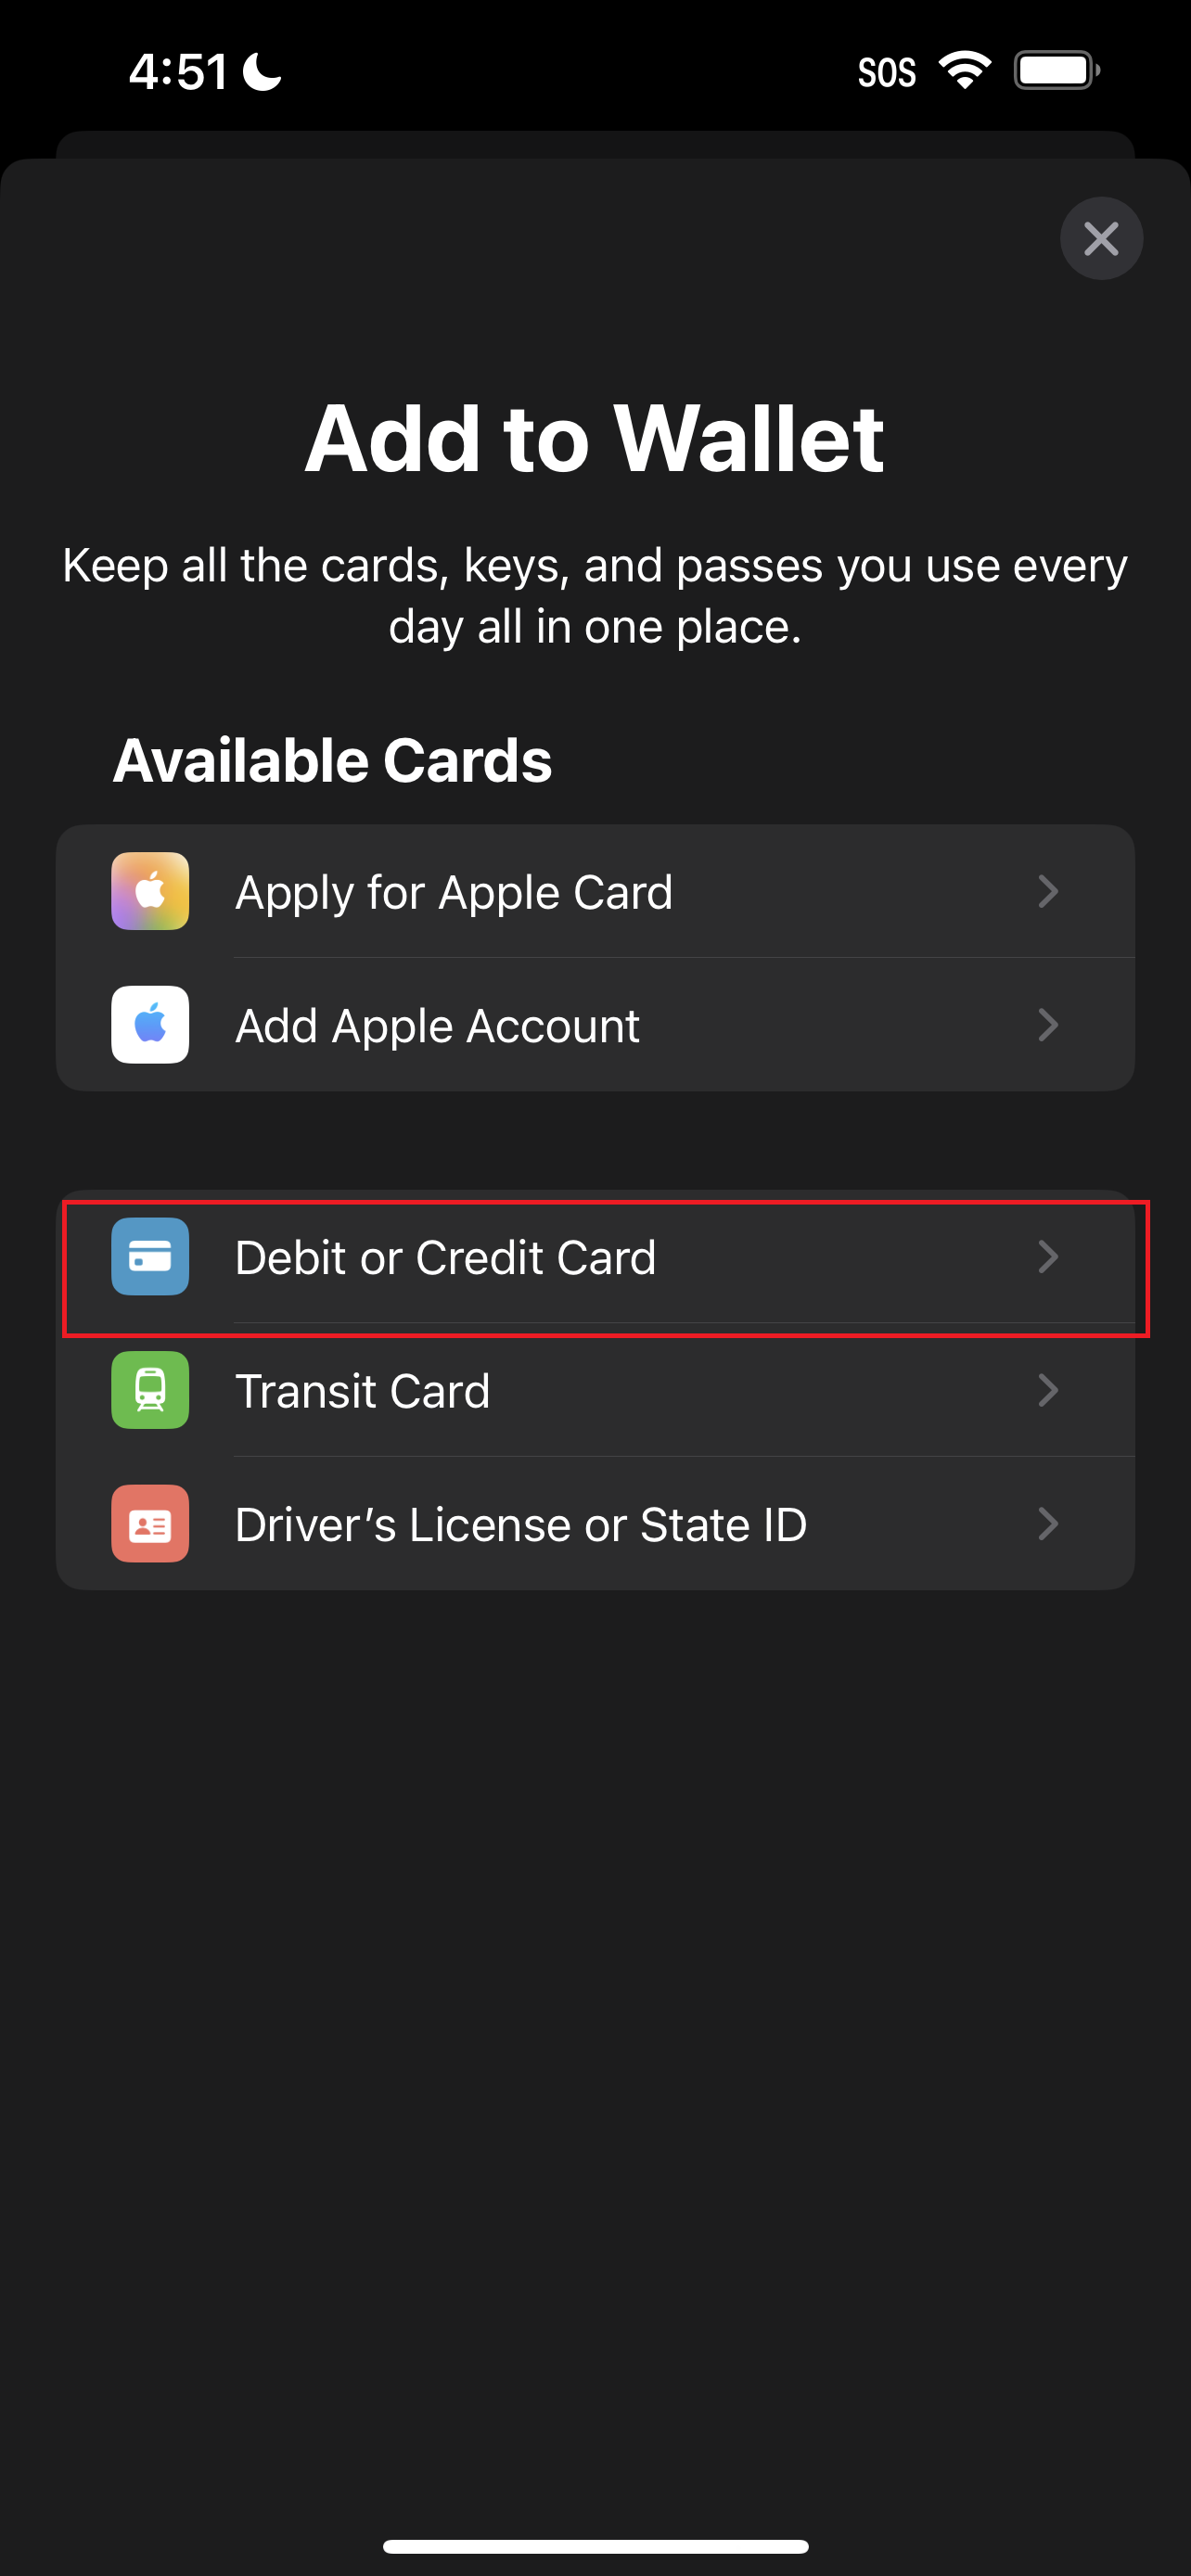
4. Tap on Debit or Credit Card.
Sign up to receive The Snapshot, a free special dispatch from Laptop Mag, in your inbox.
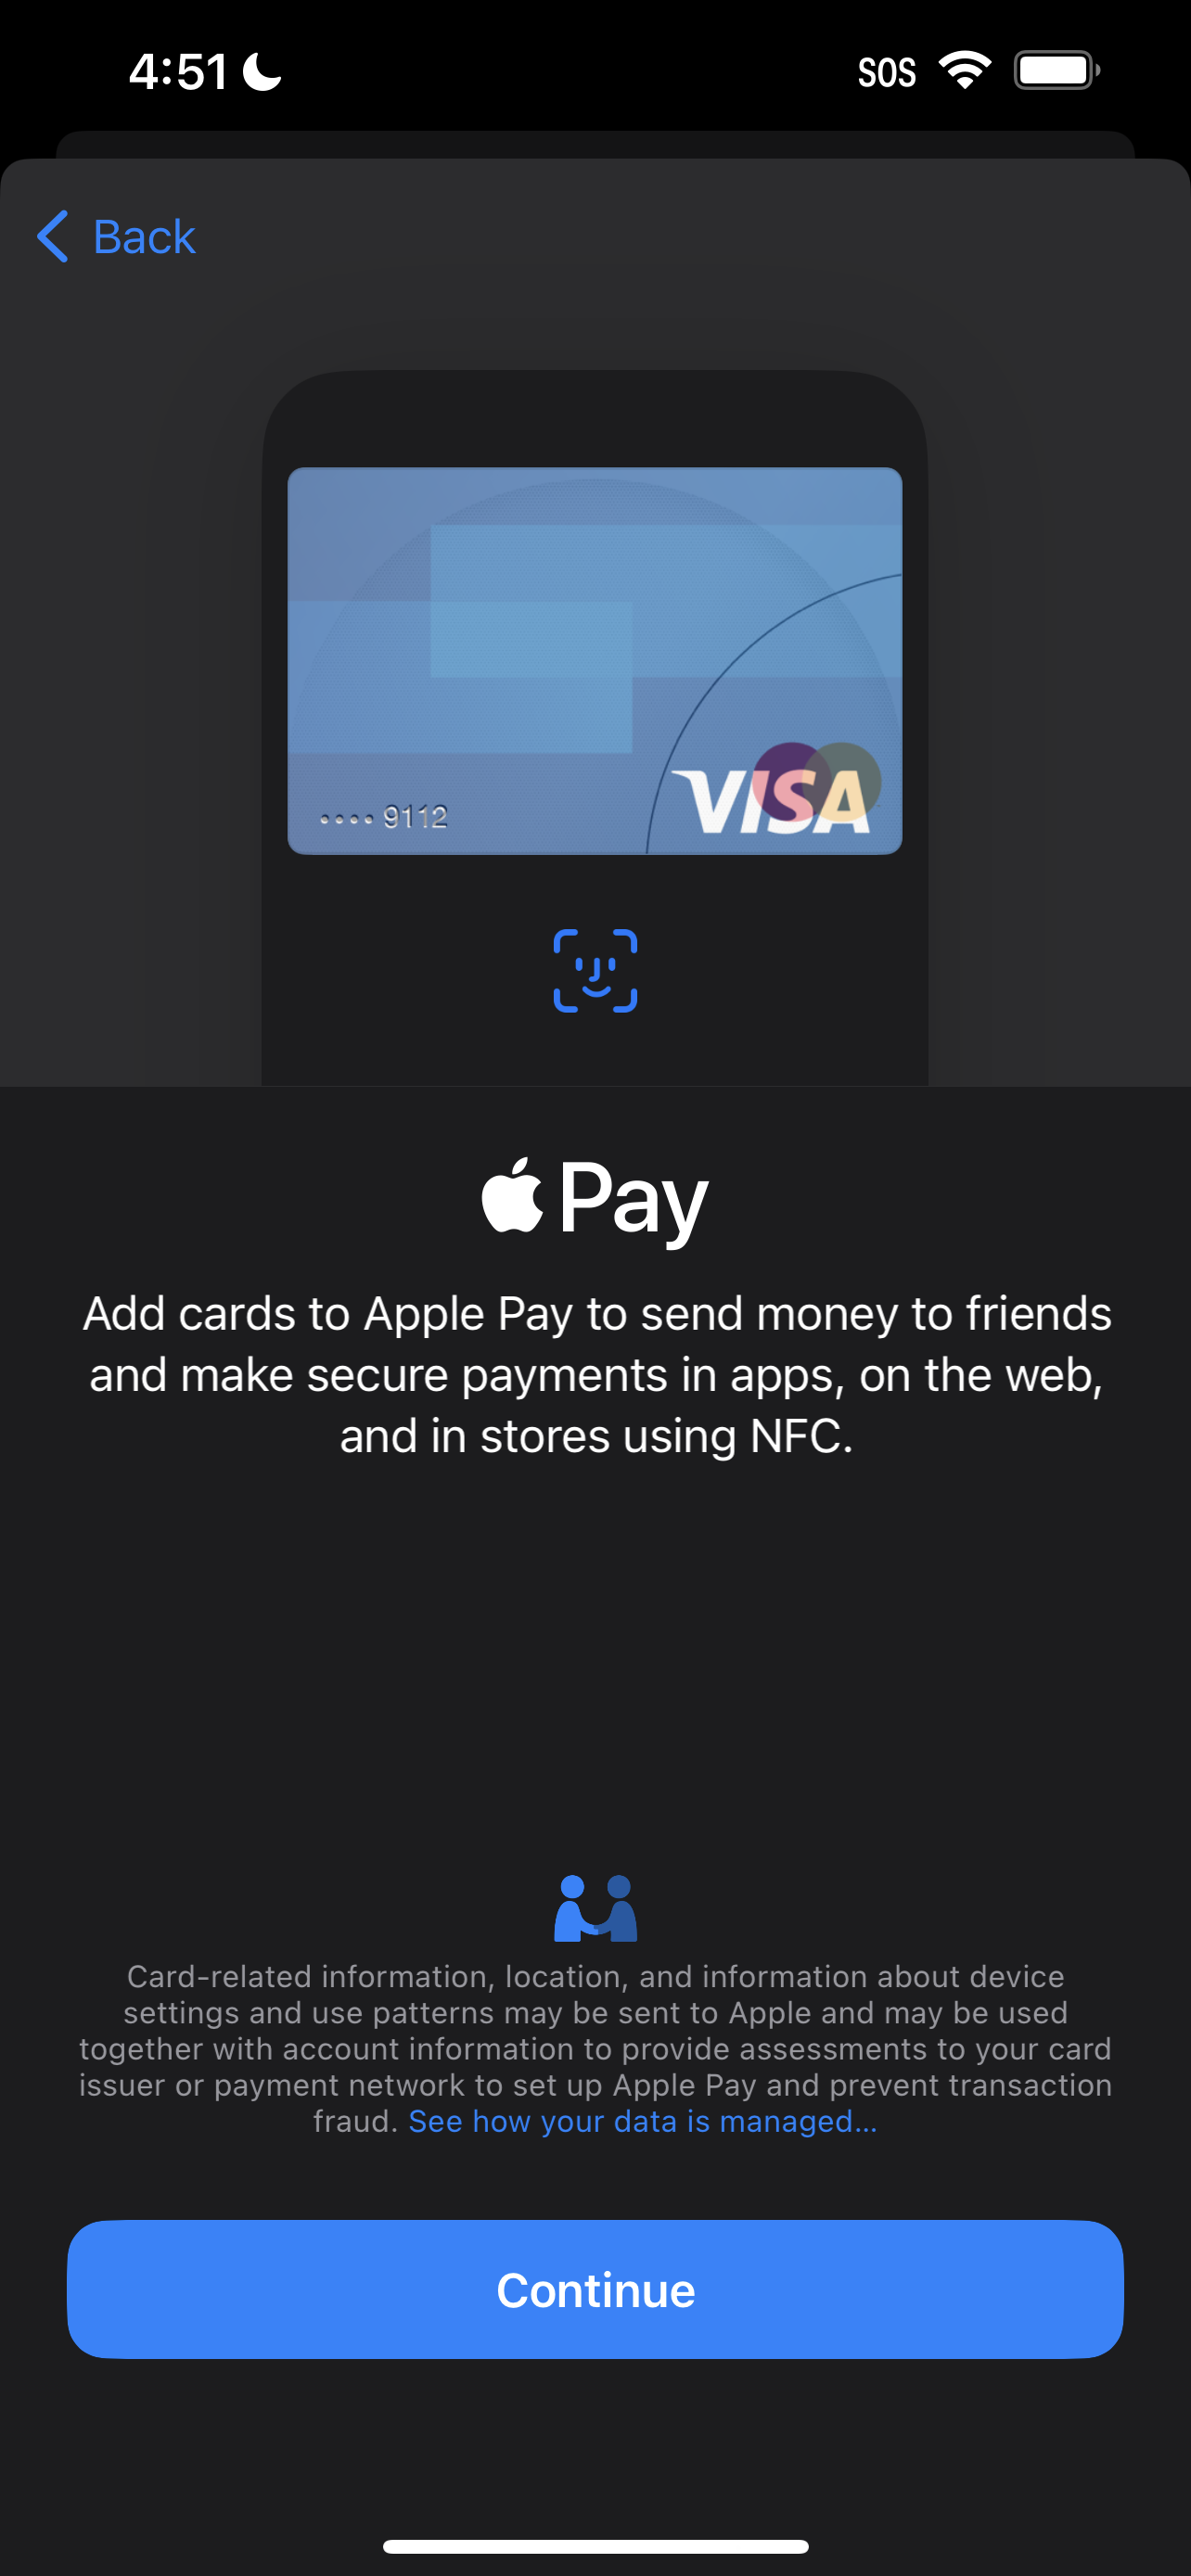
5. Tap on Continue.
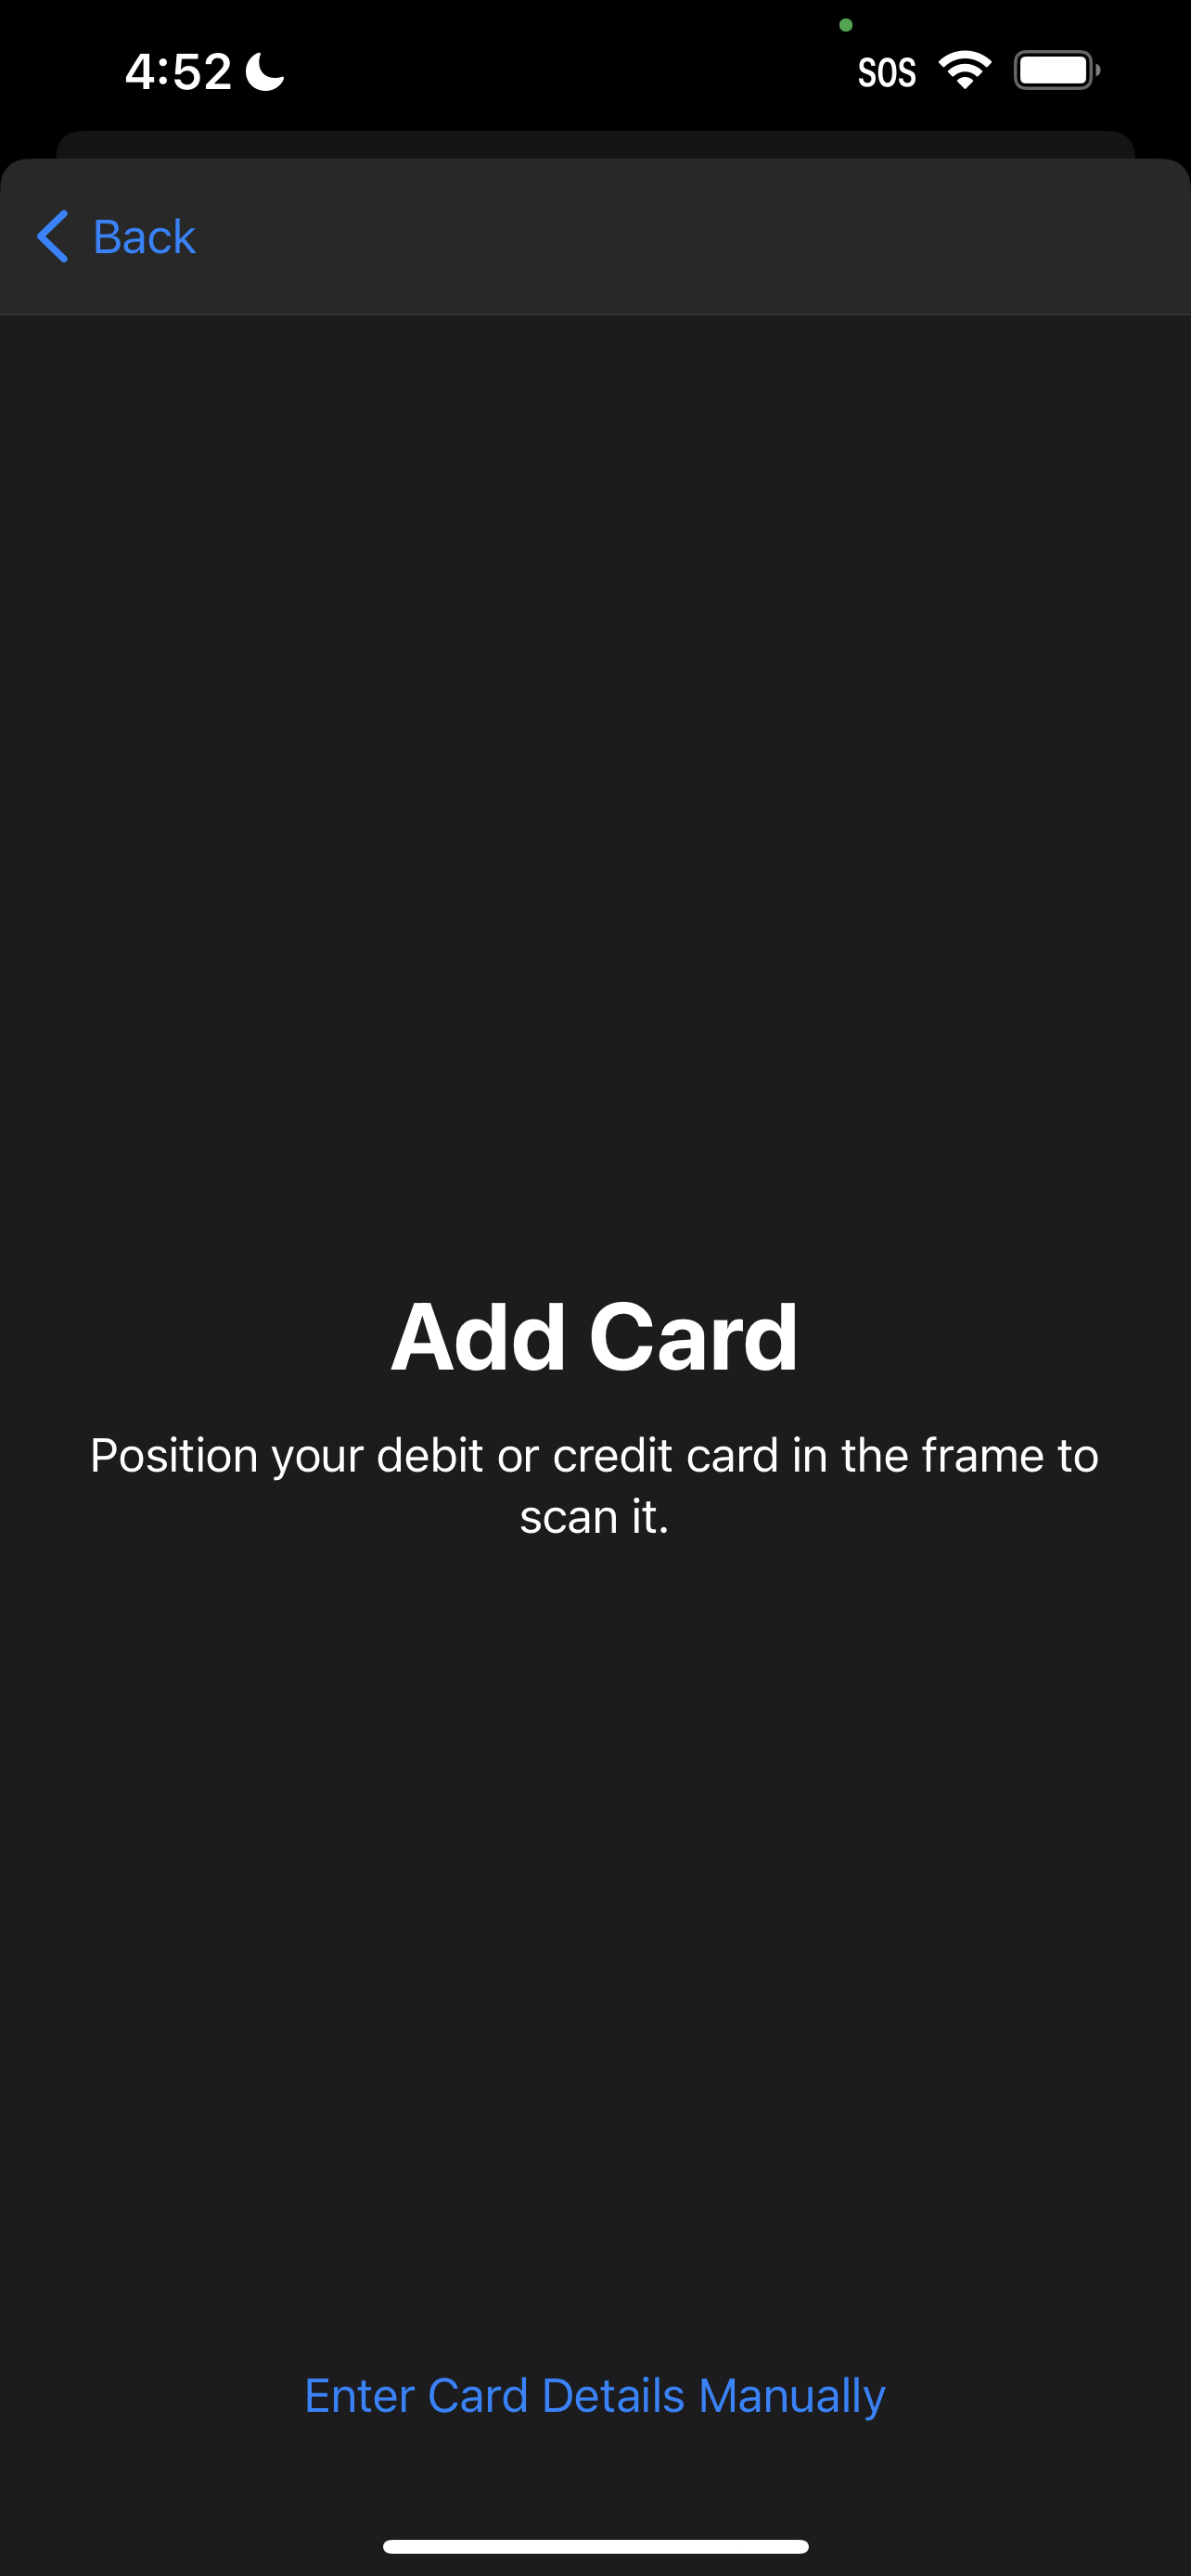
6. A viewfinder will appear, allowing you to scan your debit or credit card's details. Once it's scanned, a page with your card details will show up. Tap Next.
7. Enter the expiration date and the security code.
8. Read the Terms and Conditions and tap Agree. Now, you're all set and ready to use Apple Pay.
How to use Apple Pay
Now that you're all set up, you may be wondering, "How do I use Apple Pay while I'm out and about shopping?" Don't worry, we'll tell you how.
1. First thing's first, look for the Apple Pay or contactless payment symbols (see below) at participating stores.

2. When you're near a reader, double-press the side button and authenticate with Face ID, Touch ID, or a passcode (depending on your personal settings and device).
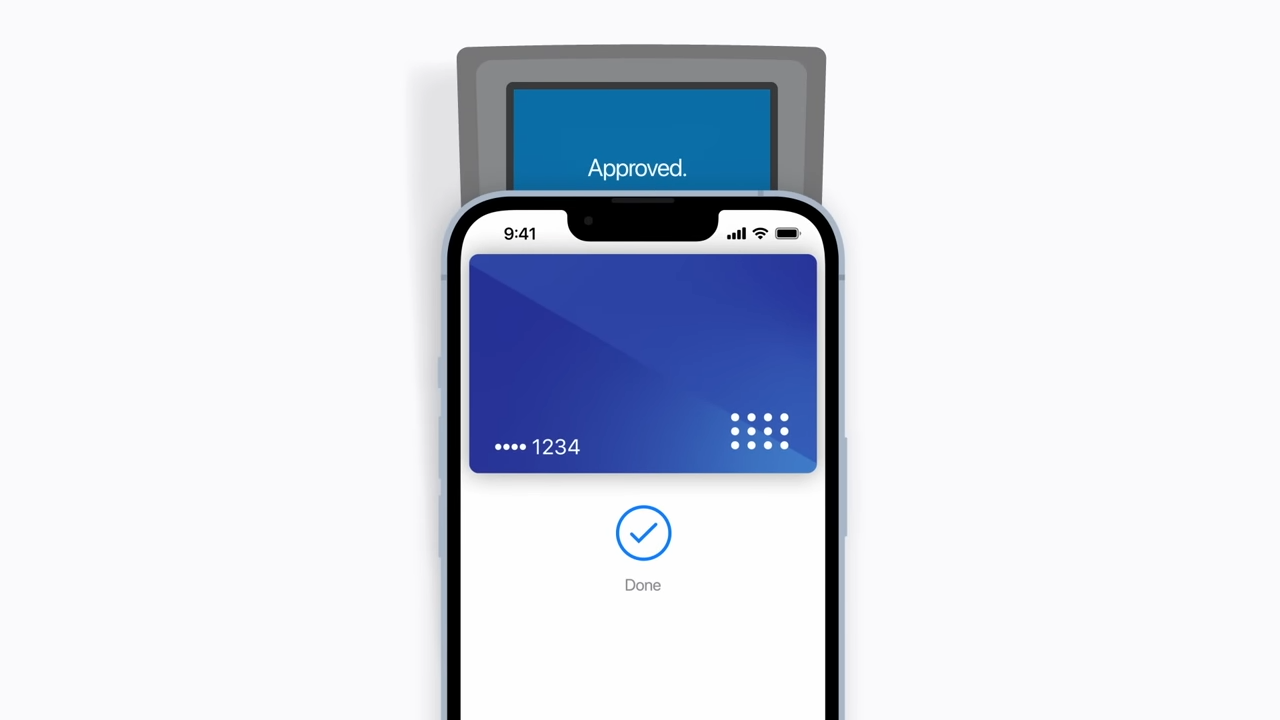
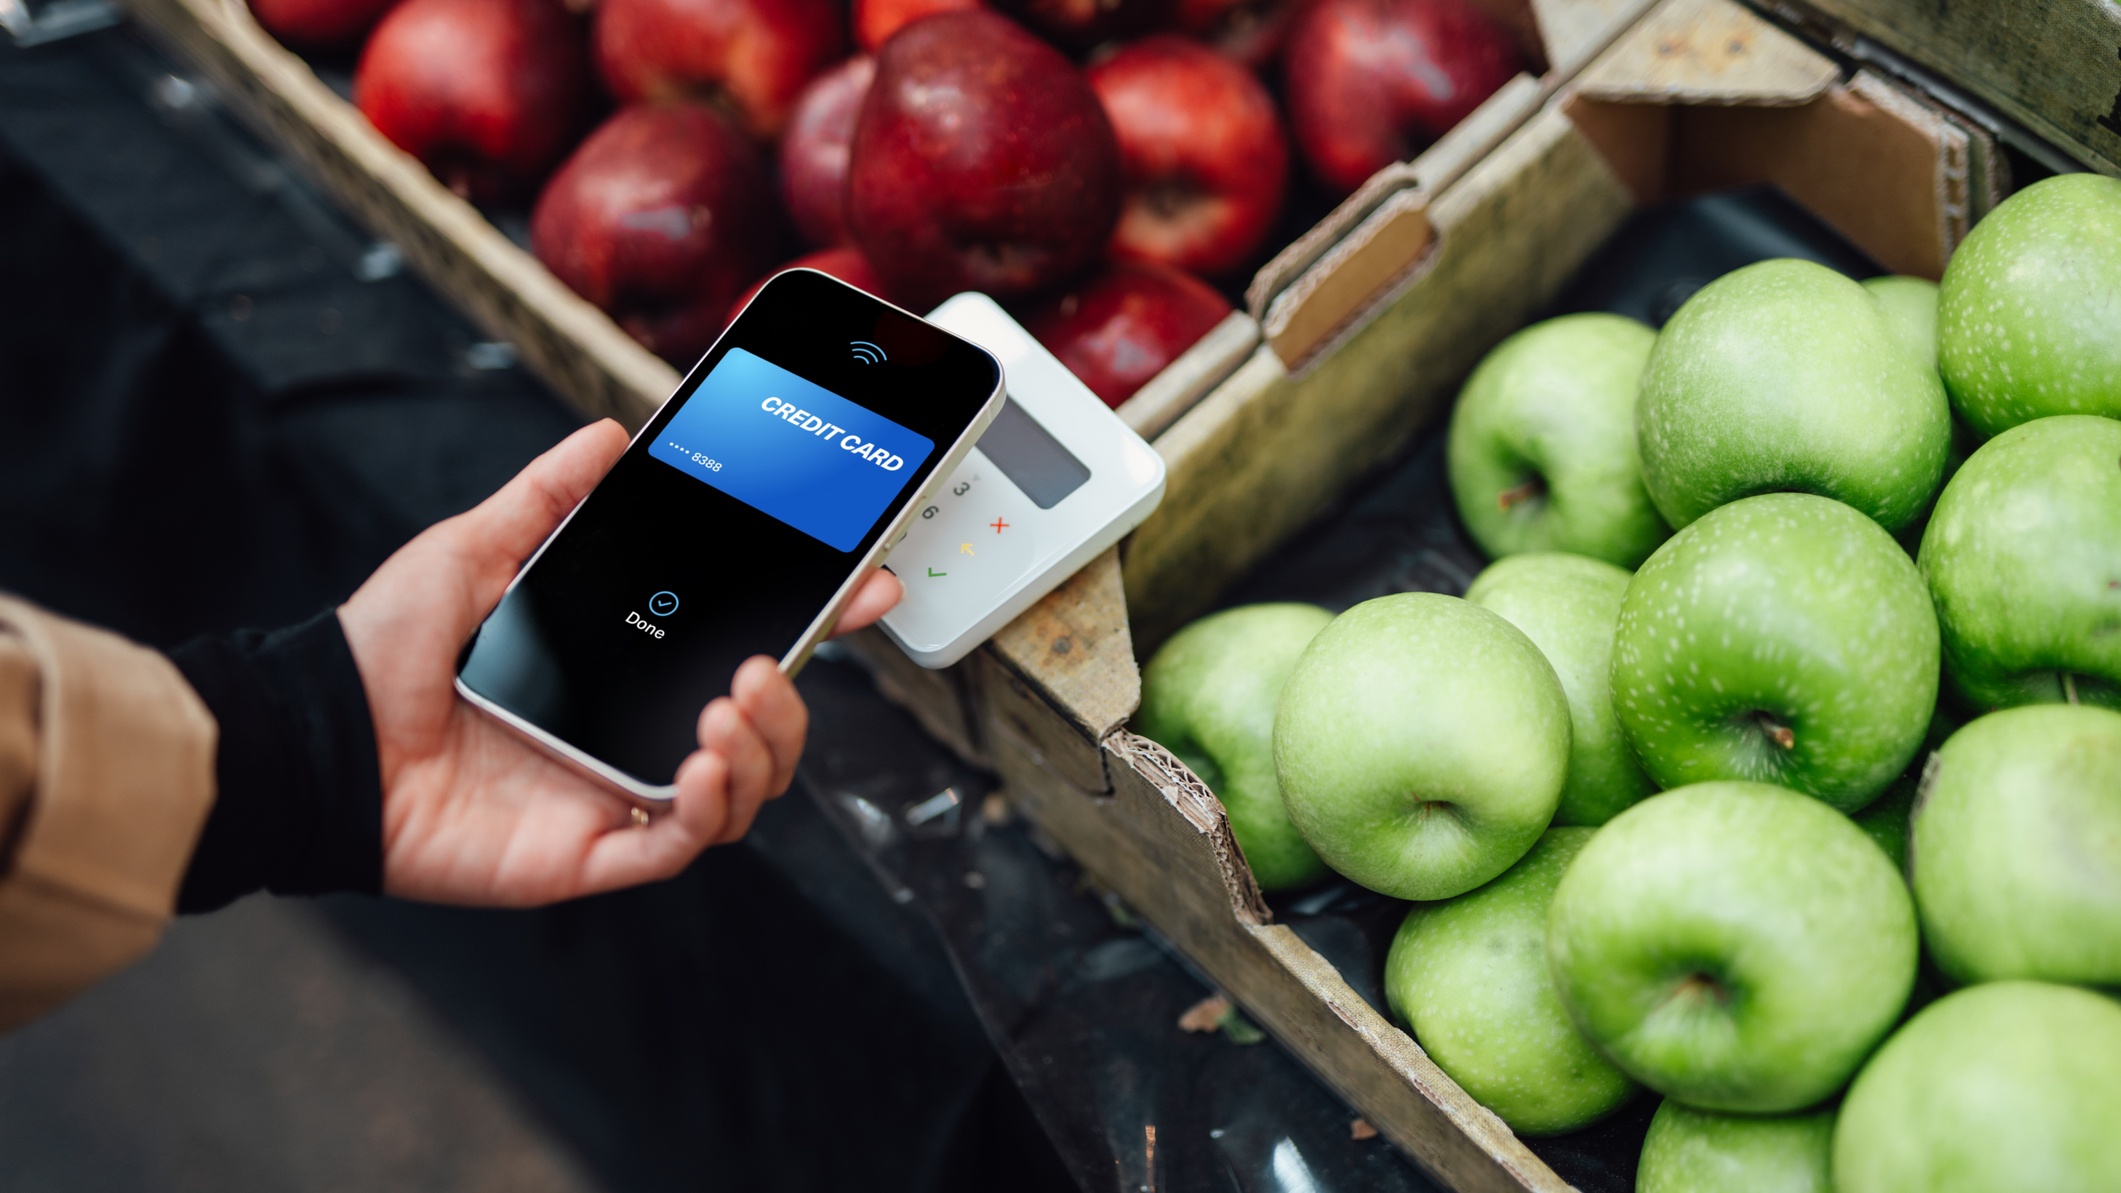
3. Hold the top of your iPhone near the reader until the checkmark appears. And that's it! You're ready to go.
Kimberly Gedeon, holding a Master's degree in International Journalism, launched her career as a journalist for MadameNoire's business beat in 2013. She loved translating stuffy stories about the economy, personal finance and investing into digestible, easy-to-understand, entertaining stories for young women of color. During her time on the business beat, she discovered her passion for tech as she dove into articles about tech entrepreneurship, the Consumer Electronics Show (CES) and the latest tablets. After eight years of freelancing, dabbling in a myriad of beats, she's finally found a home at Laptop Mag that accepts her as the crypto-addicted, virtual reality-loving, investing-focused, tech-fascinated nerd she is. Woot!

