How to Set Up Auto Forwarding in Outlook 2013
Sign up to receive The Snapshot, a free special dispatch from Laptop Mag, in your inbox.
You are now subscribed
Your newsletter sign-up was successful
You have four, maybe five, email addresses. Keeping up with all of them can be exhausting; constantly opening separate windows and programs to monitor all your different inboxes. Wouldn't it be nice to get all the most important mail forwarded to one inbox that you look at all the time? With the right know-how you can.
Here's an easy-to-follow guide to help you set up auto forwarding on Outlook 2013 so you can get your important messages sent to your desired inbox.
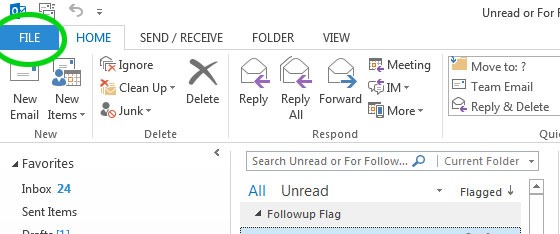
1. Click File on the top left of Outlook's main page. This brings up Outlook's settings panel.
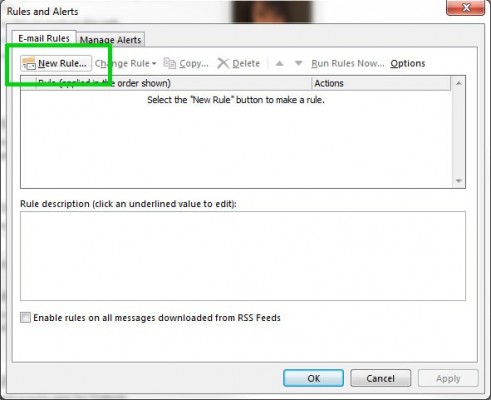
2. Click "Manage Rules & Alerts" in the Account Information panel to bring up the Rules and Alerts window.
3. Click New Rule at the top left corner of the Rules and Alerts window. This brings up a Rules Wizard window.
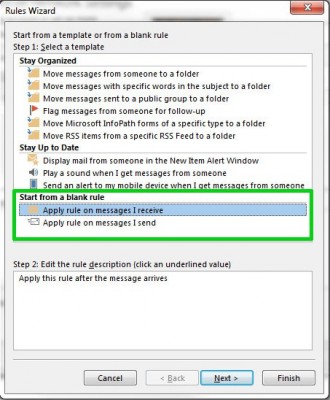
4. Select "Apply rule on messages I receive" under the Start From A Blank Rule section. Click Next.
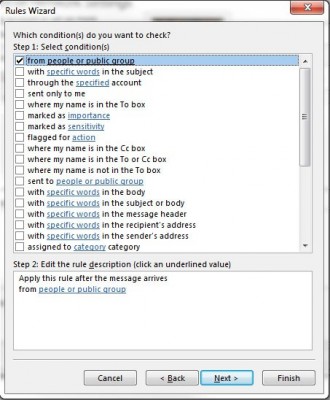
5. Select your desired conditions. If you want to forward all emails from a person or group of people, check the box next to "From People Or Public Group". If you want to make sure you get important messages, check the boxes next to "Marked As Importance" and "Flagged For Action".
Sign up to receive The Snapshot, a free special dispatch from Laptop Mag, in your inbox.
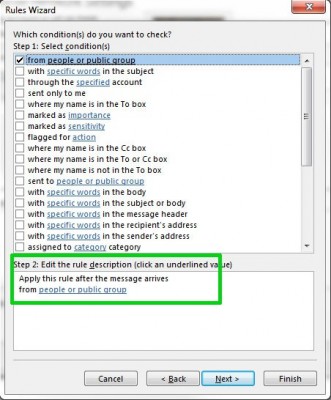
As you select conditions, they will start appearing in the window below with links to conditions that need further definition.
6. Click on underlined links to specify rule descriptions.
If you selected "From People Or Public Group", the last four words will be underlined. Click any of the underlined words to edit the condition.
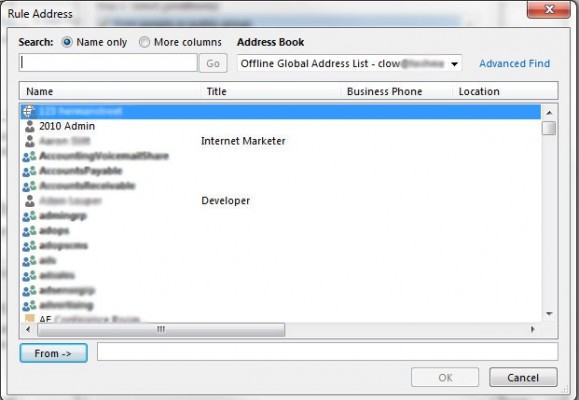
7. Enter value for condition. In this example, we want to forward all mail that comes from the hypothetical group "laptop". If the address is already stored in your address book, you can search for it. Otherwise, type the email address(es) into the From field. Click Ok.
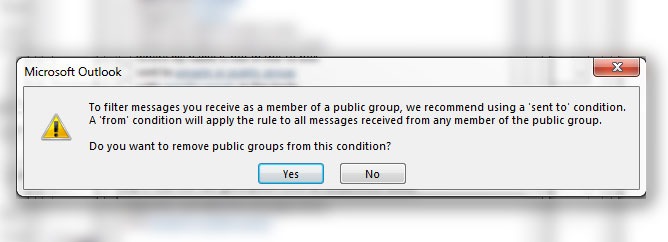
If you've selected an email address that is a group, Outlook will advise that you choose to receive emails that are sent to that group rather than emails sent from it to avoid getting too many unnecessary messages. Click No if you want to make sure that emails sent from anyone in that group will get forwarded.
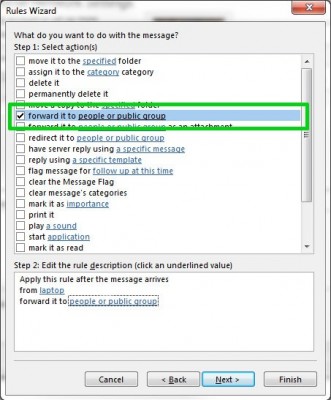
8. Select "Forward It To People Or Public Group" for messages that meet the condition.
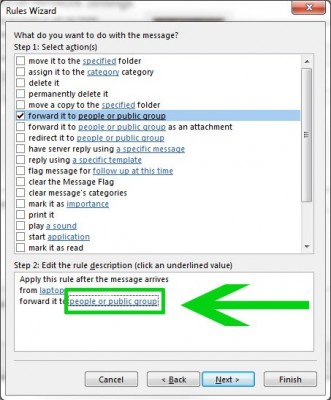
9. Click the underlined words in the descriptions to specify where the messages get forwarded.
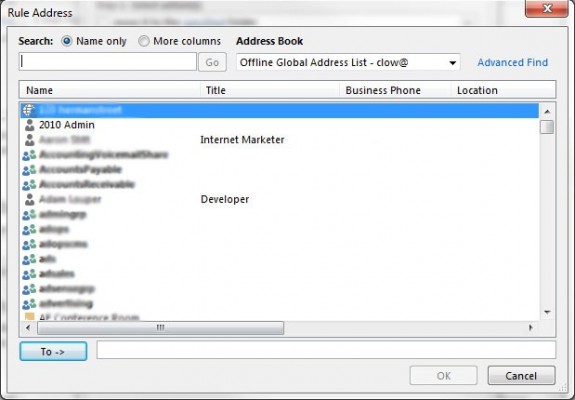
10. Enter the email address where you want your messages forwarded. Click Ok.
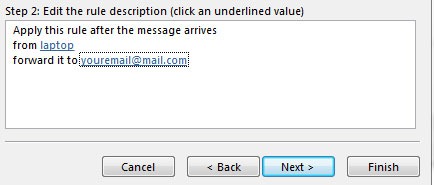
Your email address should show up in the Rules Wizard window. Click Next.
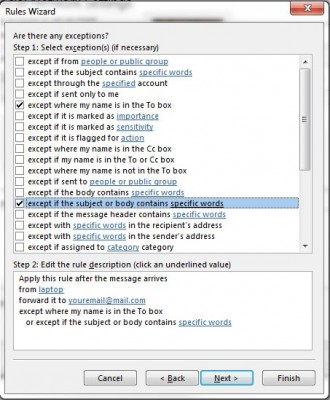
11. Create exceptions to filter out messages that are not important. For instance if an email has the word "Promotion" or "Advertisement" in the Subject line, you may choose to not forward it. You may choose to skip this step. Hit Next when you're done.
12. Name your rule and check to see that your settings are correct. You can choose to apply the rule to existing messages in your inbox to forward all existing email from your chosen group to your email address. If everything is in order, click Finish.
13. Click Ok in the Rules and Settings window to apply your new rule.
You're done! The messages you've selected will be sent to the email address you designated. Since the messages are all forwarded, the sender listed will always be your email address tied to that inbox rather than directly from the original sender.
Outlook 2013 Tips

