How to Hide a Recovery Partition (or Any Disk) in Windows 10
Sign up to receive The Snapshot, a free special dispatch from Laptop Mag, in your inbox.
You are now subscribed
Your newsletter sign-up was successful
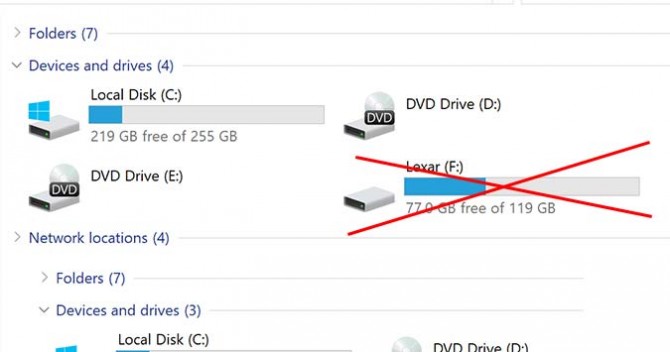
Any disk connected to your PC (whether removeable or integrated) shows up in the disk management tools, and typically Explorer and other desktop applications. Today, we’re going to hide a partition (or entire disk) for those times you’d rather keep sensitive files out of the prying eyes of casual users who may access your laptop (or desktop). It’ll still be visible in certain tools, like Disk Management, but won’t appear in Explorer or various other programs that might display it.
And if you change your mind later, you can always make it visible again.
- Here's how To Disable Taskbar on a Second Monitor in Windows 10
- This is how to Create a Guest Account in Windows 10
- See how to Take a Scrolling Screenshot in Windows 10
- Click-clack: Here's how to enable keyboard typing sounds in Windows 10
- Right click the Start menu and select Disk Management.
- Locate the partition you’d like to hide and click to select it.
- Right-click the partition (or disk) and select Change Drive Letter and Paths from the list of options.
- Click the Remove button.This won’t delete anything.
- Click Yes on the warning confirming you’d like to hide the disk or partition. If the drive is currently in use, you’ll need to restart your PC after this step.
> - To make it visible again, right-click the disk or partition in Disk Management.
- Select Change Drive Letter and Paths.
- Click the Add button.
- Click OK to assign the drive or partition a new letter.
Sign up to receive The Snapshot, a free special dispatch from Laptop Mag, in your inbox.
Bryan covers everything you need to know about Windows, social media, and the internet at large for Laptop Mag. Thanks to his extensive knowledge of operating systems and some of the most popular software out there, Bryan has written hundreds of helpful guides, including tips related to Windows 11 drivers, upgrading to a newer version of the OS, editing in Microsoft Photos, or rearranging pages in Google Docs.

