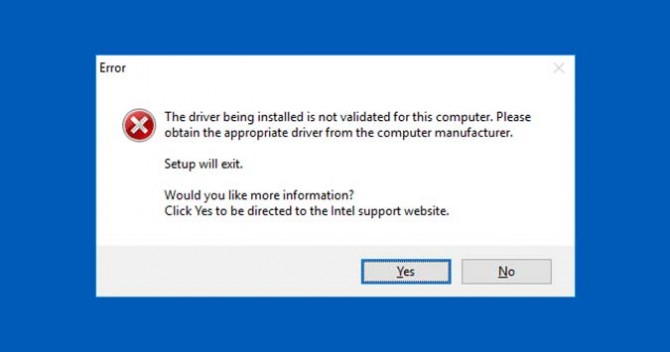
How to Fix the “driver being installed is not validated for this computer” Error on Windows 10
News
By
Brian Nadel
published
Add us as a preferred source on Google
Intel’s GPU drivers, for some reason, refuse to install on some PCs running Windows 10 (and perhaps earlier version too). The error message -- “The driver being installed is not validated for this computer” -- is a common one, and it seems to affect thousands running older Intel hardware. I ran into it myself trying to hack together a PC out of spare parts using an older Intel 520.
Luckily, there’s an easy fix that will allow you to update the pre-installed drivers without the error.
- Visit this site and download the beta zip file (win64_154012.zip) and not the .exe file.
- Right click the file and choose Extract All.
- Unzip the driver to the C:\Windows\Temp folder.
- Right click on Start and choose Device Manager.
- Choose Display adapters and then your particular model of Intel graphics card.
- Right click your display adapter (it should say Intel Graphics in some variation) and select Properties.
- Select the driver tab and then click the Update Driver button.
- Choose Browse my computer for driver software.
- At the bottom, the only option should be Let me pick from a list of available drivers on my computer. Click that.
- Click Have Disk at the bottom.
- Choose Browse.
- Find the folder where you extracted the driver and then double click the subfolder inside of it. It’ll be igdlh64.inf on a 64-bit version of windows or igdlh32.info on a 32-bit version. Intel could decide to change the name of this file at any point, but the important part is ensuring you’re downloading the correct (either 32 or 64-bit) version.
- Click OK and you’ll see the driver appear in the File name section as the only option.
- Click Next to begin the install.
How to Use Microsoft Excel Like a Pro How to Use Microsoft Word Like a Pro How to Use Windows 10
Get The Snapshot, our free newsletter on the future of computing
Sign up to receive The Snapshot, a free special dispatch from Laptop Mag, in your inbox.
MORE FROM LAPTOP MAG...

