Early Verdict
Frameworks’ Laptop DIY Edition could be the future as it brings flexibility, repairability, and upgradable performance to consumers.
Pros
- +
TBD
Cons
- -
TBD
Why you can trust Laptop Mag
Tech startup Framework recently announced its Framework Laptop DIY Edition and we went hands-on with the device. The clean and simply styled Framework laptop is surprisingly easy to assemble and fun to customize. My son, Matthew, and I received the unit and within minutes were ready to upload Windows 10 to see how it performs.
Can a DIY laptop replace or stand toe-to-toe with a traditional system from one of the tech giants we normally purchase from? We got hands-on with the Framework Laptop DIY edition to find out.
Framework laptop DIY Edition pricing and configurations
There are three configurations of the Framework Laptop DIY available. I put together the Professional system, which starts at $1,999 and comes with an 11th Gen 4.8-GHz Intel Core i7-1185G7 processor with 32GB of RAM, a 512GB PCIe SSD, an integrated Iris Xe GPU and a 13.5-inch, 2256 x 1504-pixel QHD display. It also has a Wi-Fi 6 card with vPro and Windows 10 Pro. Our unit also came with several interchangeable module ports. Included with our unit were two USB-C ports, a USB-A port, HDMI, a DisplayPort and a micro SD slot, bringing the cost of our unit to $2,038.
The base model costs $999 and has a 2.4-GHz Intel Core i5-1135G7 CPU, 8GB of RAM, a 256GB SSD, an Iris Xe GPU, Wi-fi 6 card and Windows 10 Home.
The $1,399 Performance model bumps the configuration up to 2.8-GHz Intel Core i7-1165G7 CPU, 16GB of RAM, a 512GB SSD, an Iris Xe GPU, a Wi-Fi 6 card and Windows 10 Home.
But wait, there’s more! Framework also offers a DIY version that starts at $799 and features an Intel Core i5-1135G7 CPU. You can configure the RAM (up to 64GB), storage (up to 4TB), Wi-Fi (Intel Wi-Fi 6E AX210 vPro or non-vPro) and operation system (Windows 10 Pro or Home).
Framework laptop DIY Edition design
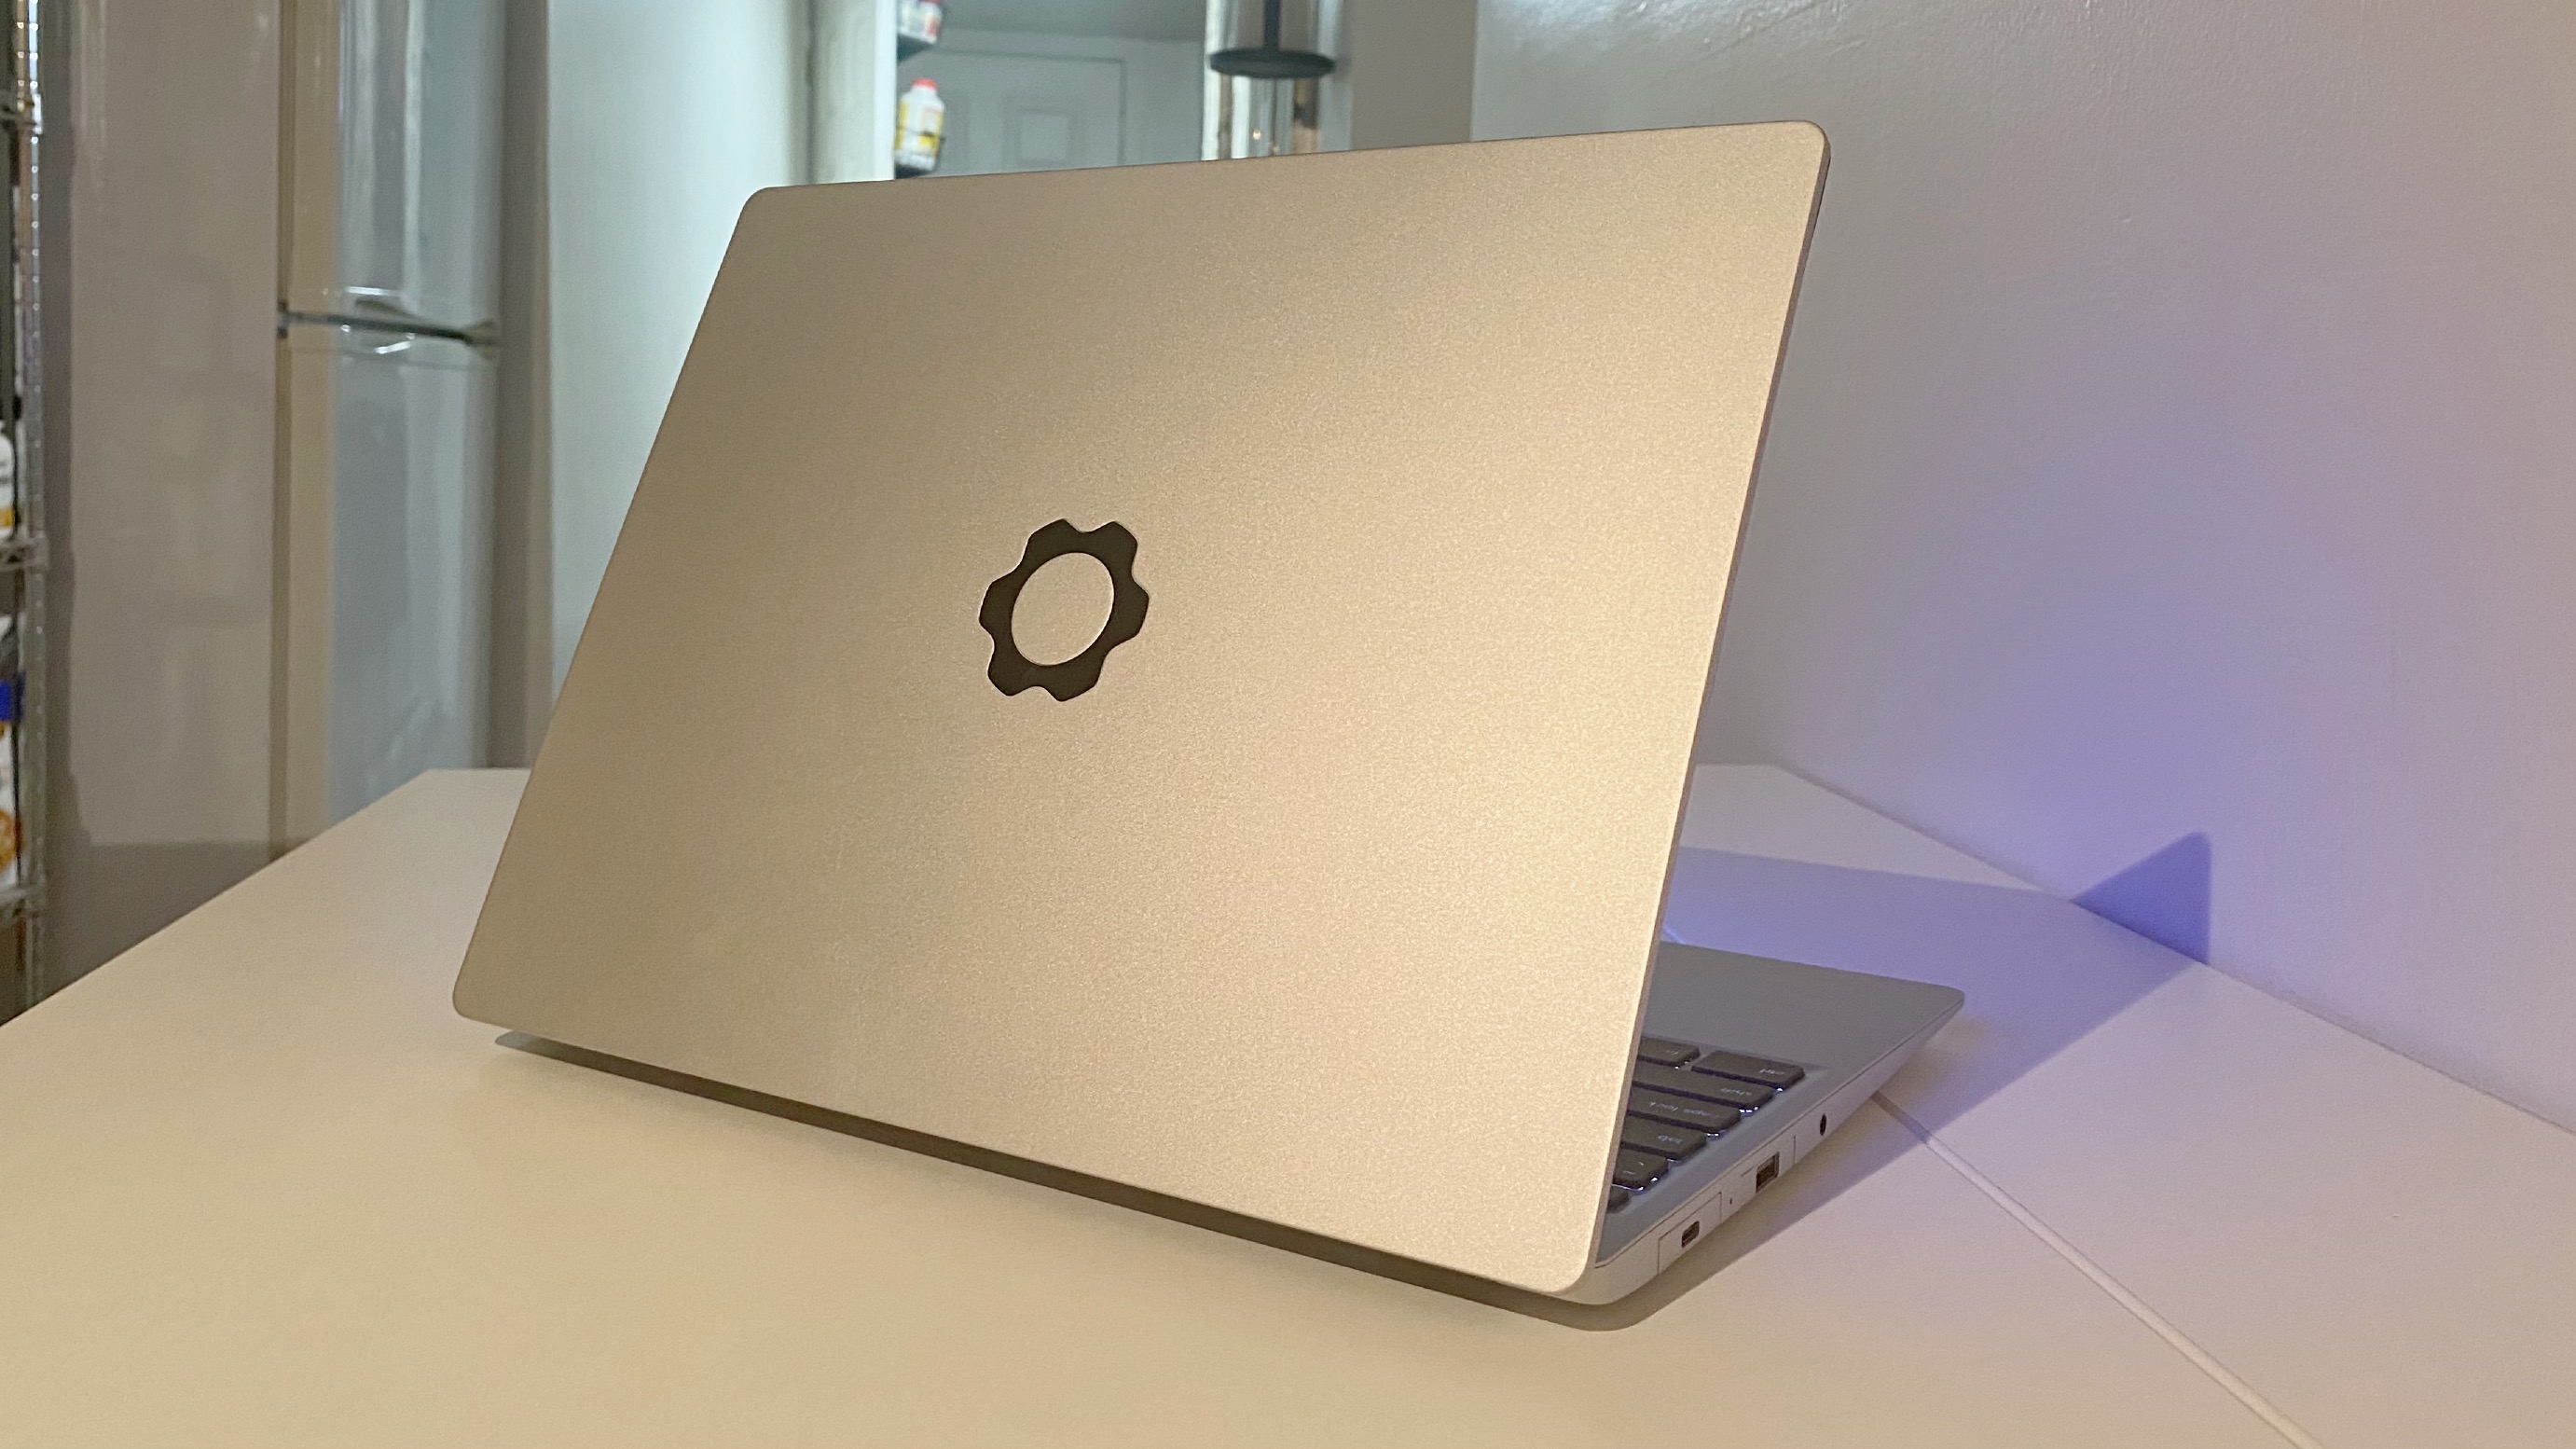
The Framework’s chassis is composed of aluminum, 50% of which is recycled whereas the plastics in the bezel, keys, and hinge cover are made of 80% recycled plastics. That said, I like the clean, simple styling of the Framework laptop with its black chromed-out gear logo on the back of the lid. The silver-colored all-metal deck is spacious for a small laptop, even for someone with large hands like myself. It was comfortable to type on and overall the Framework may remind you of the Dell XPS 13 or the 13-inch MacBook Pro.
Sign up to receive The Snapshot, a free special dispatch from Laptop Mag, in your inbox.
Speaking of the XPS 13 and MacBook Pro, the 3-pound, 11.6 x 9 x 0.6-inch Framework is on a par with each system with the former coming in at 2.8 pounds, 11.6 x 7.8 x 0.6 inches, and the latter at 3 pounds, 12 x 8.4 x 0.6 inches.
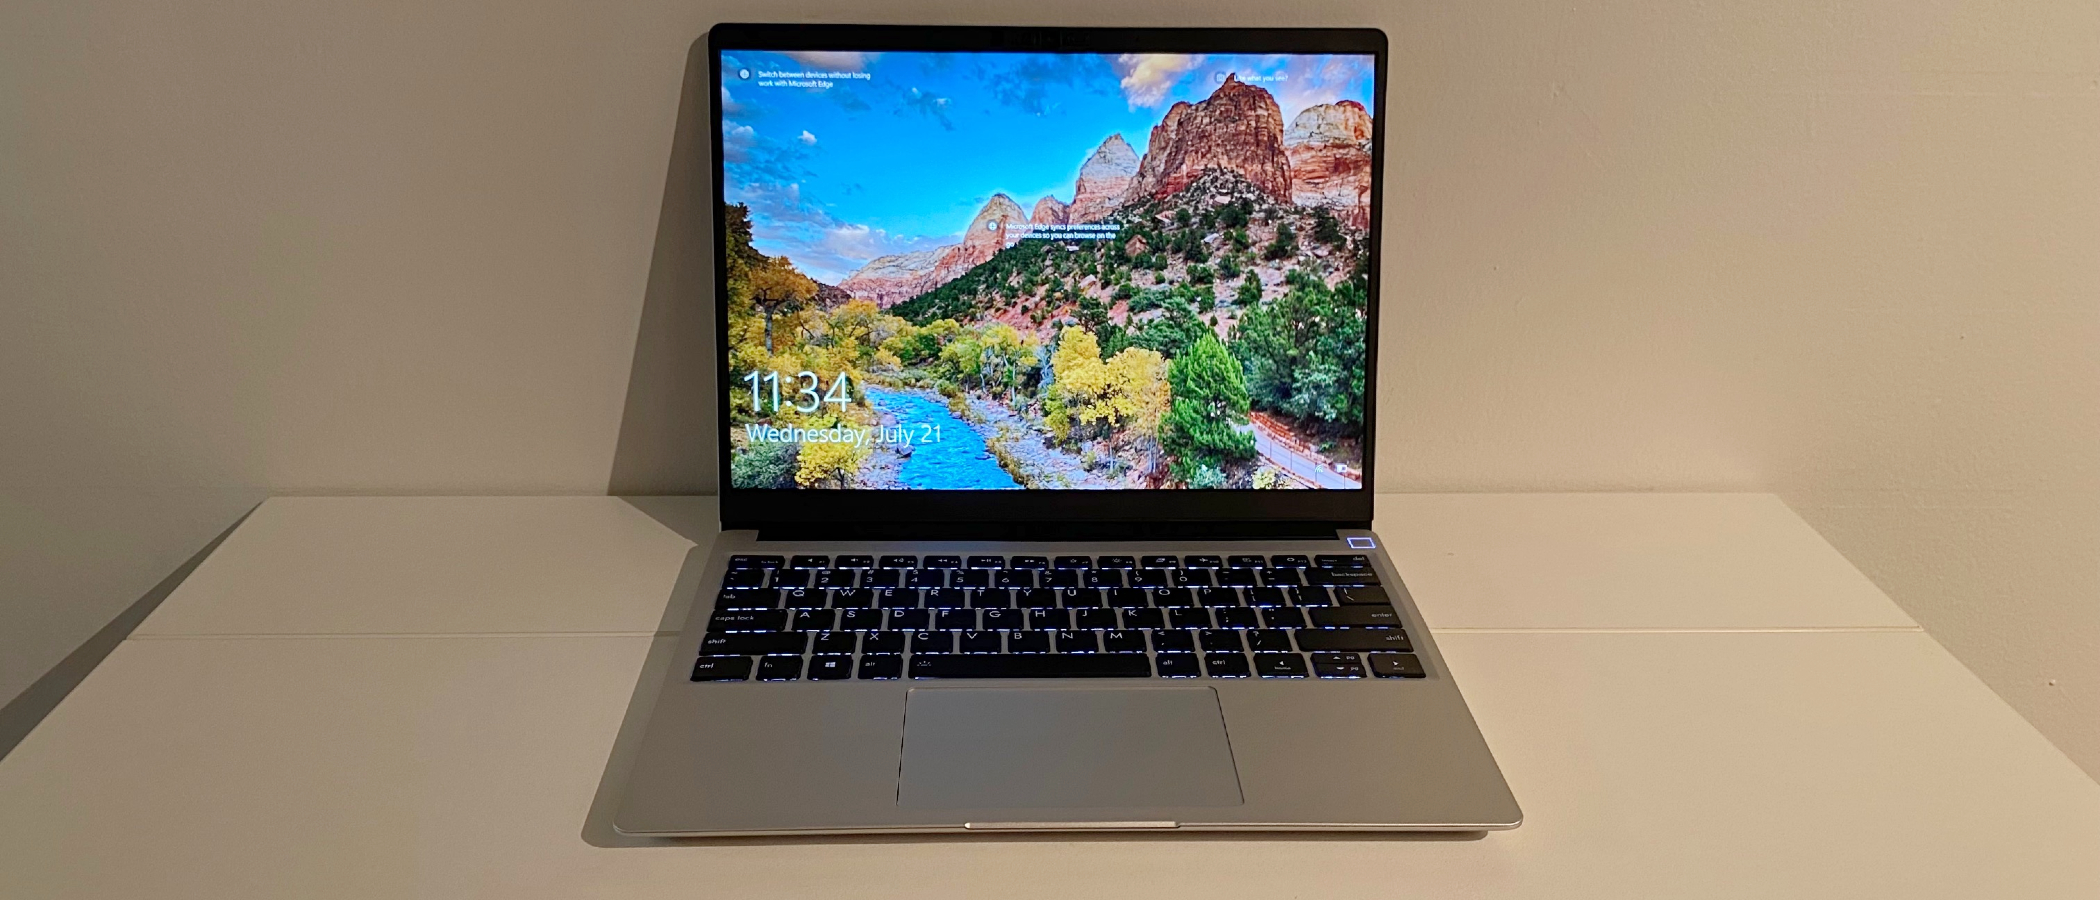
Opening the laptop, you find the display housed in a narrow black plastic bezel with a 16:10 aspect ratio. The backlit Chiclet-style keyboard is nice and clicky with the touchpad center just below it.
Framework laptop DIY Edition setup
The best part of the Framework laptop experience for me was getting the chance to work on a DIY project with my son. When you open the box you will find a box containing the chassis on the center-left, on the right we find a smaller box that contains the power adapter. Underneath the chassis box is the box that contains the RAM, the SSD, the port modules and the Wi-Fi 6 card.
Once we had everything spread out on the table we unscrewed the five screws on the bottom. Once done the deck easily popped up and the inside of the unit was facing us. On the right, we easily spotted where to pop in the two 16GB memory cards and the Wi-Fi card slot. On the left-center of the unit, we found the SSD card slot and put it in place, and screwed it down.
With that all done, we popped the keyboard deck back into place and screwed the bottom screws back in tight. We turned it over, gave it a once over, and plugged it in, not a spark was seen so we popped in the supplied USB-C dongle with Windows 10 on it and turned it on. In total, the assembly took less than ten minutes and installing windows took about 10 to 12 minutes and we were up and running. It really was very simple and pretty much like playing with a set of Legos.
Framework laptop DIY Edition security
The Framework laptop takes security seriously as it comes with a fingerprint reader located within the power button to keep your files and data secure. The other security measures are the physical camera shutter and mute button to keep unwanted eyes and ears at bay.,
Lastly the Wi-Fi 6 card comes standard with Intel vPro technology which adds a higher level of encryption to keep you protected while using Wi-Fi networks at home, in the office, or at your local coffee shop.
Framework laptop DIY Edition ports
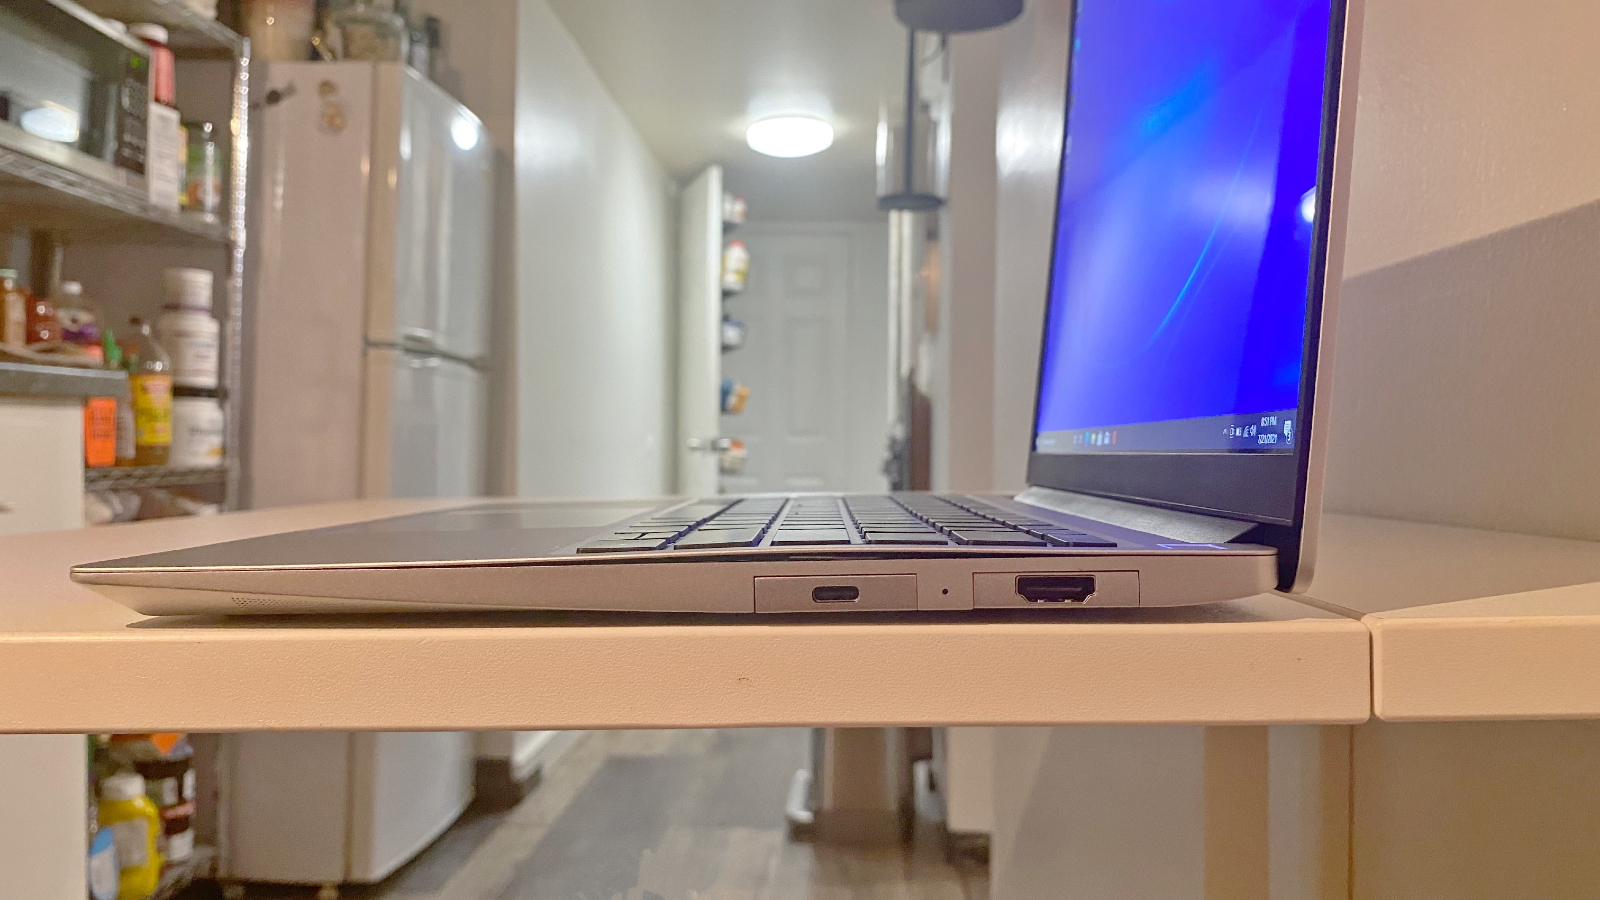
The Framework DIY laptop comes with several port modules, giving you a great deal of flexibility. On the right, we went with one USB-C port and an HDMI port.
On the left, we chose a USB-A port and a second USB-C port, with the built-in 3.5 combo audio port being on that side as well.
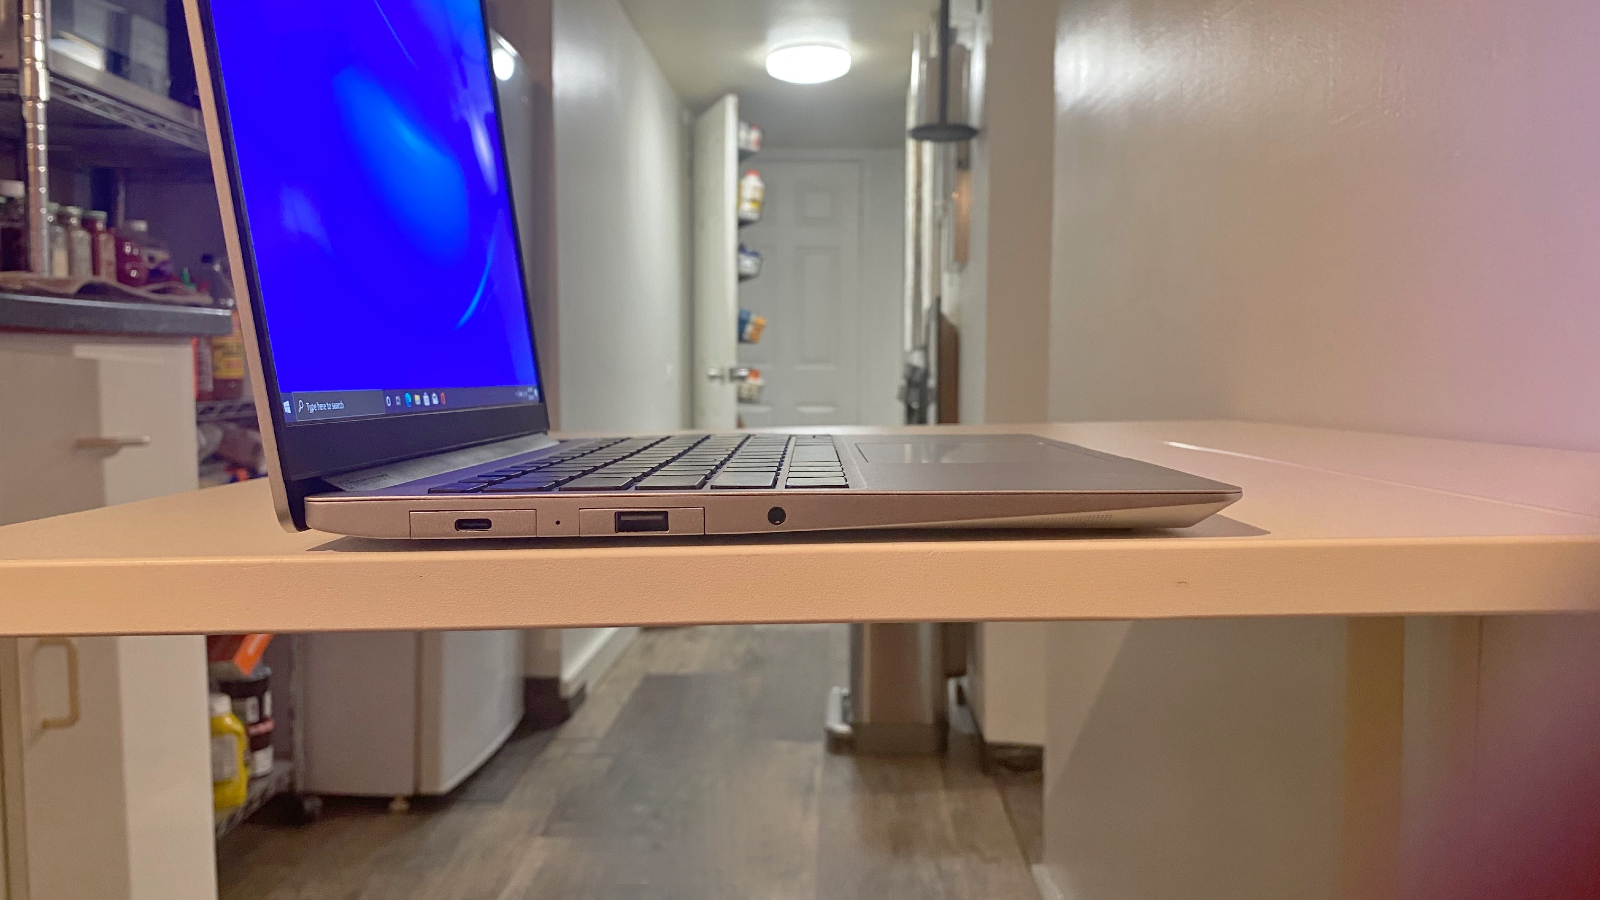
The modules smoothly slip into their housings with a firm click. To change them, just depress the release button and pull them out. It takes a moment to get used to the mechanism and some physical effort is required because the pieces are held firmly in place.
I like the idea of having interchangeable port options so you can avoid not having a USB-C port or a Mini DisplayPort. The only thing I would suggest is to really think about what ports you need or may need in the future. The other cool thing is, if a new port is created, Framework will make a module for it that you can order later on, which futureproofs your system. You always have four port options, but one USB-C port is needed to charge the unit.
Framework laptop DIY Edition display
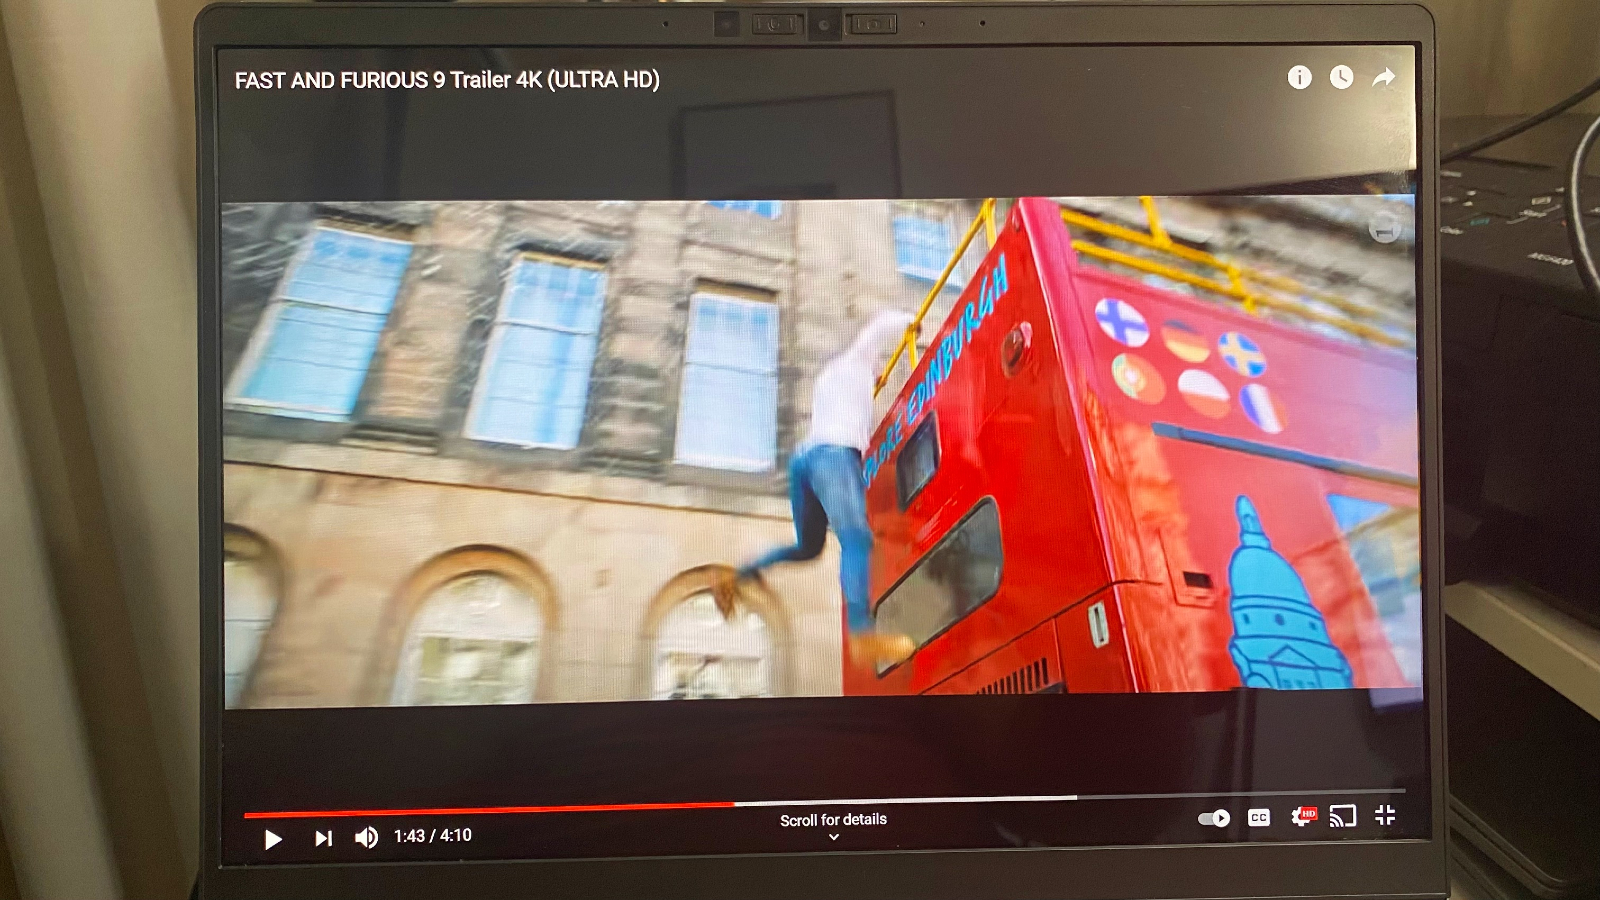
The Framework laptop DIY edition arrives with a 13.5-inch, 2256 x 1504 (QHD) display that is bright, colorful, and crisp. Our lab team has yet to test it out, so we do not have benchmarks yet. However, I watched the Fast and Furious 9 trailer and the video looked fantastic. The color saturation on the unit appears accurate, richly reproducing excellent skin tones. When Dom and his brother are fighting and Dom lands on a red double-decker bus, the ruddy vehicle pops off the screen.
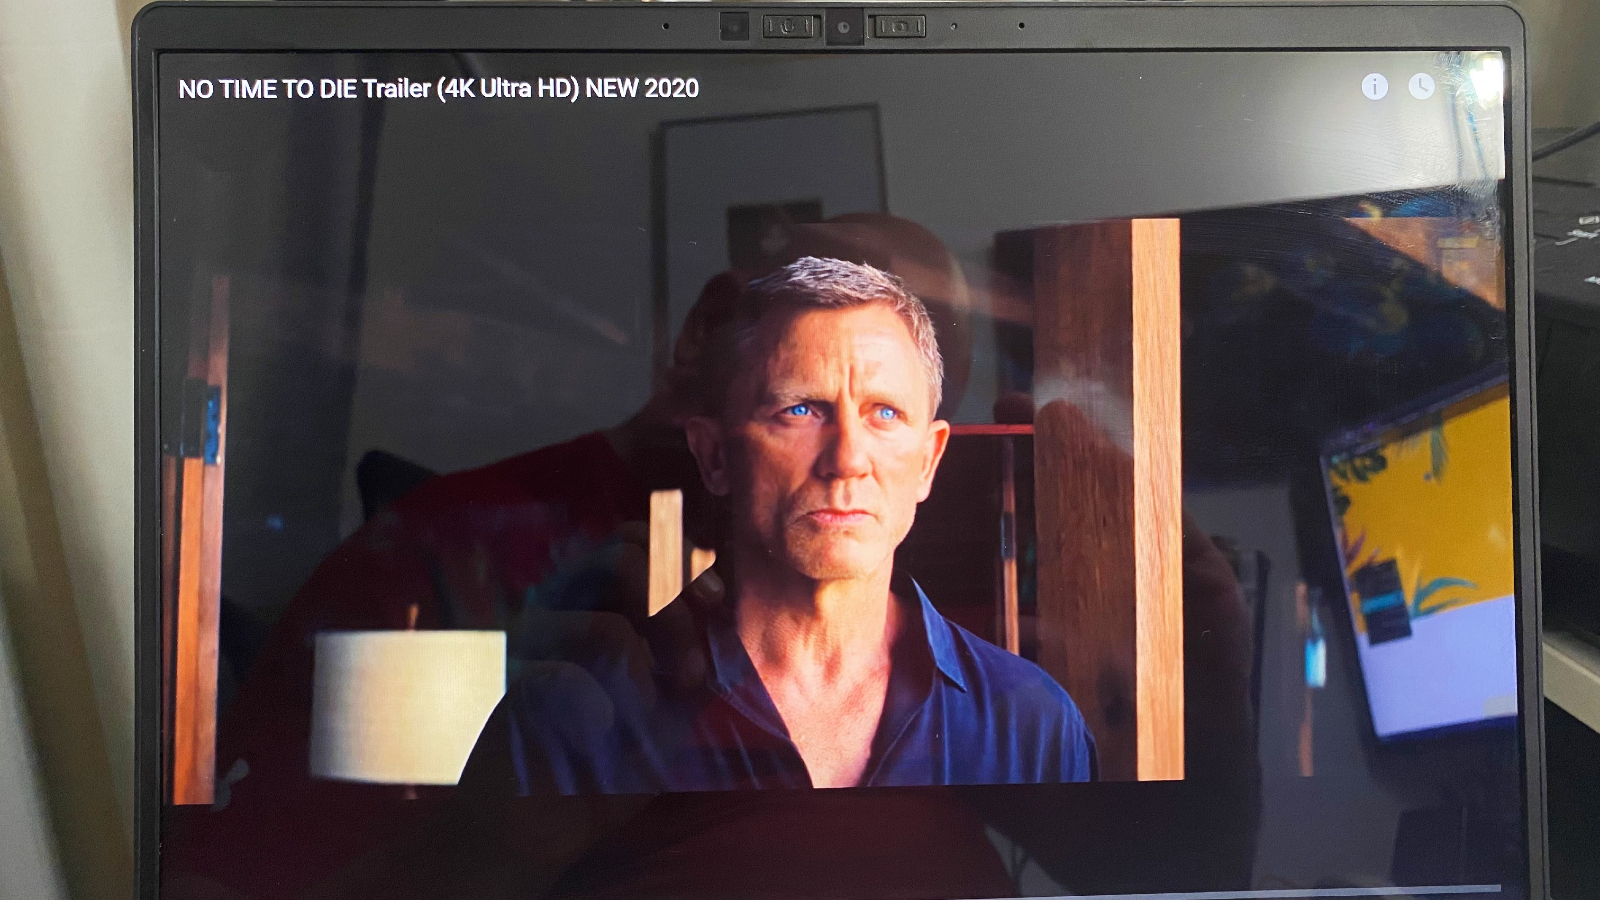
When I watched the James Bond No Time To Die trailer, Daniel Craig’s stunning blue eyes were so mesmerizing it made me want to pull out my old blue-tinted contacts and speak in my awful British accent to try to woo my girlfriend.
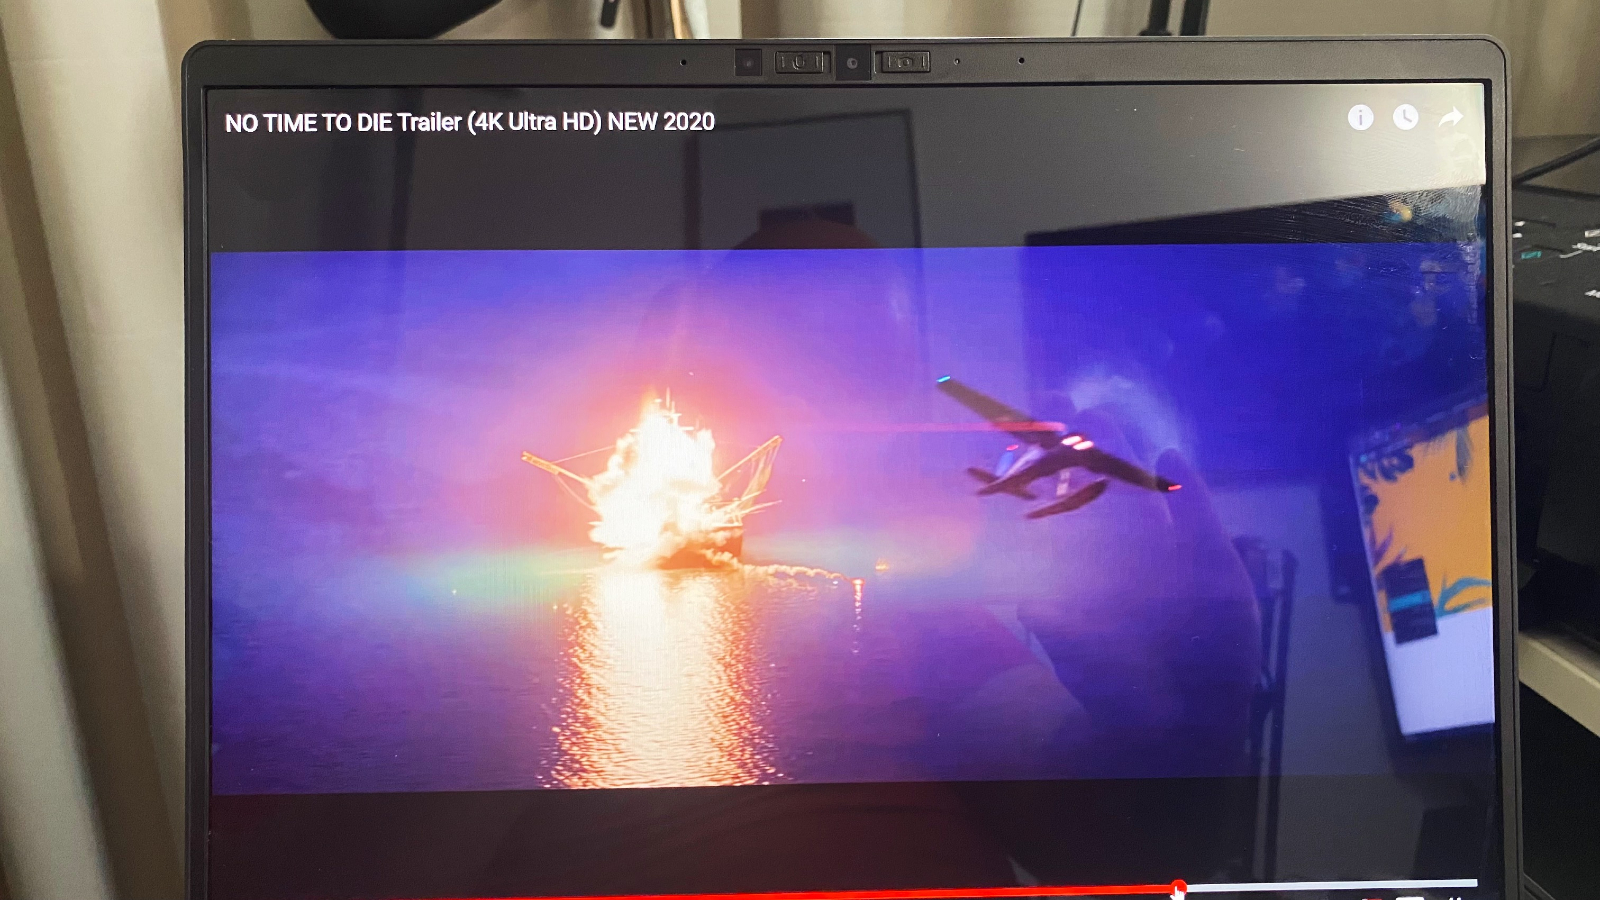
The orange, black, and grey exploding boat scene looked lusciously explosive and colorful. I really like this display and can’t wait for the lab results — Framework picked a good one for sure.
Framework laptop DIY Edition audio
When I read the description of the dual two-watt speakers, I didn’t know what to expect. Usually, dual speakers are weak and tend to be a disappointment, but not in this case. The two speakers, which are located under the front of the deck, pumped out clear, loud audio that filled my office space, and most importantly, they have some thump. The bass was clear, clean and no matter how loud we raised the volume, there was no distortion.
While listening to Busta Rhymes’ “Put Your Hands Where My Eyes Can See, I could pick up on the initial scratchiness of the track. Then the pumping baseline came through with nice depth, with Busta’s rough timbre reproduced with the respect it deserves. Because I was shooting a video, I didn’t get to listen to another song but I was already impressed.
Framework laptop DIY Edition keyboard and touchpad
This Framework laptop comes with a backlit Chiclet-style keyboard. I took the 10fastfingers test and my monster mitts scored 85 words per minute with a 87% accuracy, which is not too shabby. The unit is a small laptop, which made me expect the keys would be mushed together but that’s not the case here. Instead, they are nicely spaced, allowing for a nice typing flow with enough distance between keys.
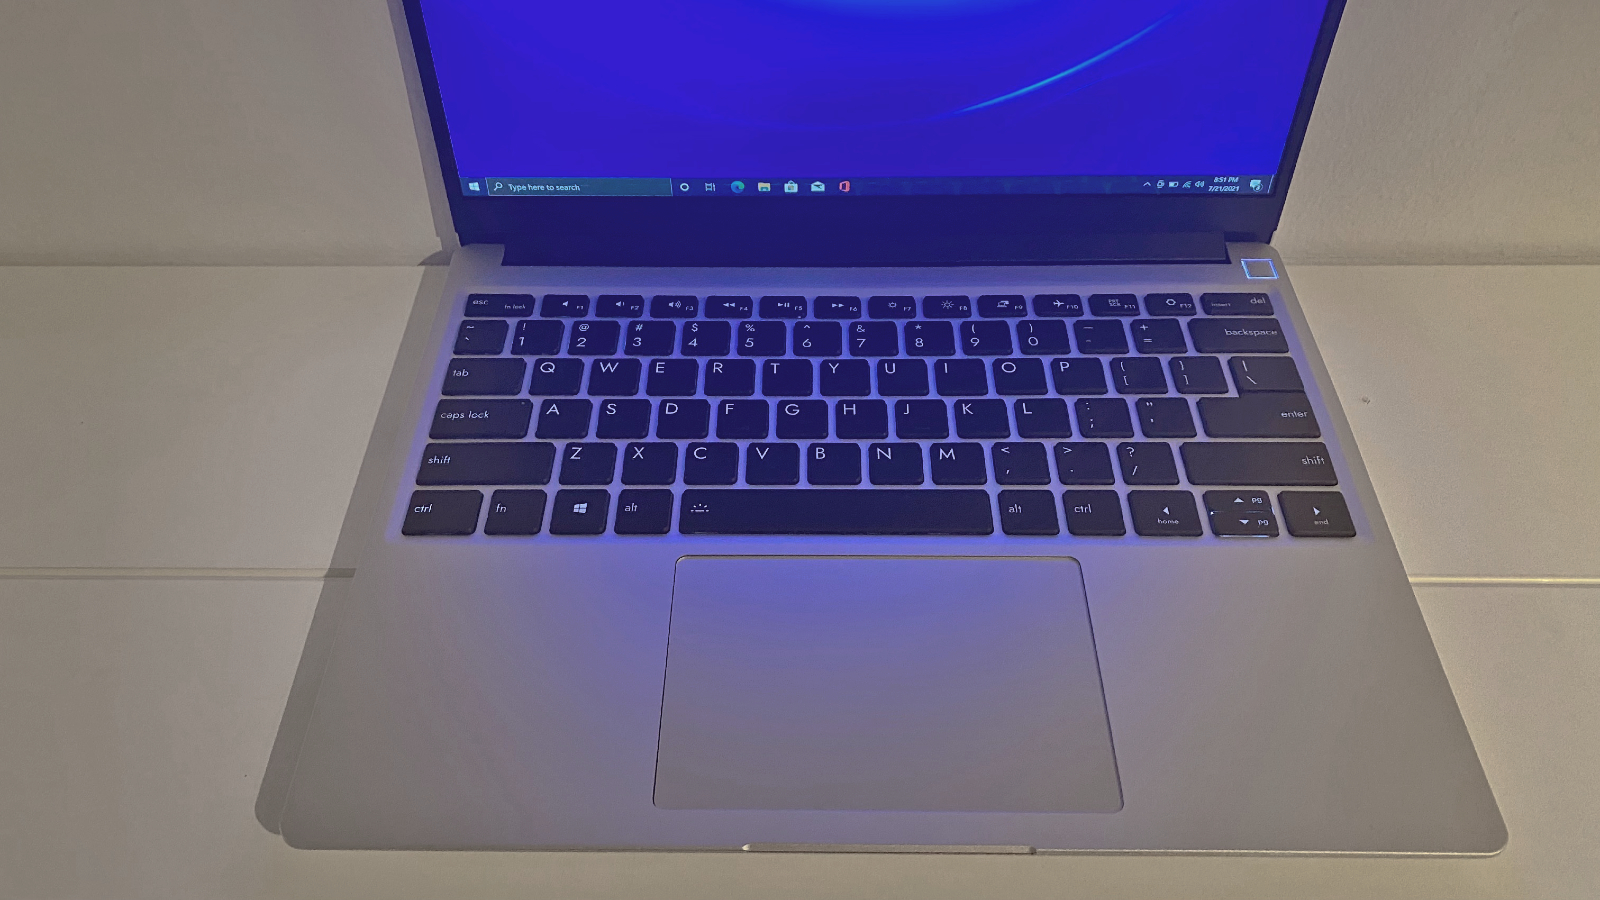
The 4.5 x 3-inch touchpad is a nice size and handles all the Windows 10 gestures fluently.
Framework laptop DIY Edition performance
With a 2.8-GHz Intel Core i7-1185G7 processor, 32GB of RAM, and a 512 PCIe SSD, the Framework laptop DIY edition should handle most daily operations with aplomb. I opened up 30 Google Chrome tabs, including several Google Docs, one streaming Loki on Disney+, and another running a breakdance contest from Japan on YouTube; and it handled them all without any issues. I am very curious to see what our lab numbers will be when we get a chance to benchmark the system.
The other thing to mention is the Framework’s mainboards are swappable, meaning you can swap out the mainboard and upgrade your CPU, allowing your system to grow with you and your needs.
Framework laptop DIY Edition graphics
The Framework comes with built-in Intel Iris Xe graphics, which are mostly fine for your everyday document pushing and daily needs. Intel has been pushing the idea that the Iris Xe GPU can be used for gaming, but I have yet to game on the unit. I will be downloading some games soon, and also will attempt to edit photos and videos on the Framework to push the GPU and see how it responds.
Framework laptop DIY Edition battery life
I have yet to see any battery life numbers for the included 55Wh cell. I’m hoping to at least see test scores within the 8-to 10-hour range given the specs.
During my 24-hour hands-on time with the Framework, I have used the unit for around 4.5 hours and the battery dropped to 70% during on-and-off usage. So, so far so good.
Framework laptop DIY Edition heat
When you’re putting the Framework innards together, you will notice one main fan and cooling in the center of the unit. During my usage, I only once noticed the fan kicking into service. It has yet to get hot or noticeably warm; so far, it’s cool runnings for the Framework.
Framework laptop DIY Edition webcam
Another spot where the team at Framework made an excellent choice is with the built-in webcam. The webcam is 1080p, with the ability to capture video at 60 frames per second and it has an 80-degree wide viewing angle. It’s one of the better webcams on a laptop I’ve used so far. I opened the Windows 10 camera app and shot some photos and it captured some very nice, bright photos and videos in my simply lit office space. Also, the Windows 10 camera app’s autofocus worked quickly.
Outlook
With Right to Repair becoming a major rallying cry the world over, the Framework Laptop DIY Edition could be considered an excellent solution. It took my son and I less than 15 minutes to put the system together and start loading Windows 10. With its gorgeous display, excellent speakers, and awesome 1080p webcam, the Framework has a lot going for it. Another perk is the ability to choose a Linux OS over Windows. Having that choice allows consumers to build a very personal system and have the best possible experience.
However, similar to most laptops, it can get expensive to trick out your Framework. To keep costs manageable, be sure to do your research and think about your actual needs before you start ordering every high-end module. I like that the mainboard is upgradeable, allowing you to swap it out and put a more powerful CPU into the laptop as a means of future-proofing. Framework mentions in the press materials the possibility of using AMD CPUs in the future. Let’s hope forthcoming products can be equipped with either AMD or Nvidia GPUs as well.
In the end, the Framework Laptop DIY edition is a fun and capable laptop that could have a huge future.

Mark has spent 20 years headlining comedy shows around the country and made appearances on ABC, MTV, Comedy Central, Howard Stern, Food Network, and Sirius XM Radio. He has written about every topic imaginable, from dating, family, politics, social issues, and tech. He wrote his first tech articles for the now-defunct Dads On Tech 10 years ago, and his passion for combining humor and tech has grown under the tutelage of the Laptop Mag team. His penchant for tearing things down and rebuilding them did not make Mark popular at home, however, when he got his hands on the legendary Commodore 64, his passion for all things tech deepened. These days, when he is not filming, editing footage, tinkering with cameras and laptops, or on stage, he can be found at his desk snacking, writing about everything tech, new jokes, or scripts he dreams of filming.
