How to take a screenshot on Windows 11
Taking a screenshot with Windows has gotten a whole lot easier
Sign up to receive The Snapshot, a free special dispatch from Laptop Mag, in your inbox.
You are now subscribed
Your newsletter sign-up was successful
Microsoft’s screenshot feature is as old as the operating system itself. It is such a ubiquitous feature that most keyboards have a dedicated button for taking screenshots. However, there are plenty of other ways to take a screenshot with Windows 11.
Microsoft has never stopped innovating with its screenshot features from Windows XP to Windows 11’s Snipping Tool. Since its introduction, the tool has just been getting better and better. Now you can edit these screenshots on the spot (without pasting them into Paint), delay a screen capture, or customize aspect ratio and other dimensions when snagging an image.
Windows 11 gives you various options to capture your screen. Your options include using your keyboard’s built-in print screen button, the Snip & Sketch tool, and using third-party apps. Whichever option you choose, you can rest assured that you have the freedom to take screenshots exactly how you want them.
How to take a screenshot with Windows 11
Taking a screenshot of your screen can be done in a variety of ways. Here are three different ways you can capture your screen with Windows 11.
Using the PrtSc Button on your keyboard
The simplest way to screenshot your screen is by pressing the PrtSc button on your keyboard. Doing so will add your whole screen to your clipboard. You can then paste your screenshot similar to how you paste any image you copied. A major drawback of this method is that you cannot edit your screenshot before pasting it.
Using Windows 11’s Snipping Tool
1. The easiest way to run the Snipping Tool is to press Win+Shift+S on your keyboard. Windows 11 will pause your screen and apply a dark overlay on it. A cross cursor will also replace your cursor.
2. Click your cursor on your starting point to set where the screenshot will begin.
Sign up to receive The Snapshot, a free special dispatch from Laptop Mag, in your inbox.
3. Drag your cursor to where you want your screenshot to end. The portion of the screen where the overlay is removed will be the part that will be captured.
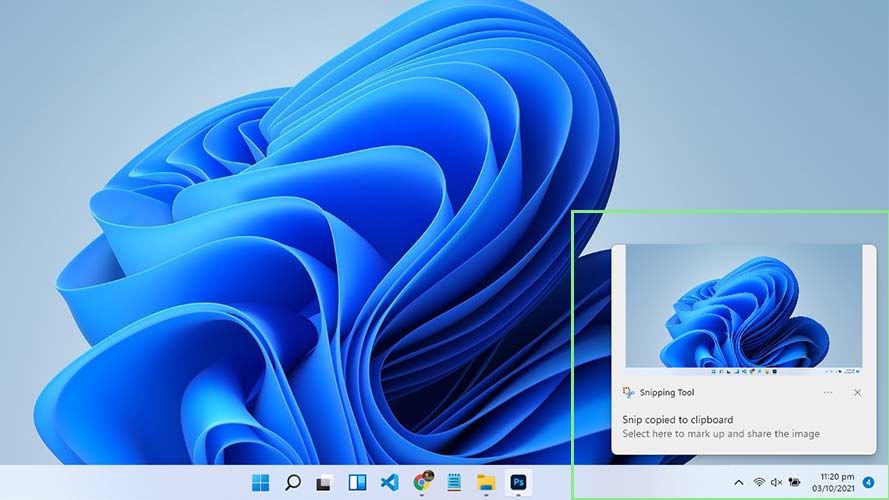
4. Then, release your cursor. After doing so, Windows will add your screen capture to your clipboard. At this point, you can already paste your screenshot to where you want to use it.
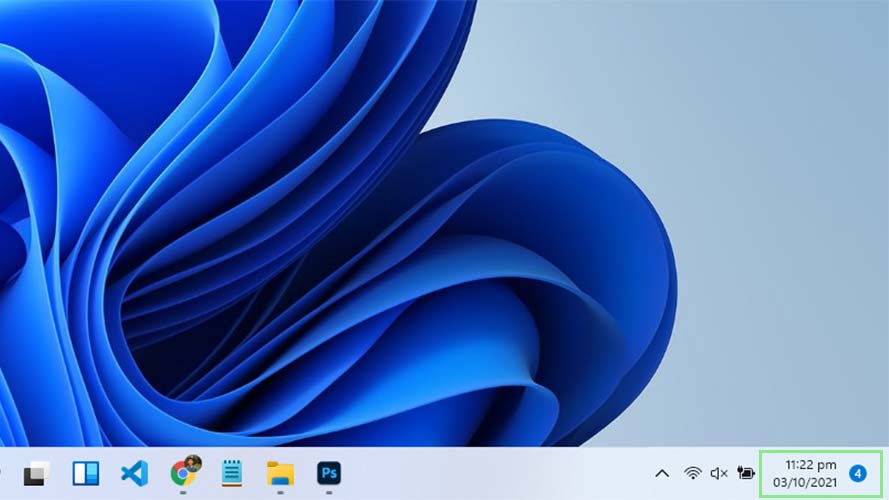
5. To edit your screenshot, open your Notification center by clicking the date and time on your taskbar.
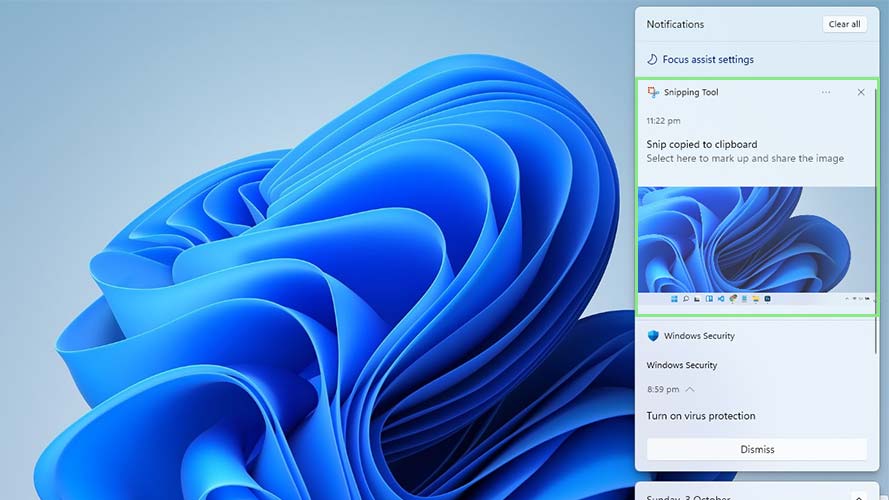
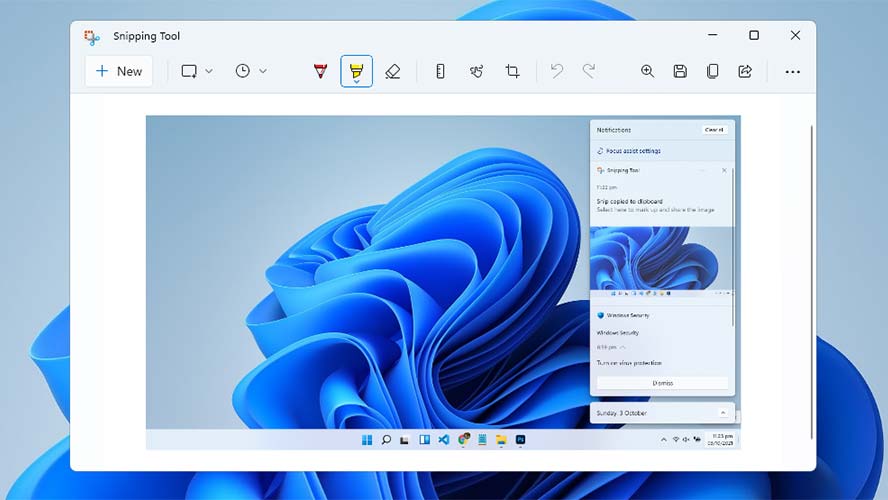
6. Click on the Snipping Tool notification to open your screen capture with the Snipping Tool.
