How to take a screenshot on Windows — the easiest way to save images of your display
How to take a screenshot on Windows

Sign up to receive The Snapshot, a free special dispatch from Laptop Mag, in your inbox.
You are now subscribed
Your newsletter sign-up was successful
"How to take a screenshot on Windows" is a common question many PC users ask because they want to be able to save images of their display in a quick, easy and efficient fashion.
Whether it’s to capture a cherished memory or a funny meme you saw on social media, taking a screenshot is always a great way to have a back-up of an important image. There are plenty of tools and apps you can use to grab an image and save it to your PC, but the easiest way is to use the built-in keyboard functionality.
With that said, here is how to take a screenshot on a PC on Windows.
- How to mirror your screen in Windows 10
- How to pause Windows 10 updates for up to 365 days
- How to take a screenshot in Mac OS X
How to take a screenshot
Step 1: Snagging the image
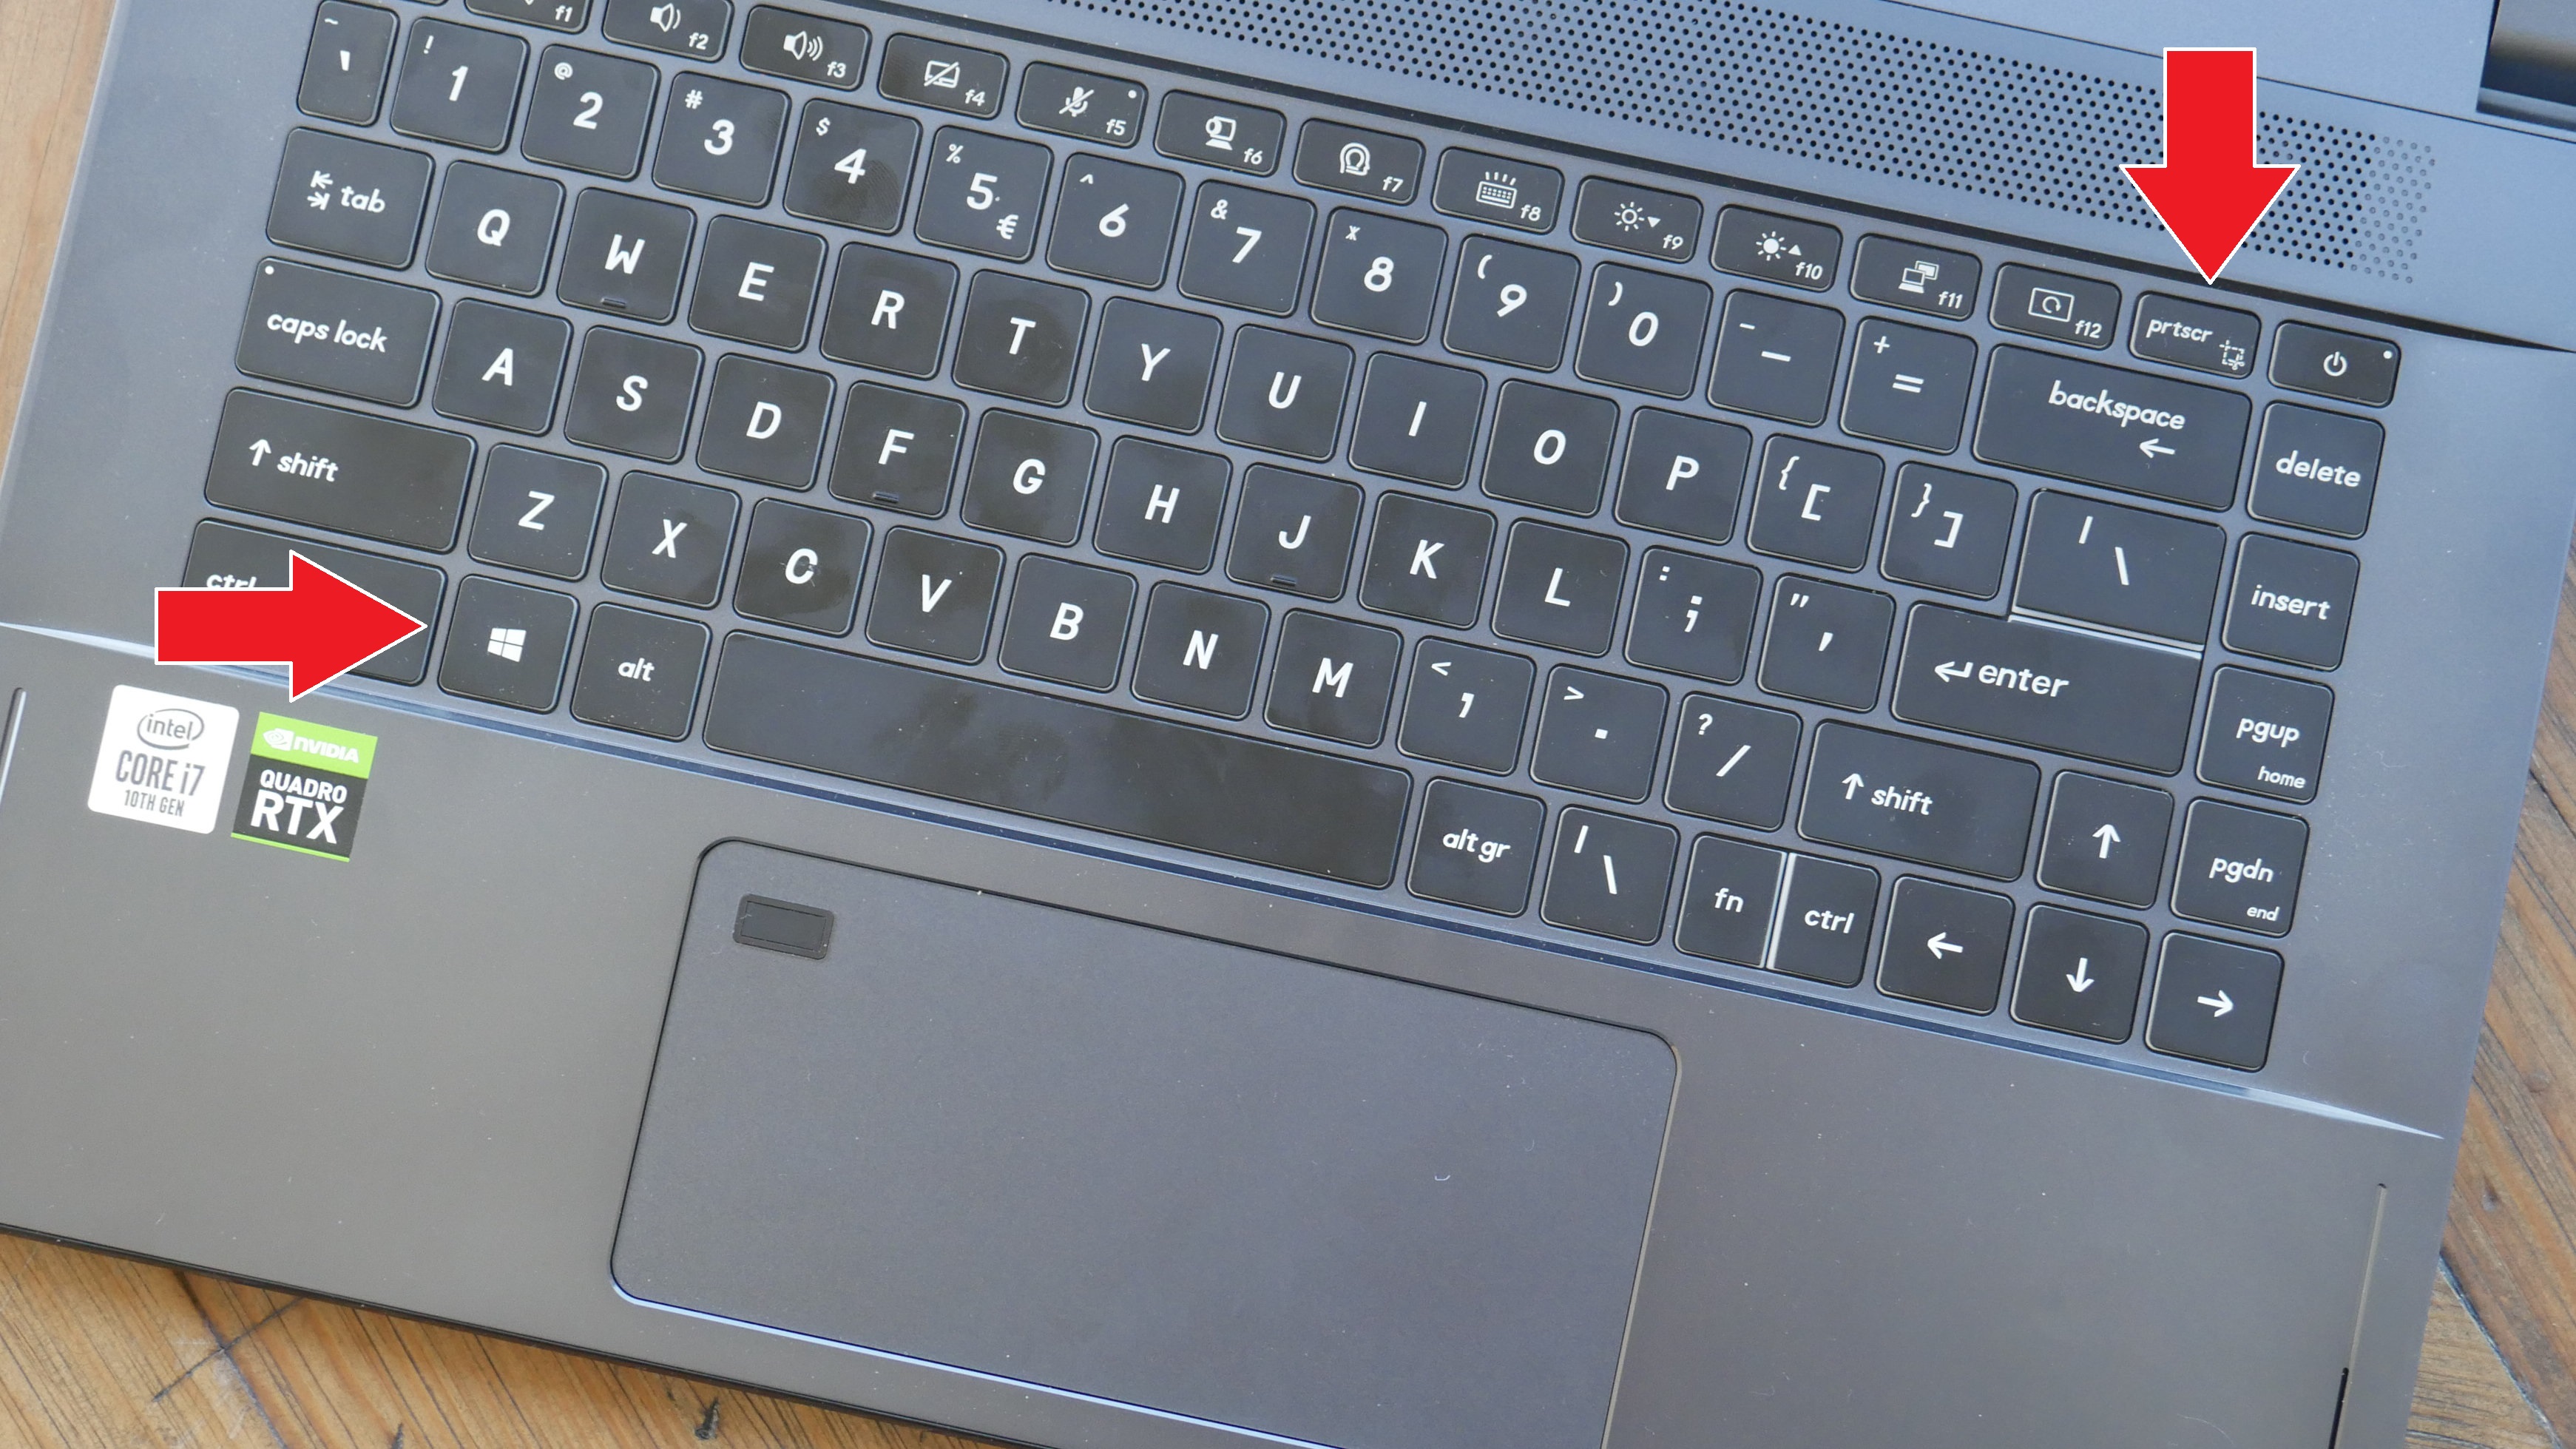
On your keyboard, you will find a key that says “Prt Scr”. This is the “print screen” button; it makes a copy of everything present on your screen and puts it in Clipboard.

Clipboard is a folder that saves all of your copy-and-paste text and screenshots. You'll need to hold down Prt Scr button while simultaneously holding down the Windows logo, which should be located on the bottom-left area of your keyboard.
Step 2: Open Word
Sign up to receive The Snapshot, a free special dispatch from Laptop Mag, in your inbox.
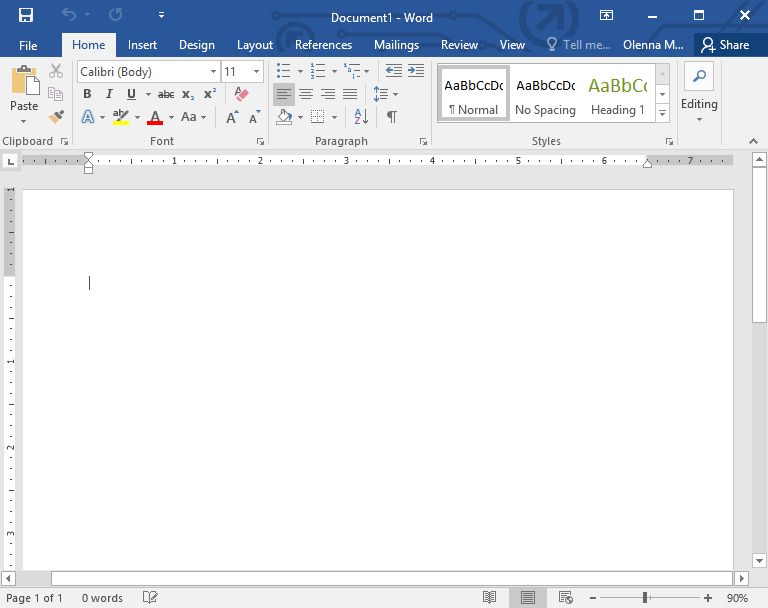
Now that you have a copy of your screen, you must go to Word, or wherever you need the image copied (e.g. Google Docs, Microsoft Office, etc.), and paste it into the document. This can be done by tapping the touchpad with two fingers at once, and finding “Paste” on the dropdown menu that appears.

If you’re using a mouse instead of a touchpad, you can access the menu by right clicking the mouse. Or, even better, use the Ctrl + V keyboard command to paste your content.
Step 3: Save the image
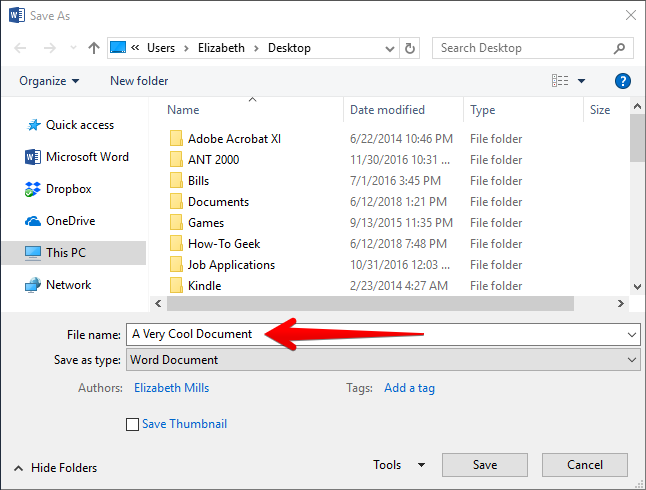
Once you’ve copied the image, place your cursor on the screenshot and double-tap the touchpad (or right click the mouse) to get the dropdown menu. Navigate to the “Save image as…” option. Clicking this will take you to the above menu, where you can name the image whatever you want and store it wherever you want. And you’re done!

There are multiple ways one can take and save a screenshot on their laptop, but this way doesn’t require you to add any plug-ins or additional software. Just hit a key, paste the image, save the image, and enjoy your screenshot!
