How to compress a JPEG on macOS using Preview
Shrink large images down to size with a powerful tool built right in to every PC running macOS: Preview
Sign up to receive The Snapshot, a free special dispatch from Laptop Mag, in your inbox.
You are now subscribed
Your newsletter sign-up was successful
As camera quality increases, so do the file sizes of every image you take with them. Each megapixel adds considerable bulk to your files, and although storage space is getting cheaper, it’s failed to keep pace with the ever-growing size of the images and videos we’re capturing with today’s smartphones.
Preview, a built-in tool for every Mac user, has a powerful image editor that allows you to do a number of things. Today we’re going to focus on one of those features, the ability to shrink images down to size and keep them manageable for long term storage either in the cloud, or on your device.
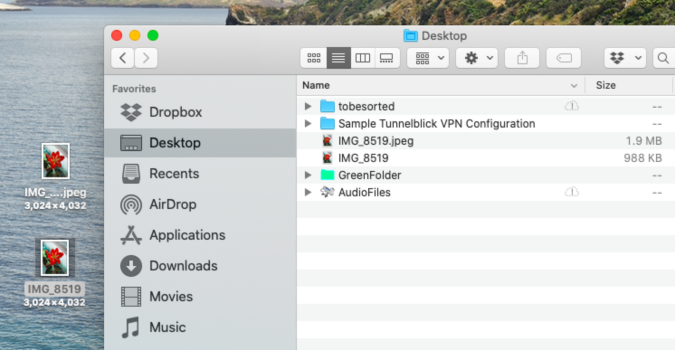
Please note, however, that before you delete anything that you’ve used Preview to shrink, it’s best to compare to make sure that the smaller image is still of a high enough quality to archive. If it’s not, it’s better to find out now, and switch to another compression setting, than it is to find it years later when it’s no longer something you can recover.
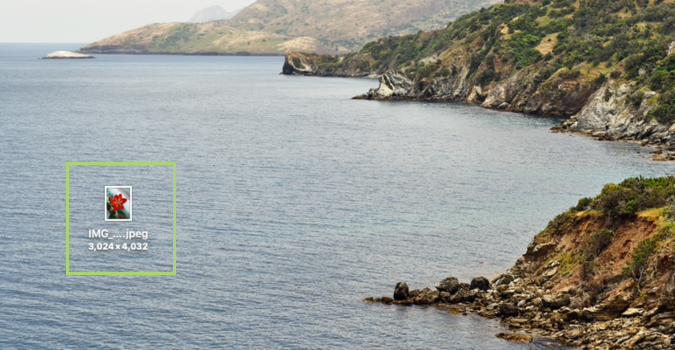
1) Double-click to open the image in Preview.
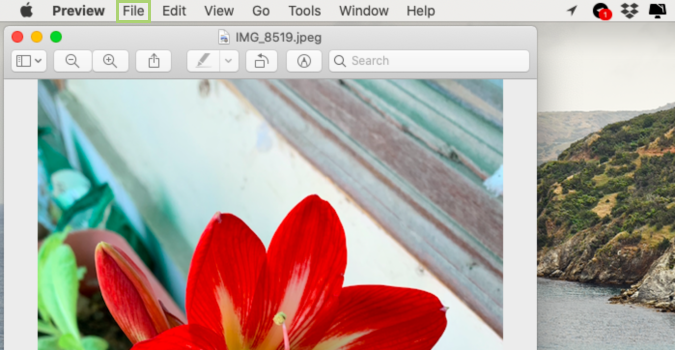
2) In Preview, open the File menu.
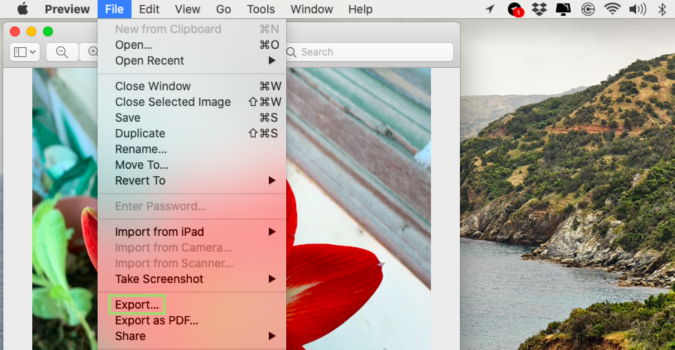
3) In the File menu, select Export.
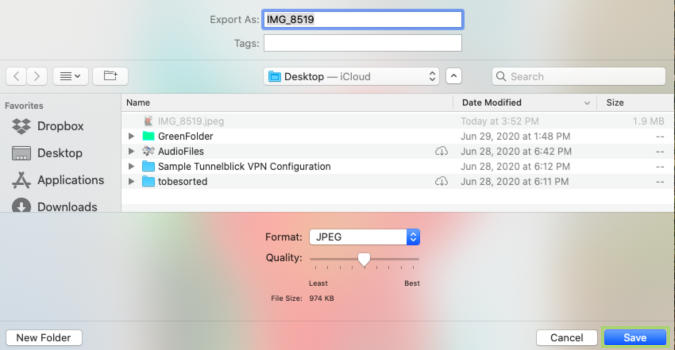
4) In the Export as dialogue box, move the Quality slider to compress the image to the required size.
Sign up to receive The Snapshot, a free special dispatch from Laptop Mag, in your inbox.
5) Click Save to save the new compressed file.
Bryan covers everything you need to know about Windows, social media, and the internet at large for Laptop Mag. Thanks to his extensive knowledge of operating systems and some of the most popular software out there, Bryan has written hundreds of helpful guides, including tips related to Windows 11 drivers, upgrading to a newer version of the OS, editing in Microsoft Photos, or rearranging pages in Google Docs.
