Chromebook tips: How to keep your work and life separate
Chrome OS offers several options that can better help you set clear boundaries and separate your work and personal profiles as well as your apps
Working from home can be a constant struggle to balance the increasingly blurred line between your job and personal life, especially if you manage both of them on a laptop. At the end of a day, we often find ourselves simply switching from work-related browser tabs to a site like Netflix to unwind -- only for a Slack ping to drag us right back into our virtual office.
On a Chromebook, there’s a better way to do this. Chrome OS offers several options that can better help you set clear boundaries and separate your work and personal profiles as well as your apps. Here’s how to use these tools to improve your work-life balance.
Create different user accounts for work and play
Your best shot at isolating your work and personal Chromebook activities from one another is to create two different user logins. This ensures there are absolutely zero overlaps and that the two environments cannot intrude on each other’s sessions. Since your work accounts live in a separate login, it eliminates the chance of a late-night Slack notification (as an example) from interrupting your downtime and vice-versa.
Do note that for this you’ll need at least two Google accounts -- one that’s already configured on your Chromebook and another for the new user.
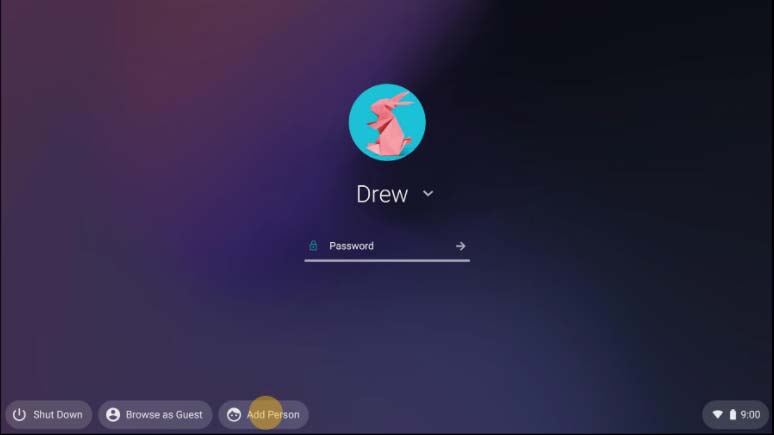
To add a new user to your Chromebook, you’ll first have to sign out from your existing login. Execute the “Ctrl + Shift + Q” shortcut twice in quick succession to do that. Select the “Add Person” button present at the bottom and sign in with your spare Google profile.
Once you have entered the details, your Chromebook will have two users and you can customize each based on what you plan to do in them. Therefore, for the one you use for non-work tasks, like watching movies and browsing social media, you should erase all the work logins to avoid the risk of getting interrupted.
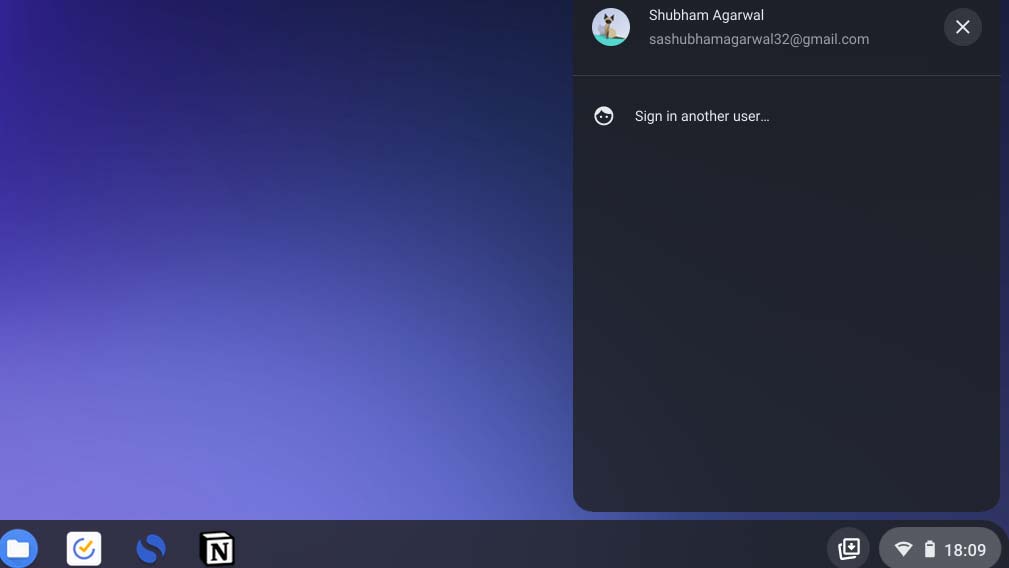
Chrome OS also lets you remain signed into multiple accounts simultaneously so that you can instantly switch between them. However, it’s not enabled by default. For turning it on, hit the status area at the bottom-right corner, and in the following settings panel, click the user picture. Select “Sign in another user” and authenticate yourself into the second account. Now, you can press “Ctrl + Shift + .” (Ctrl + Shift + the period key) to go back and forth.
Sign up to receive The Snapshot, a free special dispatch from Laptop Mag, in your inbox.
Launch multiple virtual desktops in a common user
Alternatively, if managing two Google and user accounts sounds like a hassle, you can consider launching multiple virtual desktops in the same profile.
Virtual Desks allow you to organize your desktop into multiple workspaces. You can have one for work, another for entertainment or a side project, and more. Hence, you no longer have to close all your work windows and apps when you take a break. Instead, you can just jump to your personal workspace where tabs for your non-work services, like instant messaging apps and streaming platforms, are already open from last time.
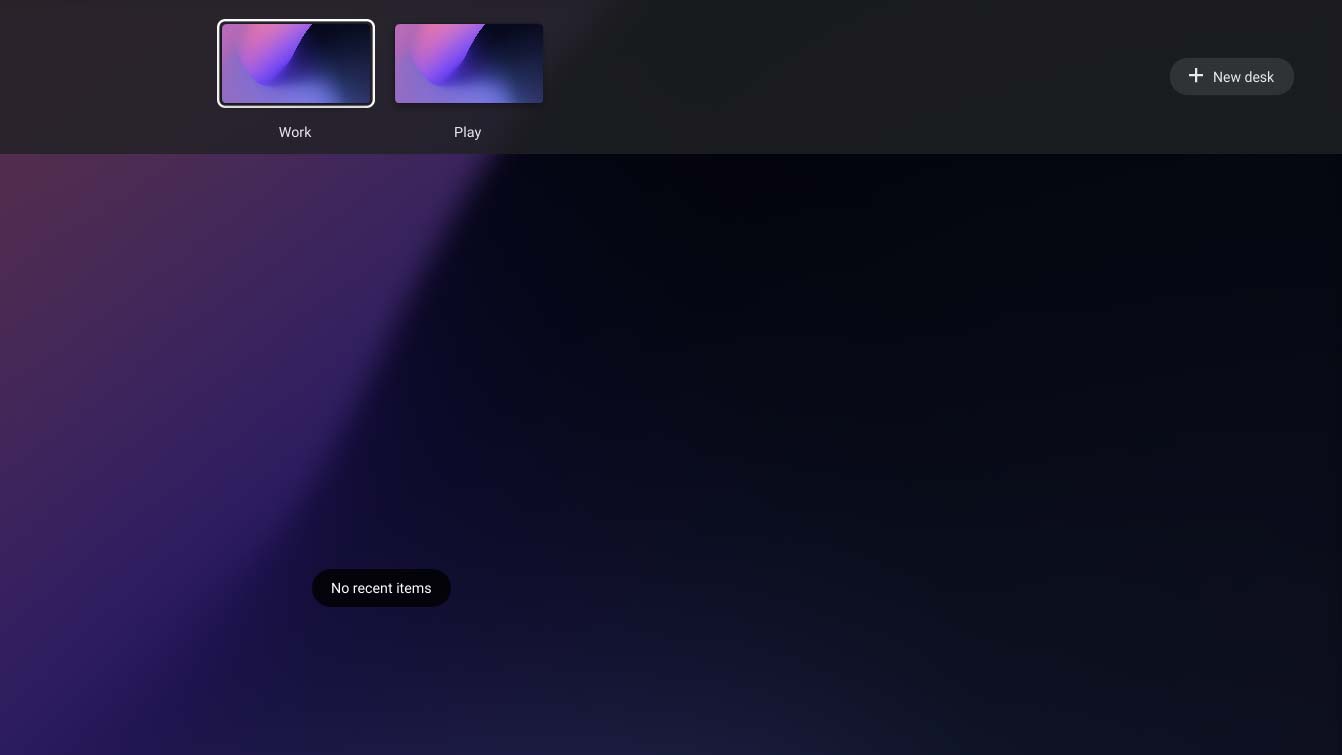
For launching a new virtual desk, enter the overview mode which shows all your active windows (with a three-finger swipe up gesture on the trackpad), and click the “New Desk” button (or press Search + Shift + “=”).
As soon as you do that, you’ll see that your Chromebook has appended a new desk at the top. Select “Desk 2” to enter the second virtual desktop. You can also hit the “Desk 2” text to rename the virtual desktop.
Anything you do or any browser window or app you fire up on the second desk won’t be available from the first one. This means you can configure both of them depending on what sort of computer activities would you like to keep separate.
There are a bunch of ways you can multitask among these virtual desks. You have, of course, the option to return to the overview mode and enter different workspaces, or you can take advantage of the many trackpad and keyboard gestures.
Perform a four-finger left or right gesture on the trackpad to quickly move between workspaces. To do the same with the keyboard, you can hit the “Search + ]” or “Search + [” combination. You can also relocate a window to the next desk by executing the “Shift + Search + [ or ]” shortcut.
Maintain workspaces for your browser
For Chromebook owners who spend the majority of their time in Google Chrome, a third-party extension called Workona may be a better fit than Chrome OS’s built-in Virtual Desks feature.
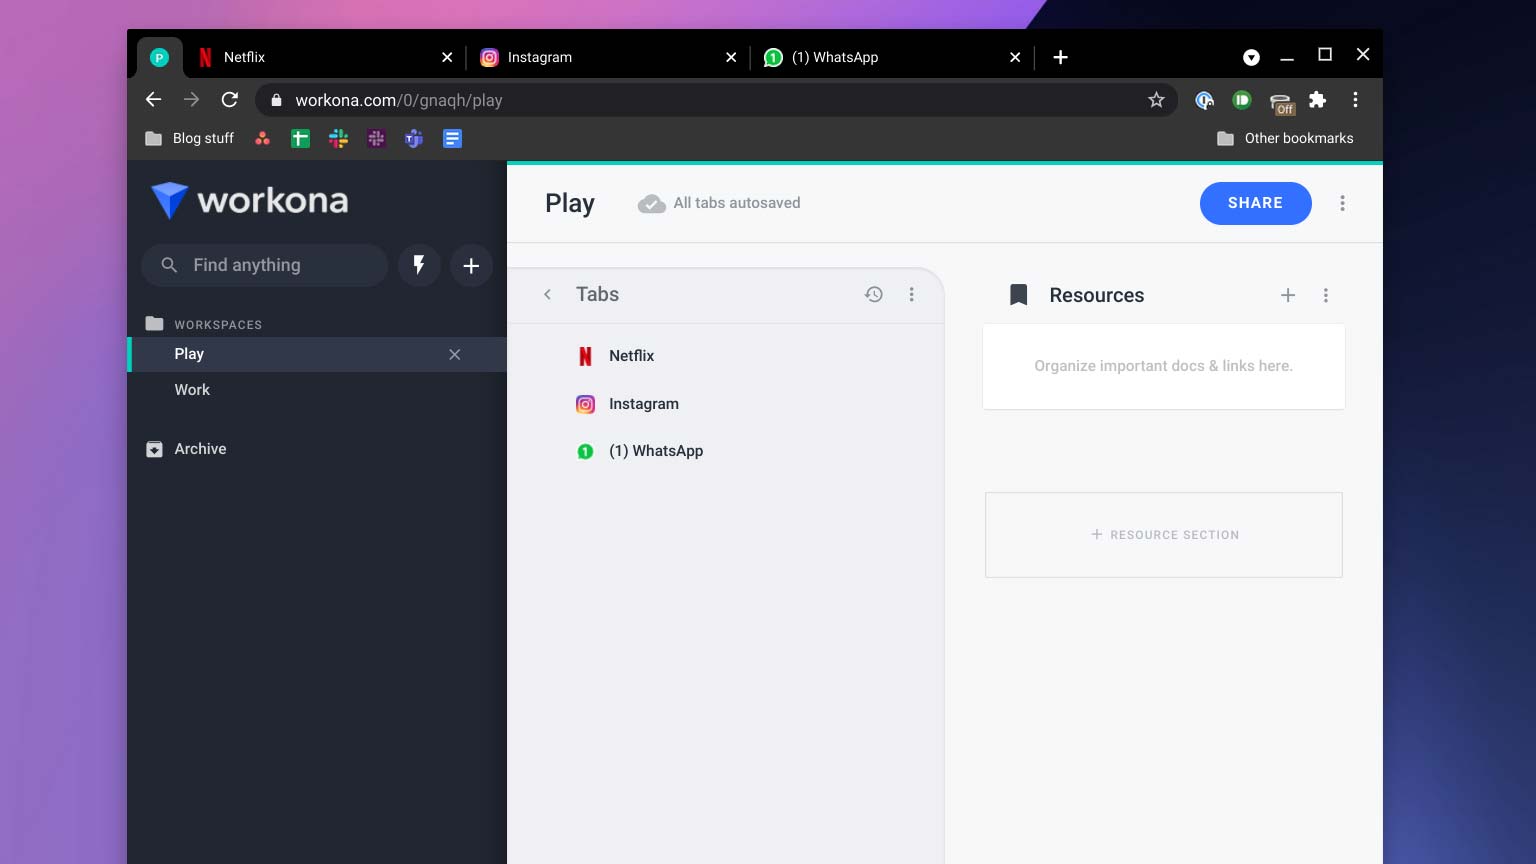
You can think of Workona as a virtual desktop for your browser. It offers the ability to collate various tabs and windows into independent workspaces or projects. With a click of a button, you can hide a collection of tabs and easily switch between your multiple environments. So if there’s a group of tabs you rely on for work and another for everything else, Workona lets you turn them into two separate desktops so that you can hide and reveal one or the other.
Plus, the extension comes equipped with a central dashboard where you can manage these workspaces, save them for launching later, and sync them all with the cloud for multi-device access.
At its core, Workona is a tab manager. So you even benefit from plenty of performance optimizations when you use it. Most important of all, since it’s easy to lose track of so many tabs, Workona automatically suspends the ones you’re not actively employing to free up memory.
Workona is a free utility and you can download it from the Chrome Web Store.
Shubham Agarwal is a freelance technology journalist from Ahmedabad, India. His work has previously appeared in Business Insider, Fast Company, HuffPost, and more. You can reach out to him on Twitter.
