A guide to HEIC files on iPhone and other Apple devices
Is HEIC really the future of photography?
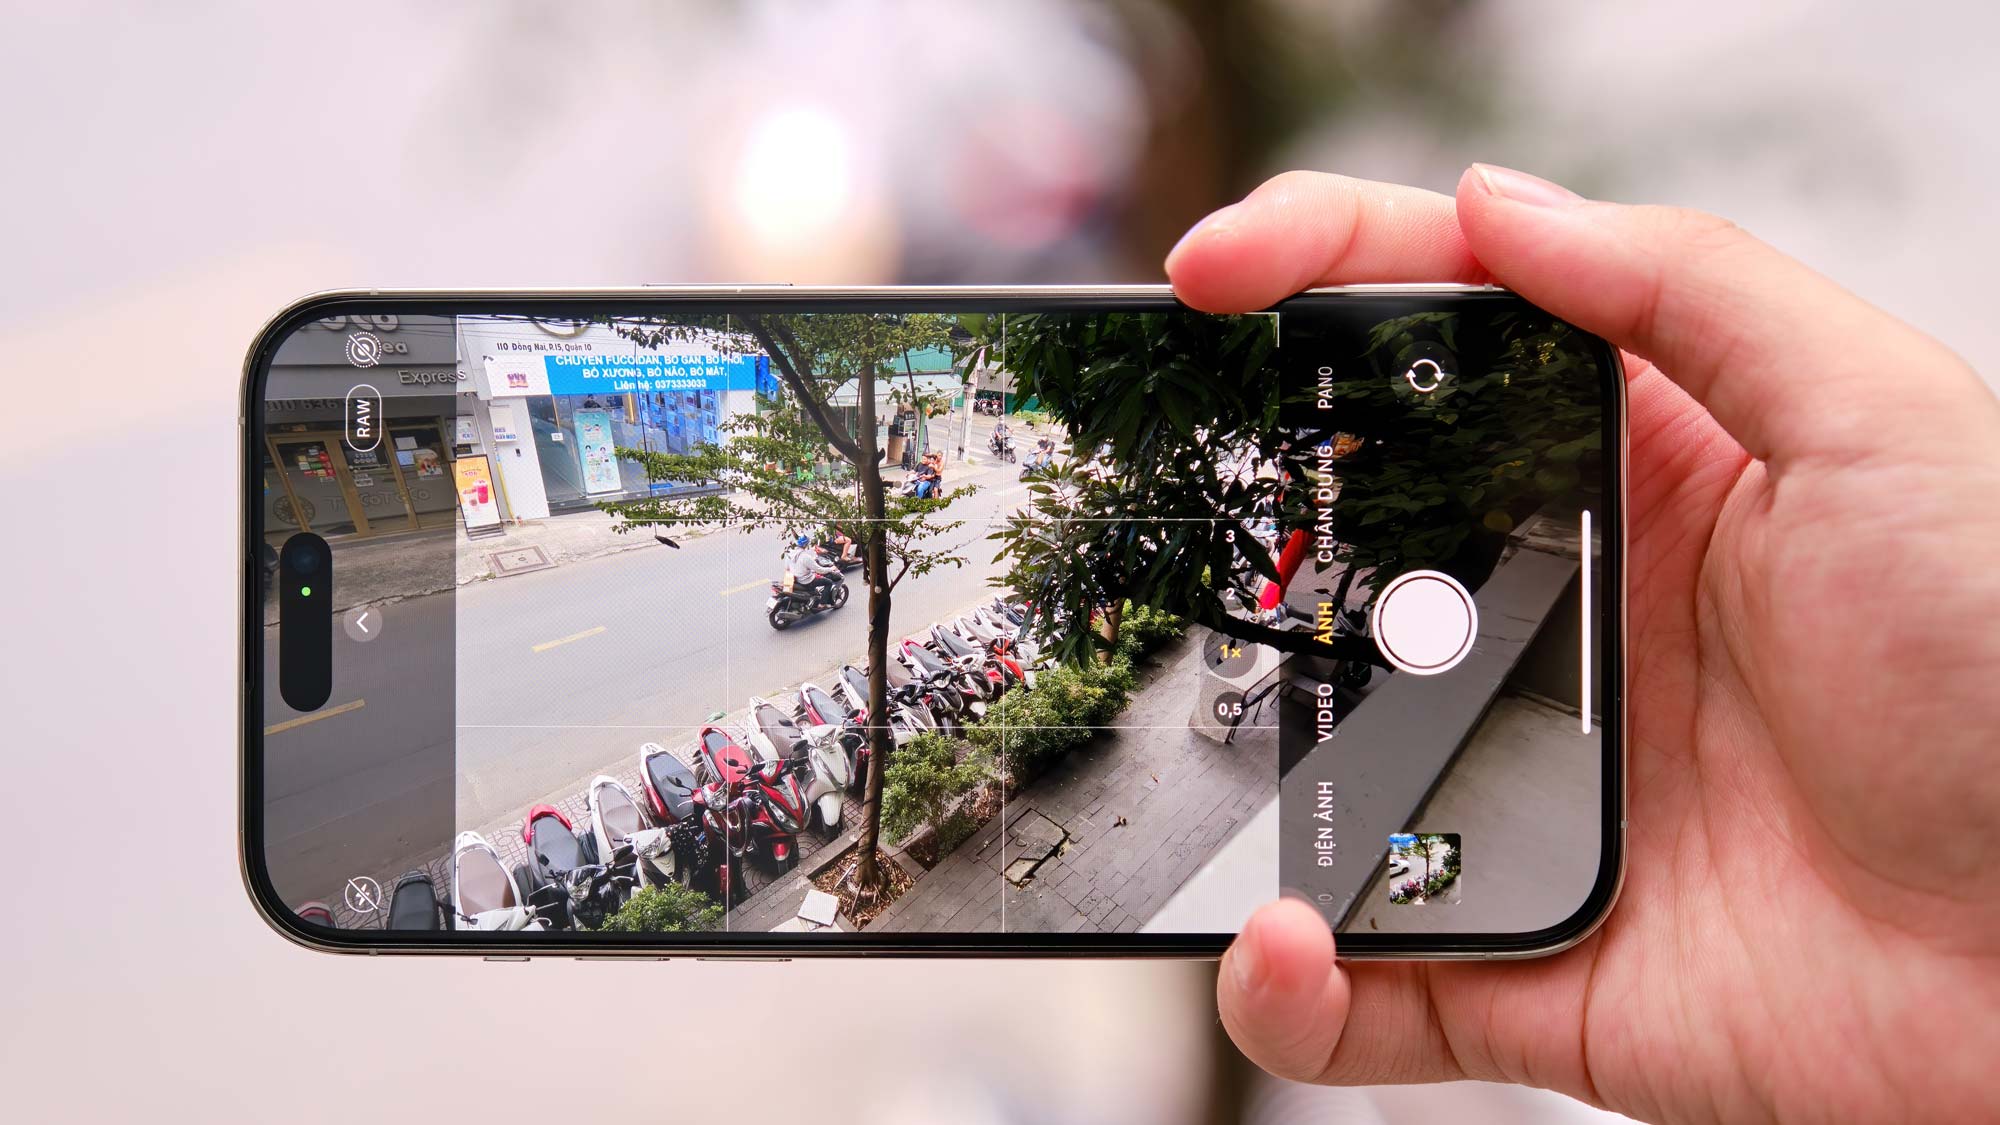
Apple first adopted the HEIC image format in 2017, though it comes from a previous protocol from 2001. Now that we’ve had a few years with HEIC as Apple’s default format it’s worth looking at whether or not it has performed as promised, and if it is indeed the future of image files on Apple devices.
But those aren’t the only questions we need answered. Why aren’t other operating systems switching to what was promised as a superior image format? For any format to truly take over it needs support from more than a single company.
Let’s start at the beginning.
What is the HEIC image format?
HEIC (high efficiency image compression) first made its way to Apple devices in 2017 as part of the iOS 11 update and intended to replace the older JPEG format. With the rollout came bold claims that this new-ish format would use as much as 50% less storage space than a comparable JPEG.
The format, born from a similar protocol called HEIF, or high efficiency image format, provided a streamlined way of storing image files using modern compression methods that allowed for high quality in smaller file sizes.
HEIC wasn’t developed by Apple. In fact, it was first developed by the MPEG group, which was also responsible for the AAC format used on iTunes.
Technically speaking, HEIC isn’t really an image format at all. It’s actually a container for images and audio. Apple outlines its use case as any still image encoded with the HVEC (H.265) video format, making it a great choice for another of Apple’s features, Live Photos – which takes multiple photos and layers them on top of one another as a sort of GIF-like moving image.
Sign up to receive The Snapshot, a free special dispatch from Laptop Mag, in your inbox.
Advantages of HEIC
The biggest reason Apple and other companies are trying to push HEIC is better file compression. Better compression means we can slow down the storage wars that would have us all needing phones with 1 TB of storage. Better compression negates the need for this level of storage expansion, at least at the pace we were currently on. Since the vast majority of on-phone storage is eaten by images and video, the two options are more storage, or smaller files. Apple unsurprisingly opted for the latter, as the former would require more expensive components.
For the casual user, the switch means they can store more images and video without large storage upgrades. But for professional photographers, videographers and photo or video editors, HEIC is somewhat revolutionary. While not quite at RAW level, increasing quality and decreasing file size really opens some doors for professions where storage space is a legitimate concern. It’s not just storing the files. Smaller file sizes means you need less processing power to edit them and fewer resources are required to convert or export these images.
Another bonus is that just like PNG, HEIC supports transparency. HEIC, however, manages to deliver all of what PNG can in a significantly smaller file size. If we’re nitpicking, PNG is actually the superior image, though the results are nearly imperceptible to the human eye. Add to this the much larger file size and PNG probably isn’t worth it for casual photographers, and most professionals, for that matter.
Disadvantages of HEIC
A major drawback for this file type, however, is compatibility. Pretty much any phone, laptop, or desktop computer working today can read and process JPEG images. Unfortunately, the same cannot be said for HEIC. In fact, Windows and Android devices often have issues opening HEIC files without the help of third-party applications.
HEIC’s compatibility issues are so bad that some schools or workplaces in the United States have created guidelines against this file type. So, although the benefits of HEIC are impressive, it might be a while before it’s widely accepted.
How to turn off HEIC on your iPhone?
iPhones with iOS 11 and above save images in the HEIC file format. However, Apple understands the compatibility issue that users may face if all their images are saved in it. For this reason, all iPhones have the option to disable HEIC as their default image format. Follow the steps below to switch your iPhone over to storing photos as JPEGs.
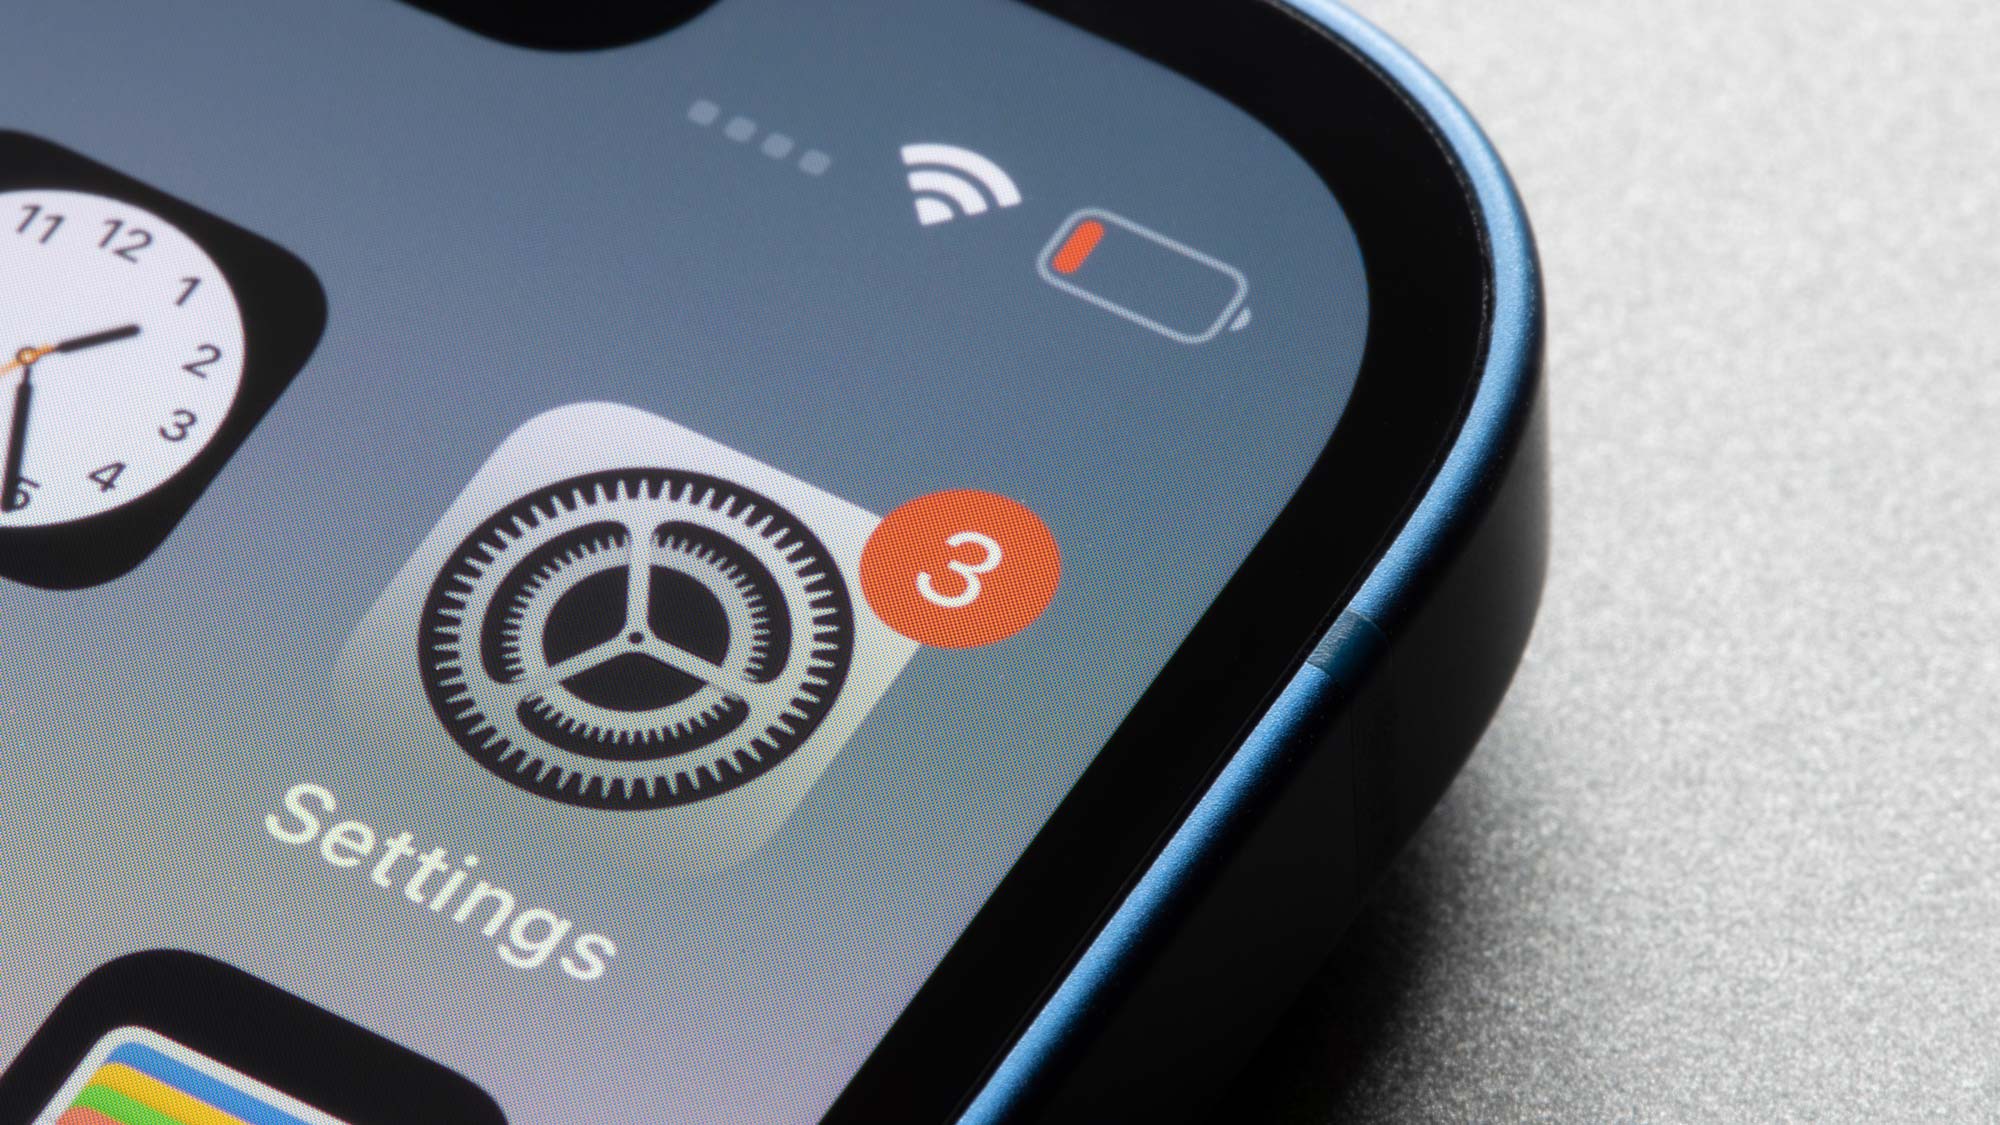
1. Open the Settings app.
2. Go to Settings > Camera > Formats.
3. Select Most Compatible, and you are done. All future images or videos you take will now be saved in JPEG.
Converting HEIC images to JPEG on Mac
Turning off HEIC on your iPhone only helps with images you take in the future, it doesn’t convert your old images. It can be a hassle if you have already taken thousands of videos and images only to find out that they are saved in the HEIC format. Luckily, there is a quick and easy way to convert your media to JPEG using your Mac computer.
1. Connect your Apple device to your Mac computer and transfer your files. Make sure to save them somewhere you can easily remember.
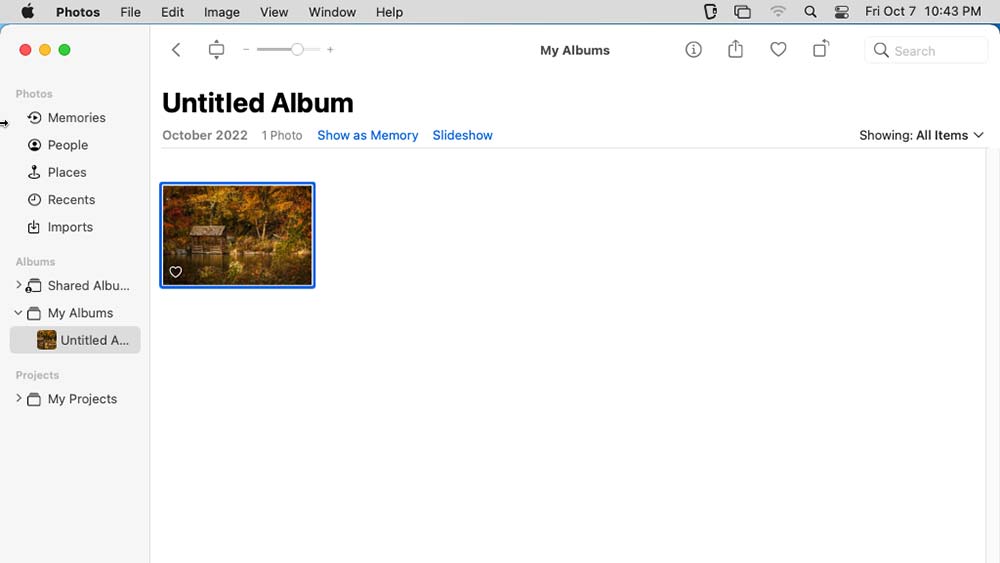
2. Locate and select your images using the Photos app.
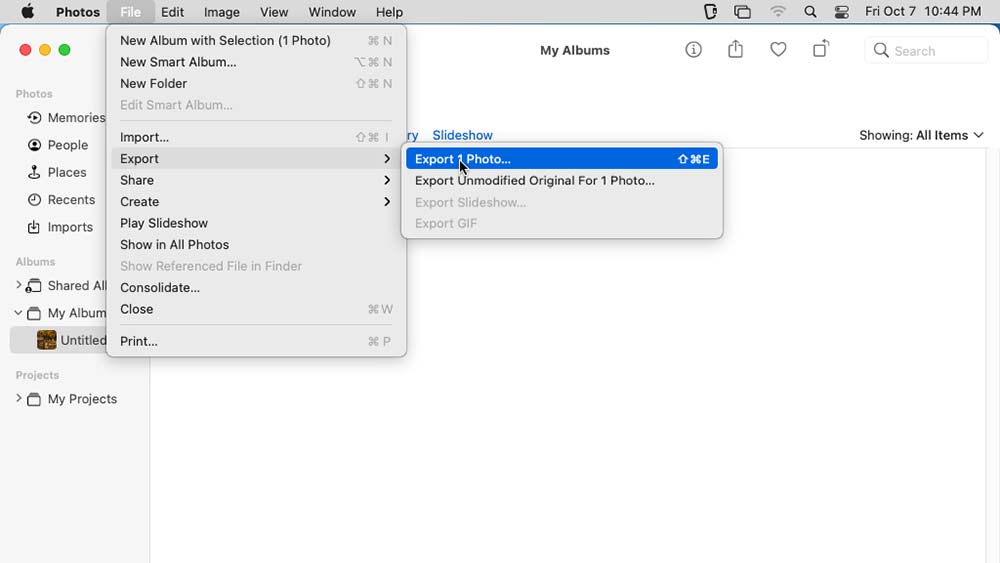
3. After selecting the images you want to convert, go to File > Export > Export Photo.
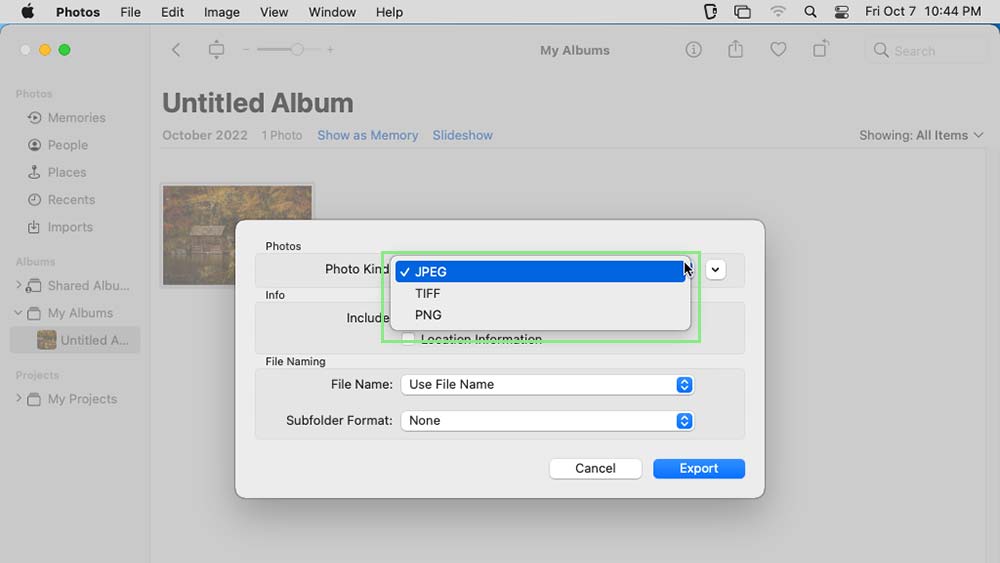
4. From the menu that appeared, select the File Format that you want your images to be converted to.
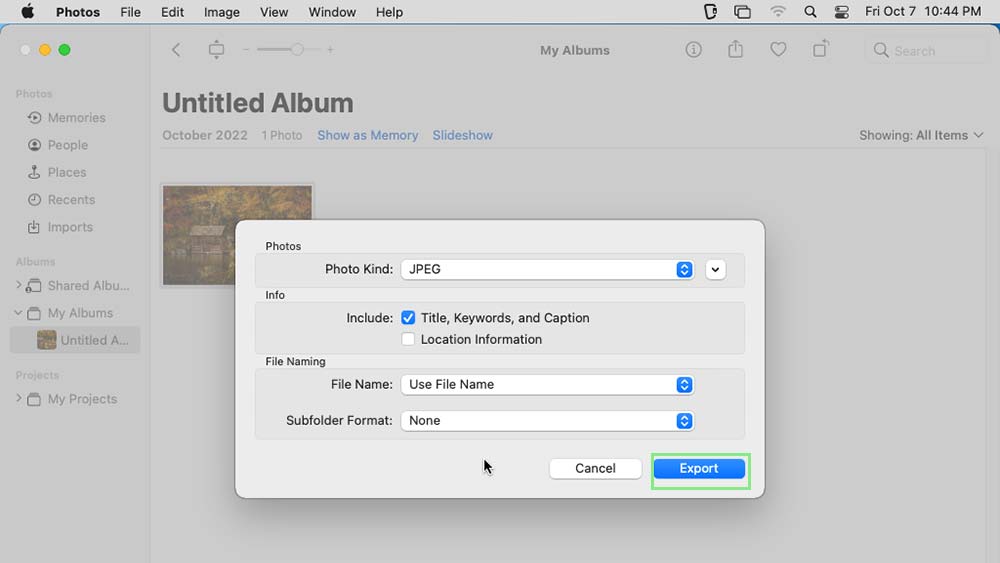
5. Lastly, click Export, select your destination folder, and click Export again.
Bryan covers everything you need to know about Windows, social media, and the internet at large for Laptop Mag. Thanks to his extensive knowledge of operating systems and some of the most popular software out there, Bryan has written hundreds of helpful guides, including tips related to Windows 11 drivers, upgrading to a newer version of the OS, editing in Microsoft Photos, or rearranging pages in Google Docs.
