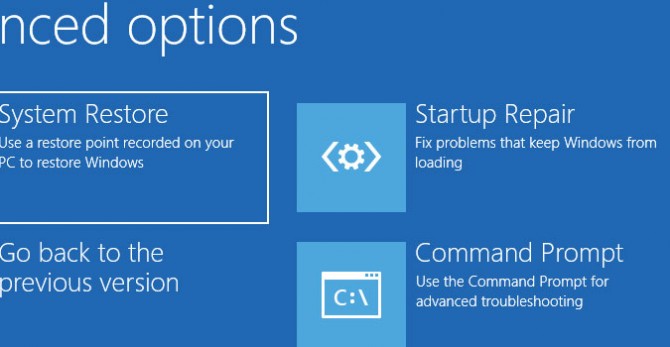
How to use the Window Startup Repair Tool
The Windows Startup Repair Tool is a handy feature in Windows 10. If Windows is not booting up correctly, or you are experiencing other issues that indicate corruption in your system, the Windows Startup Repair Tool can be used in an attempt to fix the issues.
This will allow you to then successfully boot into Windows without issues. The Startup Repair Tool cannot repair issues with hardware, but it’s a good place to start the troubleshooting process.
- Here's how to Get Apple Music on Windows
- See how to Actually Delete Apps on Windows Without the Leftover Junk
- This is how to Separate Your Screen Into Two, Three, or Four Windows
- Hold the Shift key down at the Windows sign-in screen and press the Power button at the same time.
- Continue holding the Shift key, then click Restart.
- Once the PC restarts, it’ll present a screen with a few options. Click Troubleshoot.
- From here, click Advanced options.
- In the Advanced options menu, choose Startup Repair.
- From the Startup Repair screen, choose an account. You’ll need an account with Administrator privileges to continue.
- Enter the password.
- Click Continue.
- Wait as the Windows Startup Repair Tool runs.
- Once the Startup Repair Tool has run, you can then restart your PC.
Credit: Laptop Mag
Sign up to receive The Snapshot, a free special dispatch from Laptop Mag, in your inbox.
Bryan covers everything you need to know about Windows, social media, and the internet at large for Laptop Mag. Thanks to his extensive knowledge of operating systems and some of the most popular software out there, Bryan has written hundreds of helpful guides, including tips related to Windows 11 drivers, upgrading to a newer version of the OS, editing in Microsoft Photos, or rearranging pages in Google Docs.

