How to Change the Name of Your Wi-Fi Network
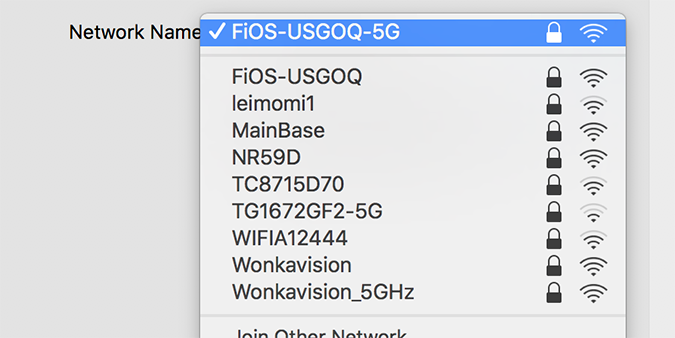
Each Wi-Fi network has a name that help people identify it. This is called an SSID, or secure set identifier. When the ISP installs a new internet connection, it typically uses the router’s default SSID, which leaves you with a mix of letters and numbers that’s not all that visually appealing, or memorable -- if you live in an area with a lot of other connections.
But, in just a few minutes, you can change this SSID at the router-level to display anything you’d like it to. The exact steps will be different based on your router, but should follow this logical progression.
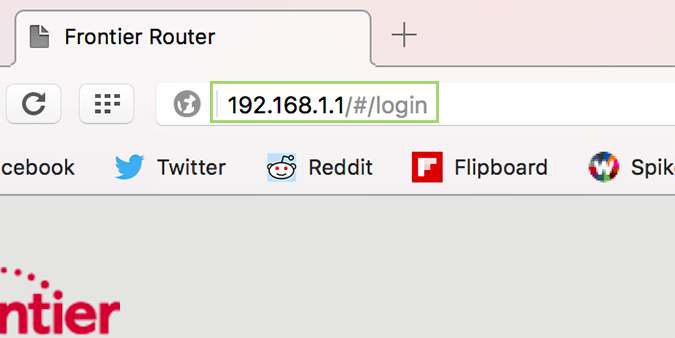
1. In the address bar, enter the home address for your router and press enter. For mine, it’s 192.168.1.1, but depending on your router it could be 192.168.0.1, or another variation. If it’s neither of those, a quick Google search for “[router brand] home address” will get you where you need to be.
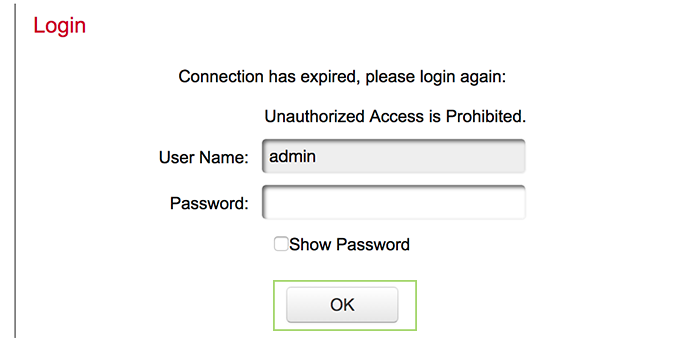
2. Log in, and press OK.
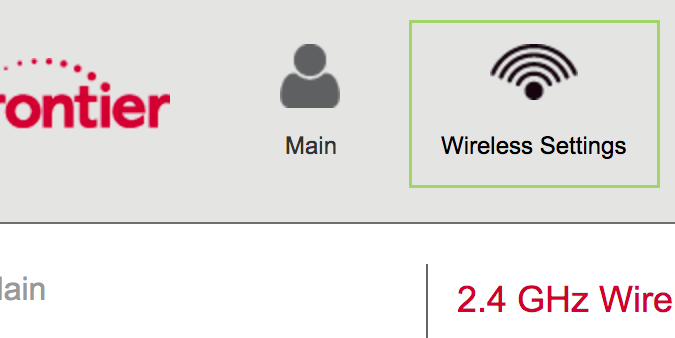
3. Click Wireless settings at the top. Again, your exact setting will be different if you aren’t on a fiber connection from Frontier, but it should be similarly-worded.
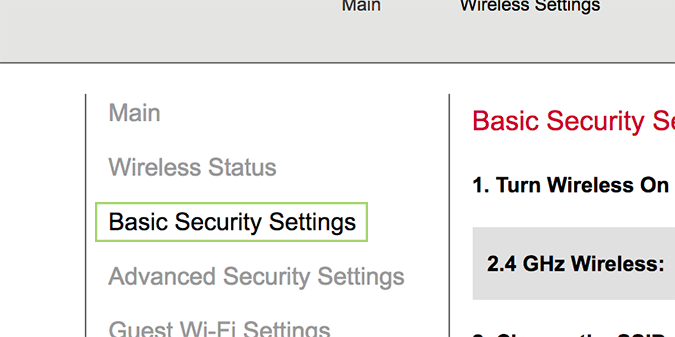
4. Click Basic Security Settings. On most routers, this will probably just be ‘security settings,’ as it is on my bridge -- a Linksys router.
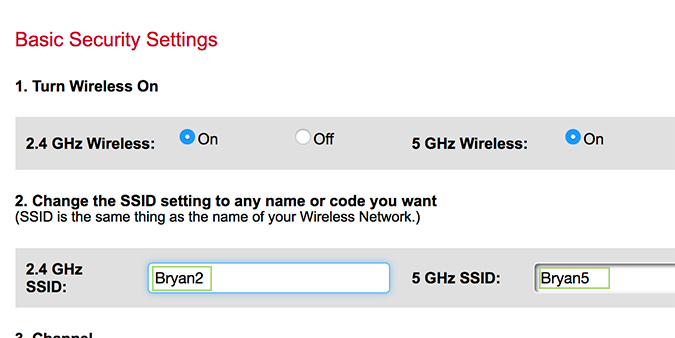
5. If you have a dual-channel router (or tri-channel), you should see an SSID for your 2.4 GHz and 5 GHz settings. Change either, or both by typing in a new name.
Sign up to receive The Snapshot, a free special dispatch from Laptop Mag, in your inbox.
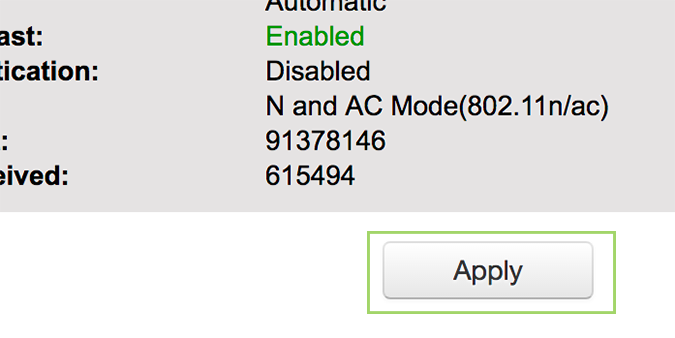
6. At the bottom, click Apply to save the changes.
Windows 10 Security and Networking
- Use the Windows 10 Parental Controls
- Find Your MAC Address
- Turn Your Windows PC into a Wi-Fi Hotspot
- Password Protect a Folder
- Create a Guest Account in Windows 10
- Enable Windows Hello Fingerprint Login
- Set Up Windows Hello Facial Recognition
- How to Restrict Cortana's Ever-Present Listening in Windows 10
- Automatically Lock Your PC with Dynamic Lock
- Blacklist Non-Windows Store Apps
- Find Saved Wi-Fi Passwords
- Set Up a Metered Internet Connection
- Use Find My Device
- Stream XBox One Games
- All Windows 10 Tips
- Map a Network Drive
- Create Limited User Accounts
- Set Time Limits for Kids
- Pin People to Your Taskbar
Bryan covers everything you need to know about Windows, social media, and the internet at large for Laptop Mag. Thanks to his extensive knowledge of operating systems and some of the most popular software out there, Bryan has written hundreds of helpful guides, including tips related to Windows 11 drivers, upgrading to a newer version of the OS, editing in Microsoft Photos, or rearranging pages in Google Docs.
