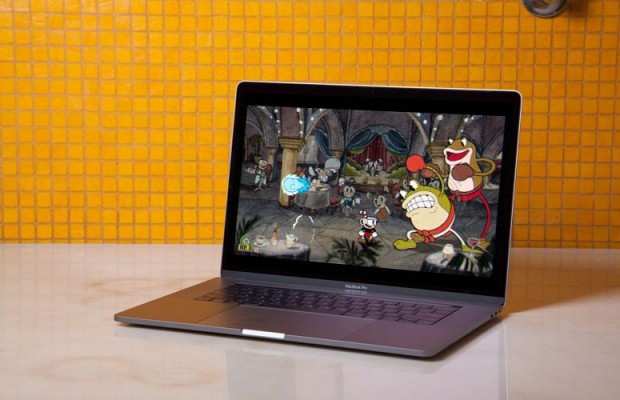
How to Play Cuphead and Other PC Games on a Mac
Sign up to receive The Snapshot, a free special dispatch from Laptop Mag, in your inbox.
You are now subscribed
Your newsletter sign-up was successful
Apple's MacBooks and iMacs have a lot going for them, but they've never been winners when it comes to gaming. For 15 years, I was OK with the lack of game support in OS X and then macOS. Both had all the apps I needed and still look and feel more "right" for me than Windows does. But that all changed this past October.
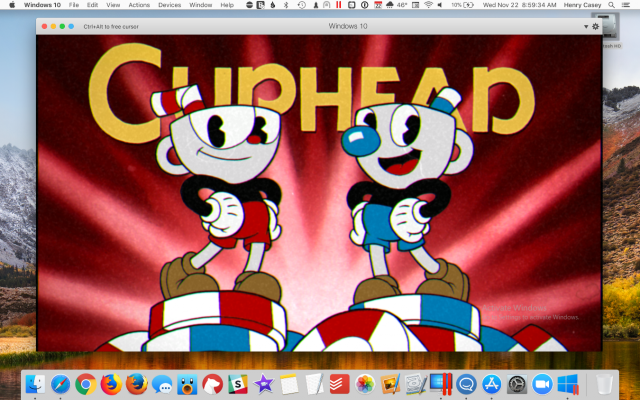
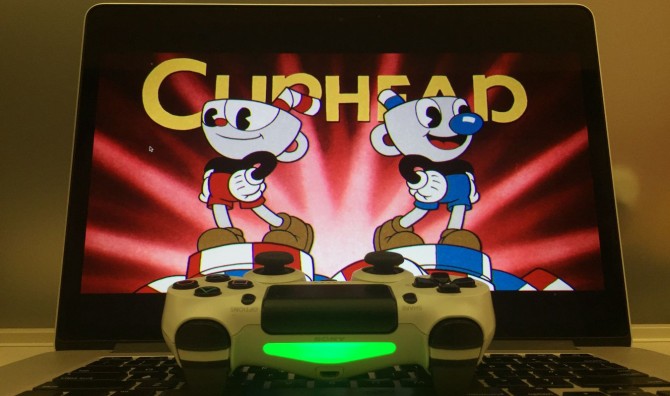
It all started with one domino: a single game that I couldn't play on my PS4 or MacBook Pro. The beautifully drawn and fantastically frustrating Cuphead is a side scroller so hypnotic, fun and unlike anything else that no other game would scratch that itch. I had to find a way to play it on my Mac.
MORE: Which MacBook Should You Buy? MacBook vs. Air vs. Pro
In my journey toward Cuphead nirvana, I've discovered a ton of tips and tricks for getting Windows titles to run on a MacBook. Here's everything you need to know about how to play PC games on a Mac.
Pick a Platform
Because I didn't have the budget to buy an Xbox or a PC, the only way I could play Cuphead was via the wild world of running or emulating Windows 10 on macOS. Out of the gate, I identified three options: Boot Camp, Parallels and VMware Fusion.
In order to get evidence that would help the most people, I decided that the tool should run on my five-year-old MacBook Pro. If the emulator could run on my aging machine, it could work practically anywhere, I figured. This eliminated VMware Fusion, which refused to run smoothly or allow the Windows Store (where I purchased Cuphead) to open.
Sign up to receive The Snapshot, a free special dispatch from Laptop Mag, in your inbox.
Parallels ran well enough on my MacBook, though playing the modestly demanding Cuphead smoothly required me to close all other apps in macOS. Boot Camp ran more smoothly but required some extra effort during setup
MORE: A Month with the MacBook Pro: What I Loved, What I Didn't
BootCamp: Best for older Macs
Before you get started, back up your Mac using Time Machine or a cloud-based service like Backblaze. If you encounter a serious problem, you might need to roll back, but you won't be able to do so without a working backup.
Apple provides instructions for setting up Boot Camp here, but I ran into a roadblock that prevented the installation from finishing. Fortunately, a call to Apple's tech support led me to the source of the problem: My Time Machine backups were getting in the way. An email from the rep read:
To resolve this issue, temporarily turn off automatic Time Machine backups: Click the Apple menu, then System Preferences and then Time Machine. Deselect Back Up Automatically. You can turn on automatic backups again after Boot Camp Assistant creates the Windows partition. Then follow these steps: Open Terminal, which is in the Utilities folder of your Applications folder. Copy and paste the following command into Terminal: "tmutil thinlocalsnapshots / 9999999999999999" This command deletes Time Machine local snapshots, allowing Boot Camp Assistant to partition the disk. Press Return. Run Boot Camp Assistant again. After it creates the Windows disk partition, you can return to Time Machine in System Preferences and select Back Up Automatically.
Then, Boot Camp installed easily, requiring only that I had a 16GB flash drive on which to place the Windows installation files.
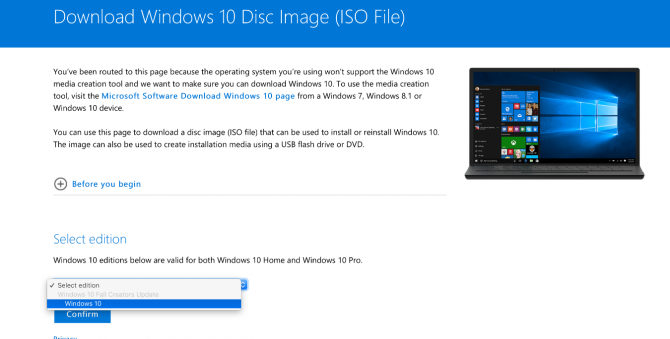
During this process, I encountered warnings from Microsoft's download pages stating that one shouldn't create a Bootcamp using a Creators Update. The warnings said to use the Anniversary Update instead.
The only issue? Microsoft no longer offers an Anniversary Update version of Windows for download.
Fortunately, this warning was unnecessary, as Microsoft reps confirmed to me that you can create a Boot Camp off of the recently released Fall Creators Update.
MORE: The Best Gaming Laptops
Parallels: Best for modern Macs
But if you've got a more up-to-date machine — such as the MacBook Pro with Touch Bar that I also tested in this project — you can take advantage of the perks of Parallels (currently available with a 20 percent off discount for Black Friday).
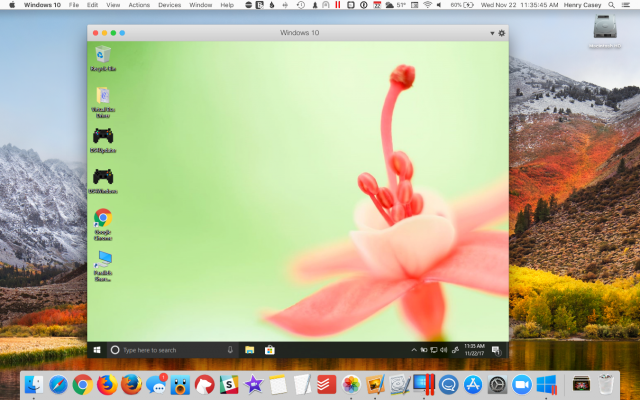
Parallels' advantage on Boot Camp is that it runs the Windows 10 environment as an app, so you don't need to boot in and out of it, as you do with Boot Camp. This means you can use Mac apps side by side with Windows 10, as well, as drag and drop items between operating systems. Parallels doesn't adjust your system by making you create a partition, so creating a backup isn't as important here (though constant backups are every user's friend).
While Parallels isn't free, there is a free 14-day trial that you can use to see if the program is right for you.
But first, learn from some of my mistakes:
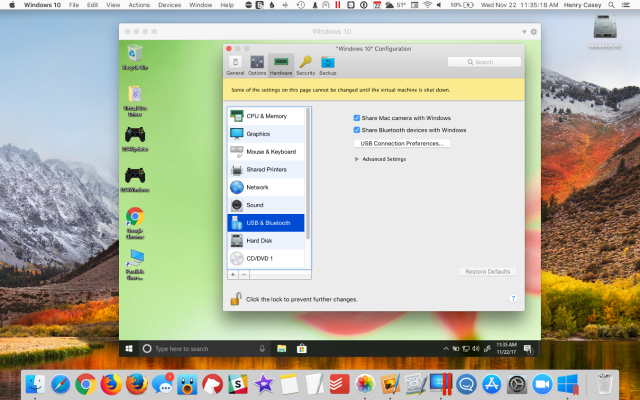
If you're going to use a Bluetooth controller (more on that later), you've got to set Parallels up for that. Click the Menu bar icon for Parallels (the pair of red lines), select Configure, select Hardware, select USB & Bluetooth, and click Share Bluetooth devices with Windows.
Next, click the Menu bar icon again, select Configure, select General, select Configure For and then pick Games Only.
And when you go through the pairing process to link a controller to Windows, ignore any pop-ups from macOS that ask about a Bluetooth device that wants to pair.
If Cuphead stalls on its title screen, minimize and then maximize the window, as that seems to nudge the game-save sync along.
Wireless Controller Tips
While you could just connect a gaming controller to your Mac via a USB cable — it's easier and not a bad idea if you're connecting to a laptop — you don't need to be tethered to your hardware like you're living in 2005. If you're using Parallels, make sure Bluetooth is turned on for your Mac.
Because Microsoft operates both Windows and the Xbox platform, connecting an Xbox wireless controller to a PC is supposed to be supereasy, working right out of the box. Sadly, my experience wasn't that simple, as Xbox controllers connected to some PCs (the Surface Pro), but not others (the 13-inch HP Spectre x360).
This taught me that you don't need to buy an Xbox controller, because greater consistency came with tricking PCs into using PS4 controllers.
Using a PS4 Controller to Play PC Games on Your Mac
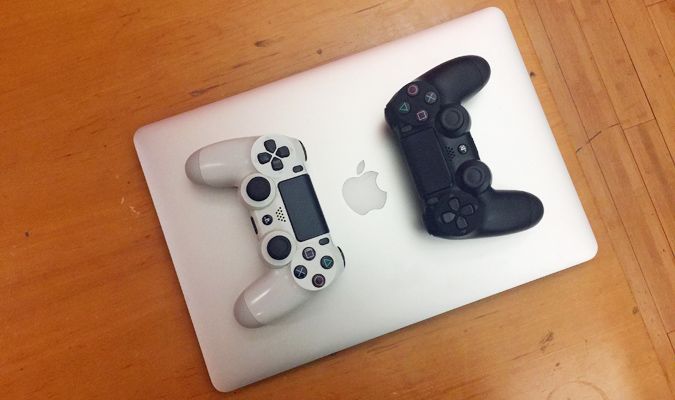
If you want to use a PS4 controller with your Mac, you'll need the free DS4Windows utility from this page.
1. Click DS4Windows.zip under Downloads.
2. Copy DS4Updater and DS4Windows from the downloaded folder to the desktop.
3. Open DS4Windows
4. Click Appdata.
5. Click "Step 1: Install the DS4 Driver" and wait for that to change to Completed.
6. Go to the main DS4Windows window. Click Default.
7. Click Edit.
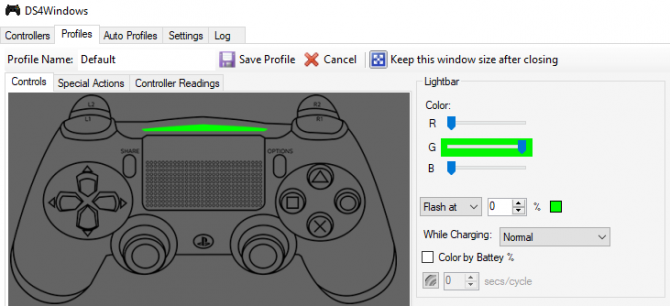
8. Under Lightbar, drag the sliders to change the setting to show a different color (I turn G all the way up and lower R and B to 0). This will help you confirm when your controller is correctly paired.
9. On your PS4 Dual Shock 4 controller, hold down on the Share and PS buttons for 3 seconds so the light bar flashes in short, fast bursts.
10. Click Bluetooth Settings.
11. Click Add Device.
12. Click Bluetooth Device.
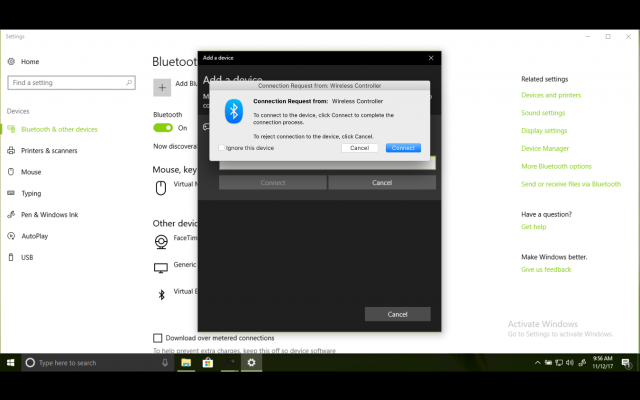
13. Select Wireless Controller.
14. If the screen asks you to enter a four-digit code, type "0000" and click OK. After a brief pause, the code should go through. As I said earlier, ignore any prompts from macOS asking you about controllers trying to pair.
Wait for the Lightbar at the front of your controller to change to the color you set it to and for Windows to say, "Controller 1 is using the Default profile."
15. If your system is behaving as if second player is repeatedly trying to join your game, open DS4Windows, click Settings and check the box next to Hide DS4 Controller.
If you want to do multiplayer gaming, your best bet is to plug the second controller into the laptop. In that case, we recommend using a 10-foot micro USB cable, so you have plenty of slack. You should also make sure the MacBook isn't sitting on a precarious area where it could fall.
Remember to always have DS4Windows open when you need to pair or re-pair a controller. If your system or controller goes to sleep, you should first hit the PS button and hope the controller and computer reconnect (as I said, nothing is taken for granted here).
If that doesn't work, remove the controller from the Bluetooth settings screens in both Windows (in Settings under Devices > Bluetooth) and macOS (in System Preferences under Bluetooth).
macOS High Sierra Tips
- How to Download and Install macOS High Sierra
- How to Use Picture-in-Picture on a Mac
- How to Use Siri on Your Mac
- How to Use Optimized Storage in macOS Sierra
- How to Use Memories in the Photos App on Mac
- How to Use Messages in macOS Sierra
- How to Use Apple Pay in macOS Sierra
- How to Unlock a MacBook with Your Apple Watch
Henry was a contributing writer at Laptop Mag. He penned hundreds of articles, including helpful how-tos for Windows, Mac, and Gmail. Henry has also written about some of the best Chromebooks, and he has reviewed many Apple devices, including various MacBook Air laptops. He is now a managing editor at our sister site Tom's Guide, covering streaming media, laptops, and all things Apple.
