How to Make Text Move in Windows 10’s Photos
The video creation tools inside Windows 10’s Photos are pretty stellar. Beginner friendly and fun, these allow you to hit the ground running and begin creating immediately without the steep learning curve offered by programs like Premiere Pro or Final Cut. It’s actually even easier to use than the old Windows Movie Maker, if you can remember that.
Today we’re going to show you how to use the text tool with an anchoring system that allows your text to move along with the image in videos. Called tracking, this creates a semi-professional-looking effect in just seconds.
- Open Photos.
- At the top, choose the Create option (in blue) and select Custom video with music from the dropdown menu.
- Check the box in the upper right corner of the video you’d like to edit.
- Click Add.
- Drag the video to the bottom timeline.
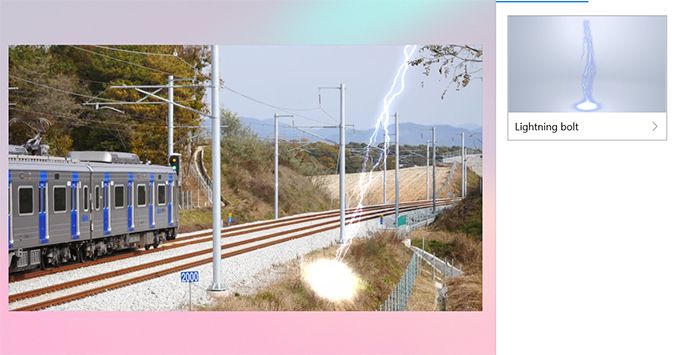
- Click 3D effects to open the effects menu.
- Choose any effect from the sidebar on right. Note: some of the effects don’t have the option to anchor them to moving images, but many do. If yours does, it’ll show an option to Attach to a point after you select it.
- Toggle the slider in Attach to a point to the On position.
- Drag the blue anchor to the object you’d like to attach the 3D moving image to, and wait as it processes.
- Adjust the slider at the bottom to lengthen or shorten the time the animation is on screen. You can have it visible throughout, or for just a small portion of the video.
- From here, it’s just about experimentation. Drag the handles to resize, the wheels to rotate, and the anchor to attach the animation to a different point in the video.
- How to Add 3D Objects to Powerpoint Presentations
- How to Use Windows 10’s Built-In Currency Converter
- How to Set Up Continue on PC in Windows 10
Sign up to receive The Snapshot, a free special dispatch from Laptop Mag, in your inbox.
Bryan covers everything you need to know about Windows, social media, and the internet at large for Laptop Mag. Thanks to his extensive knowledge of operating systems and some of the most popular software out there, Bryan has written hundreds of helpful guides, including tips related to Windows 11 drivers, upgrading to a newer version of the OS, editing in Microsoft Photos, or rearranging pages in Google Docs.

