How to Use Google Drive to Essentially Increase Your Nexus 7's Storage
Sign up to receive The Snapshot, a free special dispatch from Laptop Mag, in your inbox.
You are now subscribed
Your newsletter sign-up was successful
So you might have gone with the 8GB Nexus 7 instead of the 16GB and why not? It's $50 cheaper and how many things do you need to have on the device when your movies, music, magazines, etc. are all in the cloud through Google Play? That's a sound theory, but perhaps you managed to fill up those 8GBs regardless. To get more space, you can either delete things, or you can use Google Drive to move some of them off the tablet and store them in the cloud. Here's how.
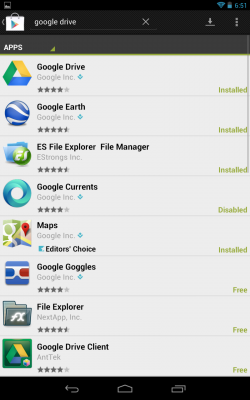
1. Open the Play Store on your Nexus 7.
2. Search the store for Google Drive, select it and install it.
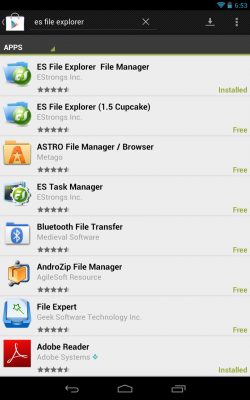
3. Search the store, again, but this time for ES File Explorer. We need this so we can upload any file we want to Google Drive.
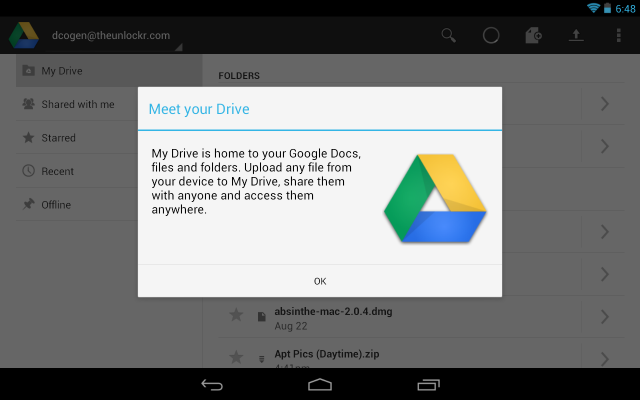
4. Open Google Drive.
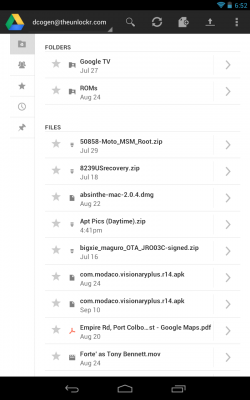
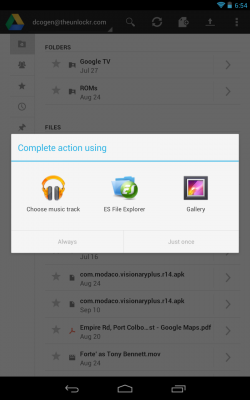
5. Select the upload icon in the top right corner.
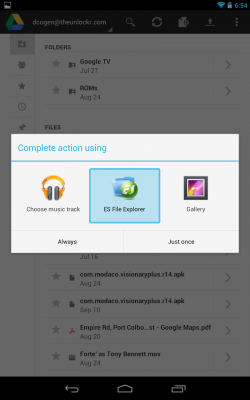
6. Select ES File Explorer.
Sign up to receive The Snapshot, a free special dispatch from Laptop Mag, in your inbox.
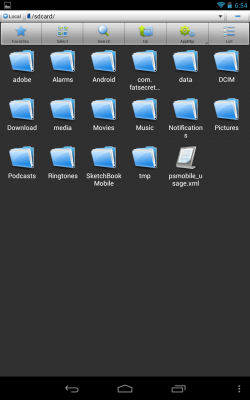
7. Select whatever files you want to upload to Google Drive and then delete them from the device once they are confirmed to be uploaded. Now you have at least another 5GBs of storage from Google Drive for free.
TheUnlockr.com, the popular site for rooting, jailbreaking, hacking, modding, and other how tos to show you how to unlock your device's true potential. They even have a popular ROM repository. Check out TheUnlockr.com for all your Android, iPhone, and Windows Phone how tos.
- How to Boost the Volume of Your Nexus 7
- How to Use Google Now on the Nexus 7
- How to Play Nintendo 64 Games on the Google Nexus 7
- How to Enable Adobe Flash on the Nexus 7
- How to Add Your Own Music to the Google Play Music Cloud
- How to Hard Reset a Bricked Nexus 7 With Your PC
- How to Share Your Notebook’s Internet Connection with the Nexus 7
- How to Root the Nexus 7
