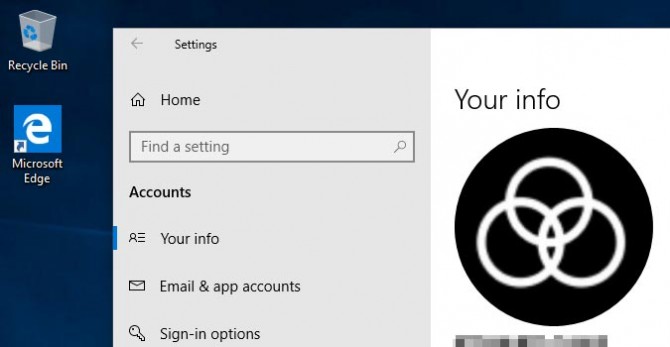
How to change your account photo in Windows 10
By default, each user on Windows gets a generic image of your choosing. There are numerous options that are more than enough for most users. But you aren’t most users. If you’re looking to customize your account photo to something more, well, custom, there’s an easy fix. Here’s how it’s done.
To change to an existing image on your PC, you can follow the steps below. If you’d prefer to take a new one with your webcam, we’ve got you covered there too.
- Click the Start button.
- From the Start menu, click the Settings icon to open the Settings menu.
- Once there, click on Accounts to access all the accounts you have connected to your Windows 10 device.
- Under the section tagged Create your picture, you’ll see an option that says Browse for it. Click it.
- Find the image you’d like to use -- by default, images are saved in the Photos folder -- and click the Choose picture button to select it.
To snap a new photo with your webcam, try this instead.
- Click Start.
- Choose Settings.
- Click Accounts.
- Beneath the Create your picture section, you’ll see an option that says Camera. Click it to open your device’s camera.
- Adjust your camera as needed to fill the frame, and click the Take Photo button.
- Click Done when you’re happy with the photo.
Sign up to receive The Snapshot, a free special dispatch from Laptop Mag, in your inbox.
Bryan covers everything you need to know about Windows, social media, and the internet at large for Laptop Mag. Thanks to his extensive knowledge of operating systems and some of the most popular software out there, Bryan has written hundreds of helpful guides, including tips related to Windows 11 drivers, upgrading to a newer version of the OS, editing in Microsoft Photos, or rearranging pages in Google Docs.

