How to Add Remix 3D Items to a Microsoft Word Document
Sign up to receive The Snapshot, a free special dispatch from Laptop Mag, in your inbox.
You are now subscribed
Your newsletter sign-up was successful
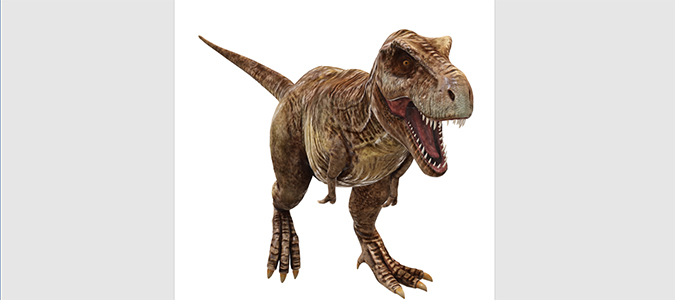
New in Windows’ Fall Creators Update is the ability to add 3D artwork to your Microsoft Office documents. The files, lifted straight from Microsoft’s own 3D modeling community, Remix 3D, allows anyone with an Office 365 subscription to take advantage of some really cool artwork created by a community of super-talented individuals.
Here’s how to drop one in a Word document.
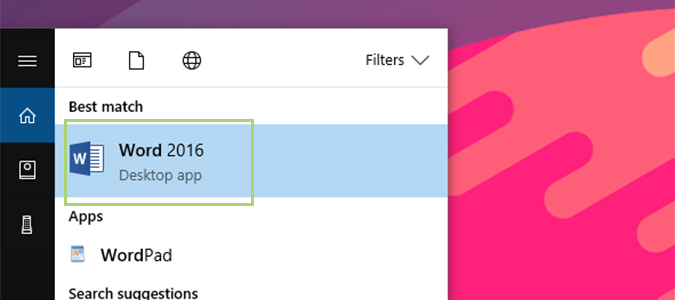
1. In the Cortana search bar, type Word and then press Enter to open Microsoft Word.
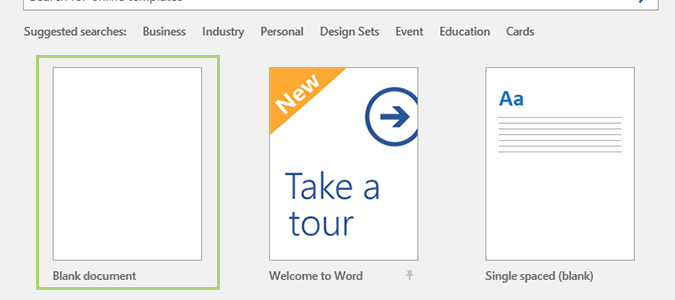
2. Open a blank document, or choose an existing file that you started work on previously.
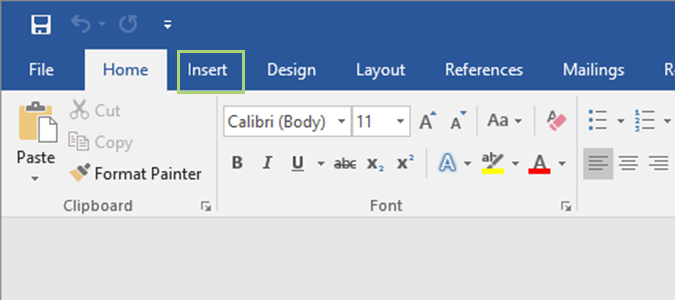
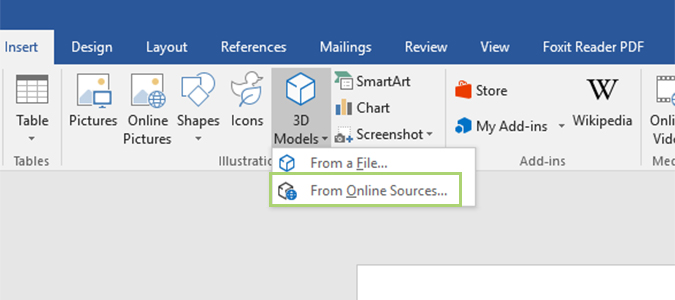
3. From the Ribbon, click the Insert tab.
4. Choose 3D Models and then select a file of your own, or one from Online Sources, which allows you to download artwork from the Remix 3D community.
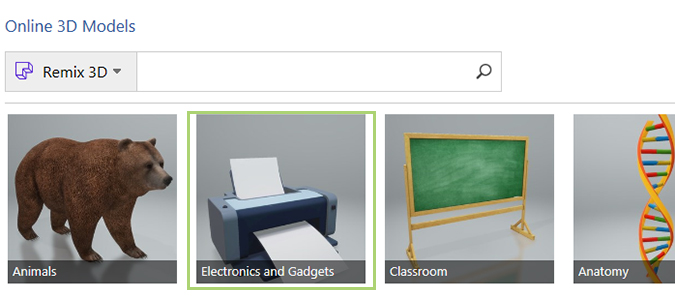
5. Choose a category, or search for one in the search bar at the top.
Sign up to receive The Snapshot, a free special dispatch from Laptop Mag, in your inbox.
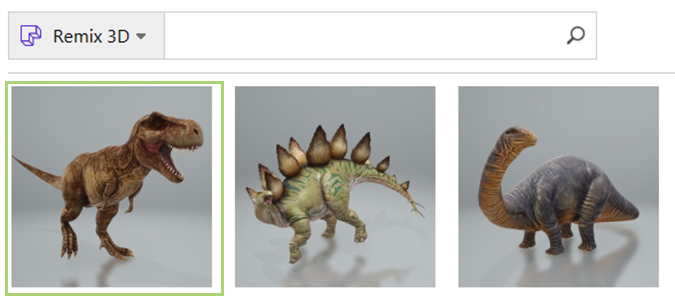
6. Pick your artwork and double click to insert it into the document.
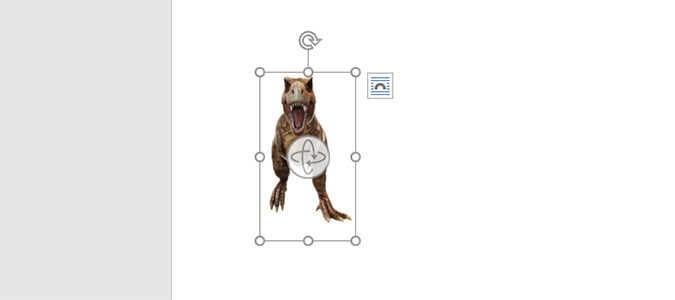
7. From here, you can rotate, resize, or flip the 3D object using the pull handles and/or the rotation wheel.
Bryan covers everything you need to know about Windows, social media, and the internet at large for Laptop Mag. Thanks to his extensive knowledge of operating systems and some of the most popular software out there, Bryan has written hundreds of helpful guides, including tips related to Windows 11 drivers, upgrading to a newer version of the OS, editing in Microsoft Photos, or rearranging pages in Google Docs.
