Finder, a tool Apple revamped way back in 2001, is sort of a catchall system, housing any file, application, or external media on your Mac. The system uses the classic “Happy Mac” logo first found on some of its earliest operating systems, dating back to the 1980s and 90s. To this day, the ease of use is second-to-none, allowing users to find just about anything with a few mouse clicks, or a quick search.
It’s great in its own right, though it doesn’t operate quite the same as Microsoft’s File Explorer. If you can get used to the differences though, you’re really not missing much. One of the pieces that is missing, however, is sort of a dealbreaker: a location bar to show file paths. Luckily, it’s super easy to enable it, though not immediately intuitive in how to do so. Today we’ll add a location bar to display under the filename of each file in Finder.
A quick Terminal command is all we need to add this missing feature, which was really all I missed about File Explorer when switching to a Mac. And don’t worry, it’s easily reversible should you decide you really don’t need it. Though, it’s mostly out of sight, so I can’t imagine that would happen anyway.
Article continues below
1) Click the Finder icon to open a Finder window.
2) In Applications, search Terminal.

3) In the search results, select Terminal.

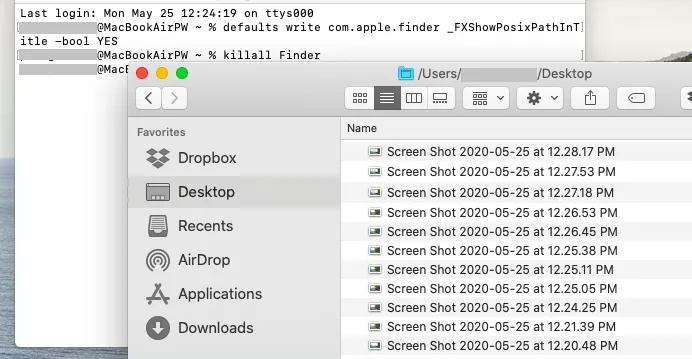
4) In the Terminal window, type defaults write com.apple.finder _FXShowPosixPathInTitle -bool YES.

5) Press Enter to run the command.

6) Type killall Finder to refresh all instances of Finder.

7) Press Enter to run the command.
