How to take a screenshot in Windows 11
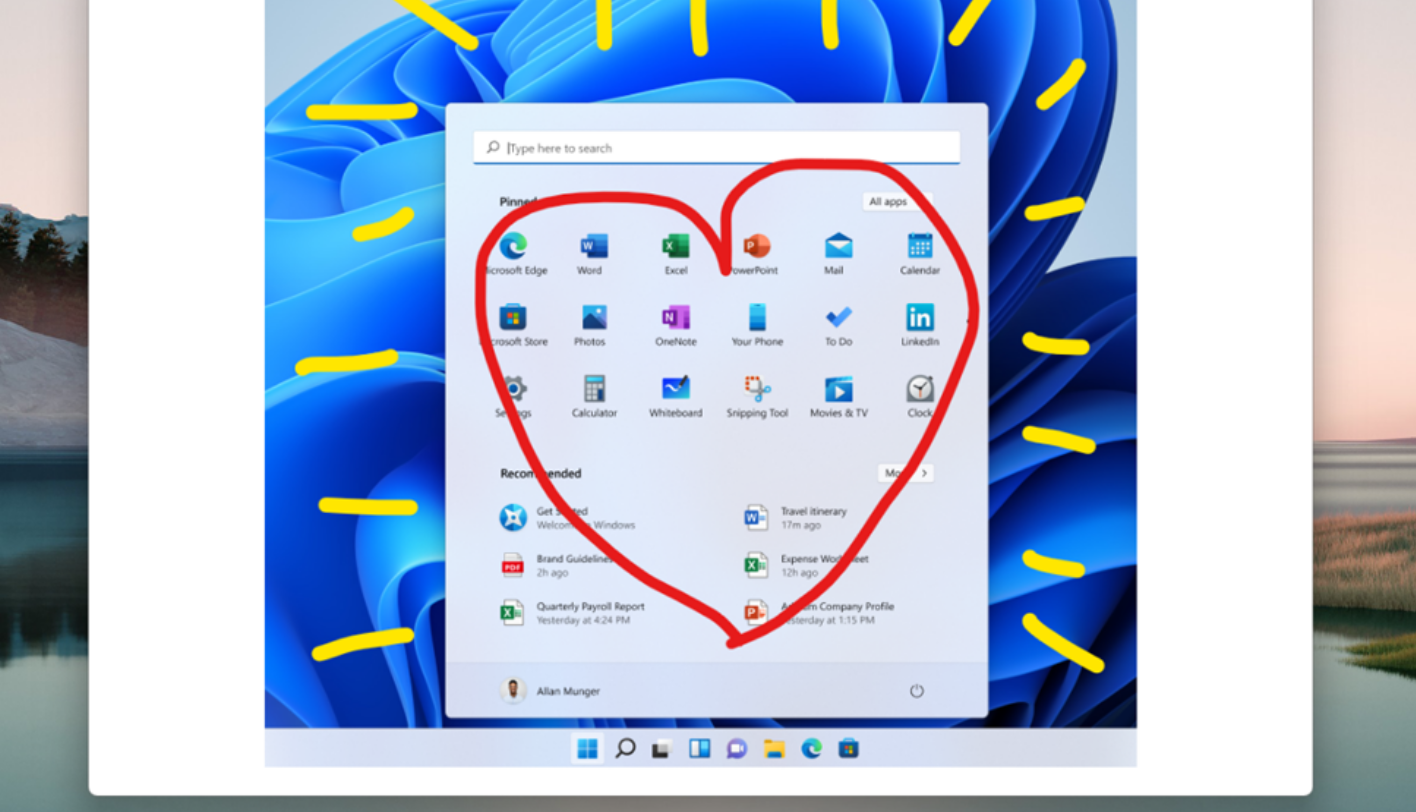
Taking a screenshot in Windows 11 is easy
Sign up to receive The Snapshot, a free special dispatch from Laptop Mag, in your inbox.
You are now subscribed
Your newsletter sign-up was successful
Wondering how to take a screenshot in Windows 11? We've got you covered!
Remember when taking a screenshot meant print screening a page then pasting it into Paint, cropping it, and saving it as a PNG or JPG. What a chore! Microsoft is simplifying the process in Windows 11 with a new Snipping Tool app.
The new tool combines the best features from the previous screenshot apps (more on that below), giving you the ability to quickly take a screenshot with a simple keyboard shortcut, then make edits, write annotations, and save it to your system. With that cleared up, let's go over your options for taking a screenshot in Windows 11 so you can save photos, emails, notes, and other important files.
How to take a screenshot in Windows 11
Redesigned for Windows 11, the Snipping Tool puts the power of the screenshot right under your fingertips. I mean that literally — all you need is a quick shortcut to take a screenshot in Windows 11.
1. Open the content you'd like to screenshot on your display.
2. Locate the Win + Shift + S keys. (If you can't find them, check out the image below)
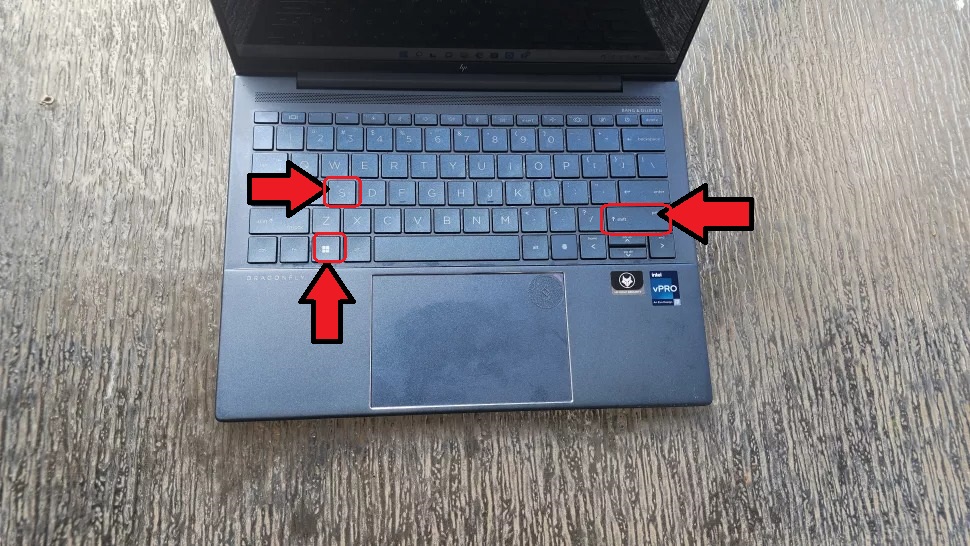
3. Press all three keys simultaneously.
Sign up to receive The Snapshot, a free special dispatch from Laptop Mag, in your inbox.
This will launch the Snipping Tool app. You'll then be presented with several options for selecting the exact portion of the page you want to capture; these include Rectangular Snip, Freeform Snip, Windows Snip, and Fullscreen Snip.
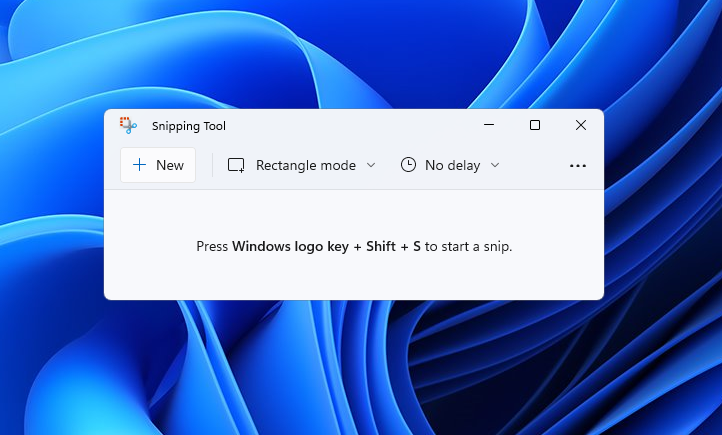
Once a screenshot is taken, Snipping Tool will direct you to the editing page where you'll find tools for adding annotations, adjusting the crop, and more.
Want an even easier way to open the Snipping Tool? Windows 10 has the option to set the Print Screen (prt sc) as your Snipping Tool launcher. We're hoping for something similar in Windows 11 so keep an eye out for this accessibility tool when the new OS launches later this year.
Take a Windows 11 screenshot using Print Screen
Another way to take a screenshot of your entire window is by using the Print Screen (Prt sc, PrtSc, PrtScn, PrntScrn) key.
To take a screenshot of the entire window, press the Windows key and Print Screen simultaneously. This will grab every window you have open, even those on secondary displays. You can find the screenshot saved in your PC>Pictures>Screenshots.
If you only want to take a screenshot of an open app, press the Windows key, ALT and Print Screen. This will save a screenshot to PC>Videos>Captures.
Phillip Tracy is the assistant managing editor at Laptop Mag where he reviews laptops, phones and other gadgets while covering the latest industry news. After graduating with a journalism degree from the University of Texas at Austin, Phillip became a tech reporter at the Daily Dot. There, he wrote reviews for a range of gadgets and covered everything from social media trends to cybersecurity. Prior to that, he wrote for RCR Wireless News covering 5G and IoT. When he's not tinkering with devices, you can find Phillip playing video games, reading, traveling or watching soccer.
