How to use Apple Pay Later — Set yourself up on Apple’s version of Klarna
Here’s how to apply for an Apple Pay Later loan

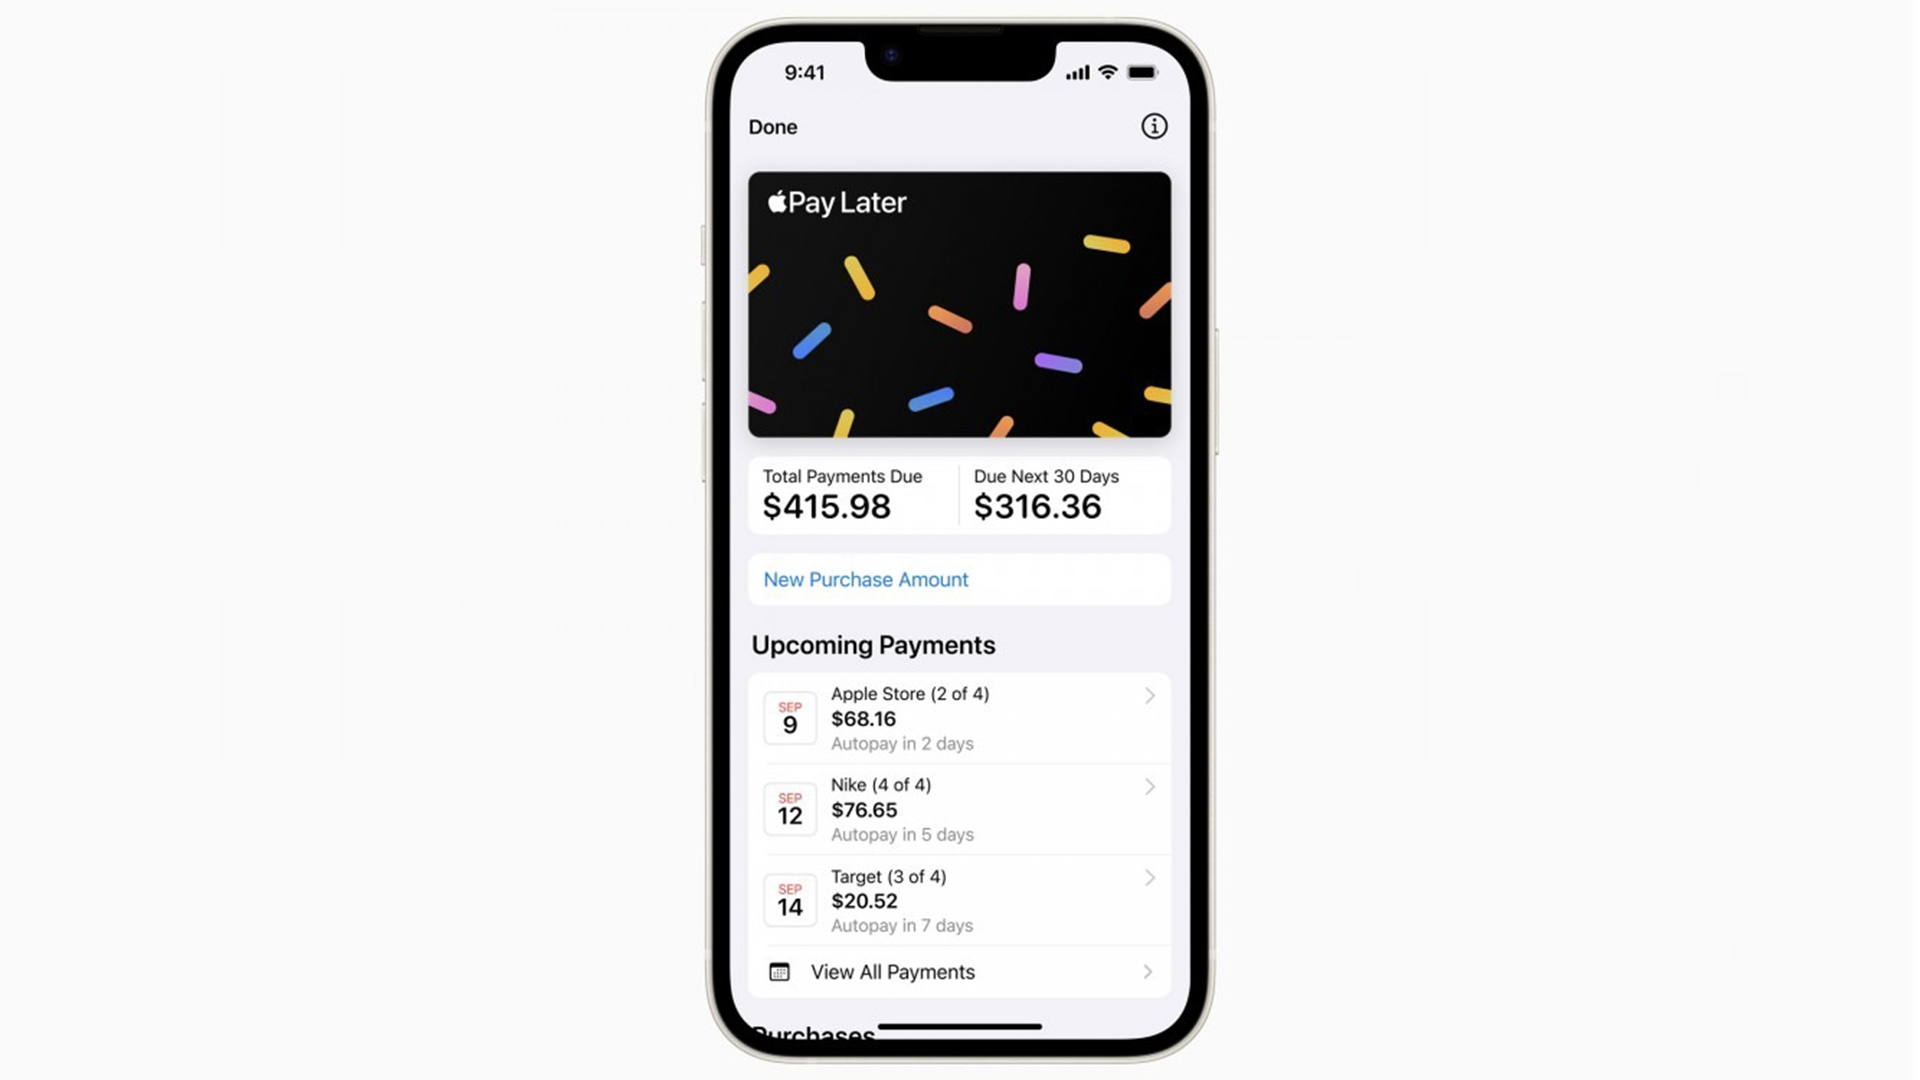
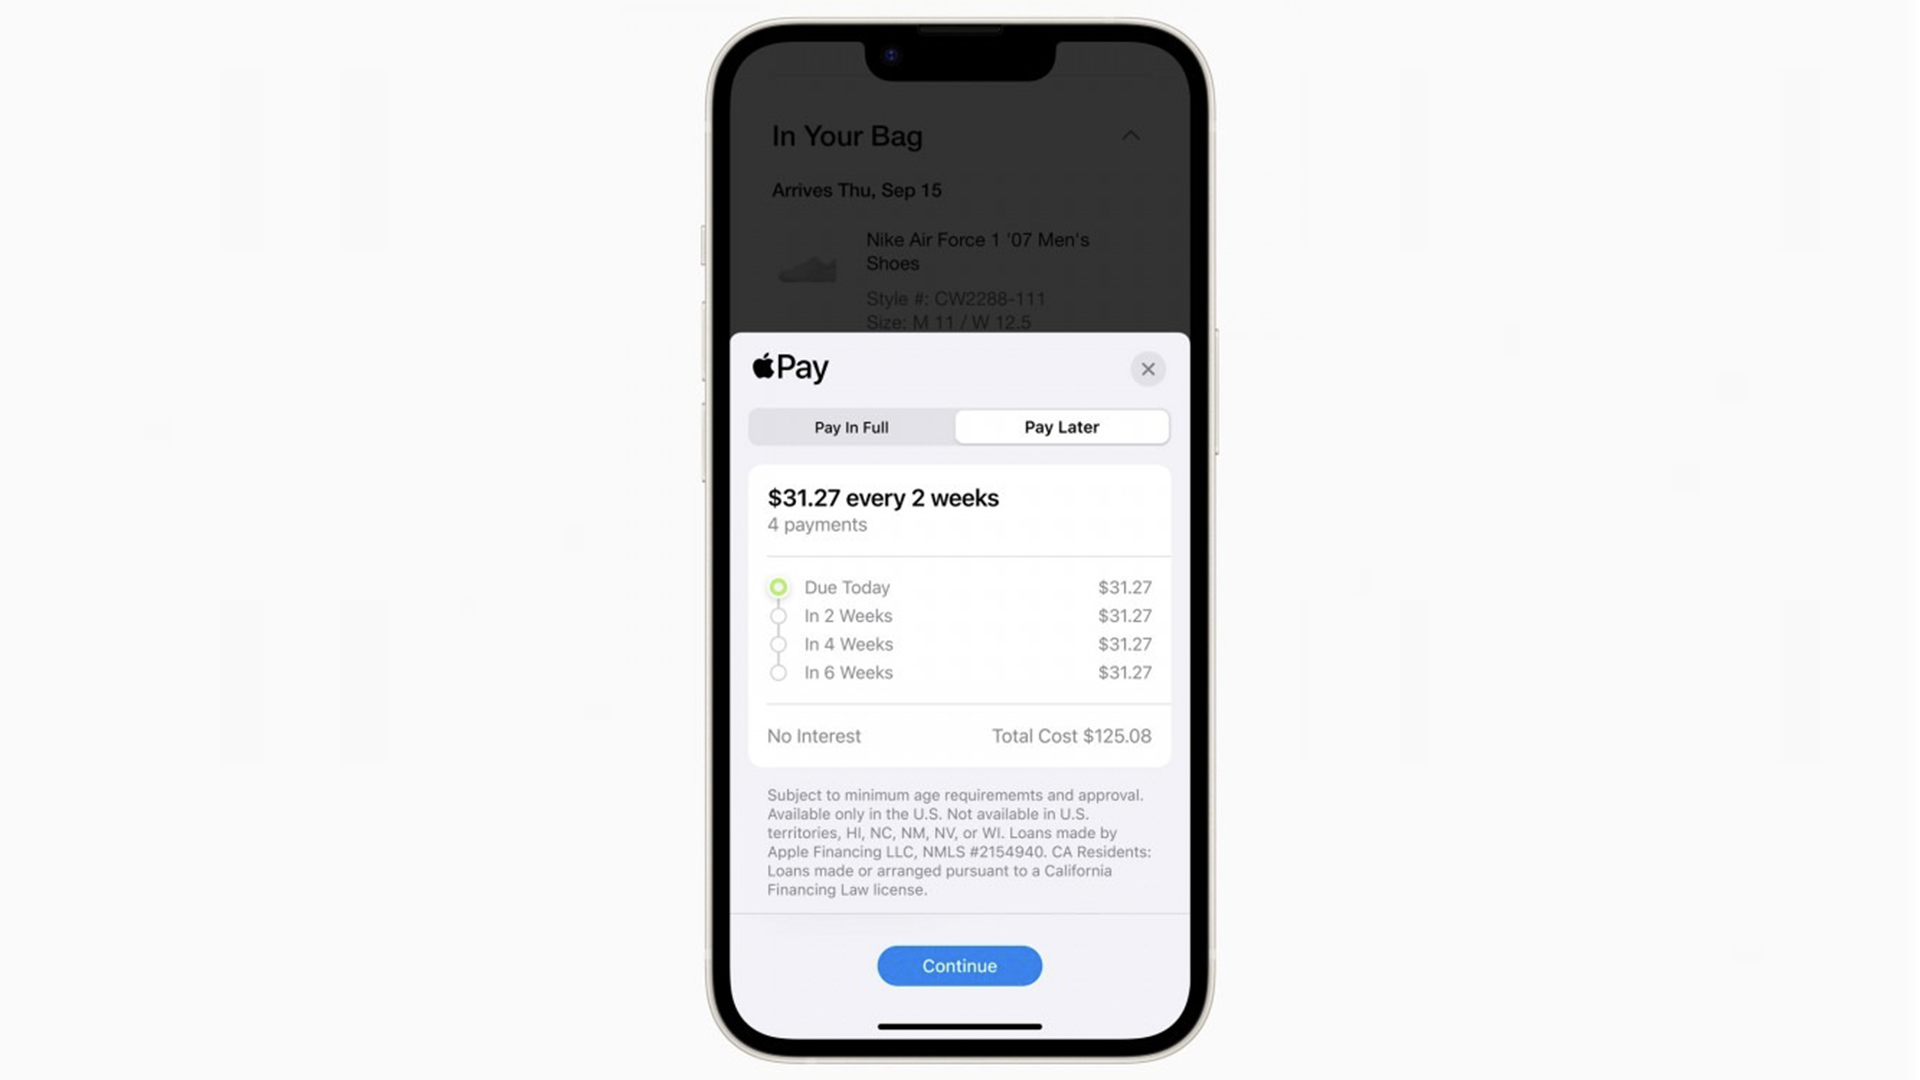
Apple Pay Later is the company’s latest financial service that offers a loan you can pay back in four installments with no interest or fees. Here’s how to set it up.
As I allude to in the headline, think of this like Klarna — a pay later service, but with the added benefit of being integrated directly into Apple Wallet.on the likes of your iPhone 14 or iPad.
Right now, Apple has not confirmed whether there is a minimum credit score to apply for a loan, but the company will conduct a credit check that doesn’t impact your score, using “Experian and other credit bureaus.” If you are curious about setting yourself up on Apple Pay Later, here’s a quick guide.
How to set up Apple Pay Later
So, I need to start this by tearing a small bandaid off and say you can’t directly apply for Apple Pay Later. Right now, the company is inviting randomly selected users to access a prerelease version.
If you were lucky enough to have been picked, here’s how to set it up. Once you can apply, we will update this guide with a quick tutorial on how to do so.
1. Check off the prerequisites
You will need to meet a few requirements. These are:
- You are 18 years old or over
- You are a lawful U.S. citizen with a valid U.S. address
- You already have Apple Pay setup with a debit card
- You have two-factor authentication setup on your Apple ID account
- You have a Driver’s License or State-issued photo ID (you may need to verify your identity)
2. Head into your Apple Wallet
If you’re using this on your iPhone, open the Apple Wallet app. For anyone on an iPad, head over to Settings, and tap Wallet & Apple Pay.
3. Start the setup process
Tap the plus symbol, select Apple Pay Later and hit continue.
4. Set up your Apple Pay Later loan
Head through the steps to apply for your Apple Pay Later loan. This includes submitting your requested amount, and the total value of the purchase including shipping and taxes. The value you can request can be anything between $50 and $1,000.
5. Verification and confirmation

Tap Next, which will lead you to verifying your personal information. Once done, tap Agree and apply.
6. Confirm the loan
At this point, you will see the loan agreement details and payment plan. If you’re happy with it all, tap Add to Wallet. At this point, you’ll have 30 days to use this loan. If you don’t manage to use it in this time frame, you will need to re-apply.
Sign up to receive The Snapshot, a free special dispatch from Laptop Mag, in your inbox.

Jason brought a decade of tech and gaming journalism experience to his role as a writer at Laptop Mag, and he is now the Managing Editor of Computing at Tom's Guide. He takes a particular interest in writing articles and creating videos about laptops, headphones and games. He has previously written for Kotaku, Stuff and BBC Science Focus. In his spare time, you'll find Jason looking for good dogs to pet or thinking about eating pizza if he isn't already.
