How to make a GIF on Windows 10
Impress your friends by making animated GIFs using GIPHY
GIFs are an excellent way to express emotions or thoughts in a short burst of animated images. And since they are one of the most popular graphics formats on the planet, it is now easier than ever to make GIFs using the many online programs on Windows 10 that allow us to use our own video and image files.
Here is how to use the GIPHY app as one of the many ways you can make a GIF.
- How to Download and Install macOS Sierra
- How to block or mute someone on Microsoft Teams
- How to Use Telegram on iOS and Android
How to make a GIF on Windows 10
Step 1: Making a GIF -- Getting started
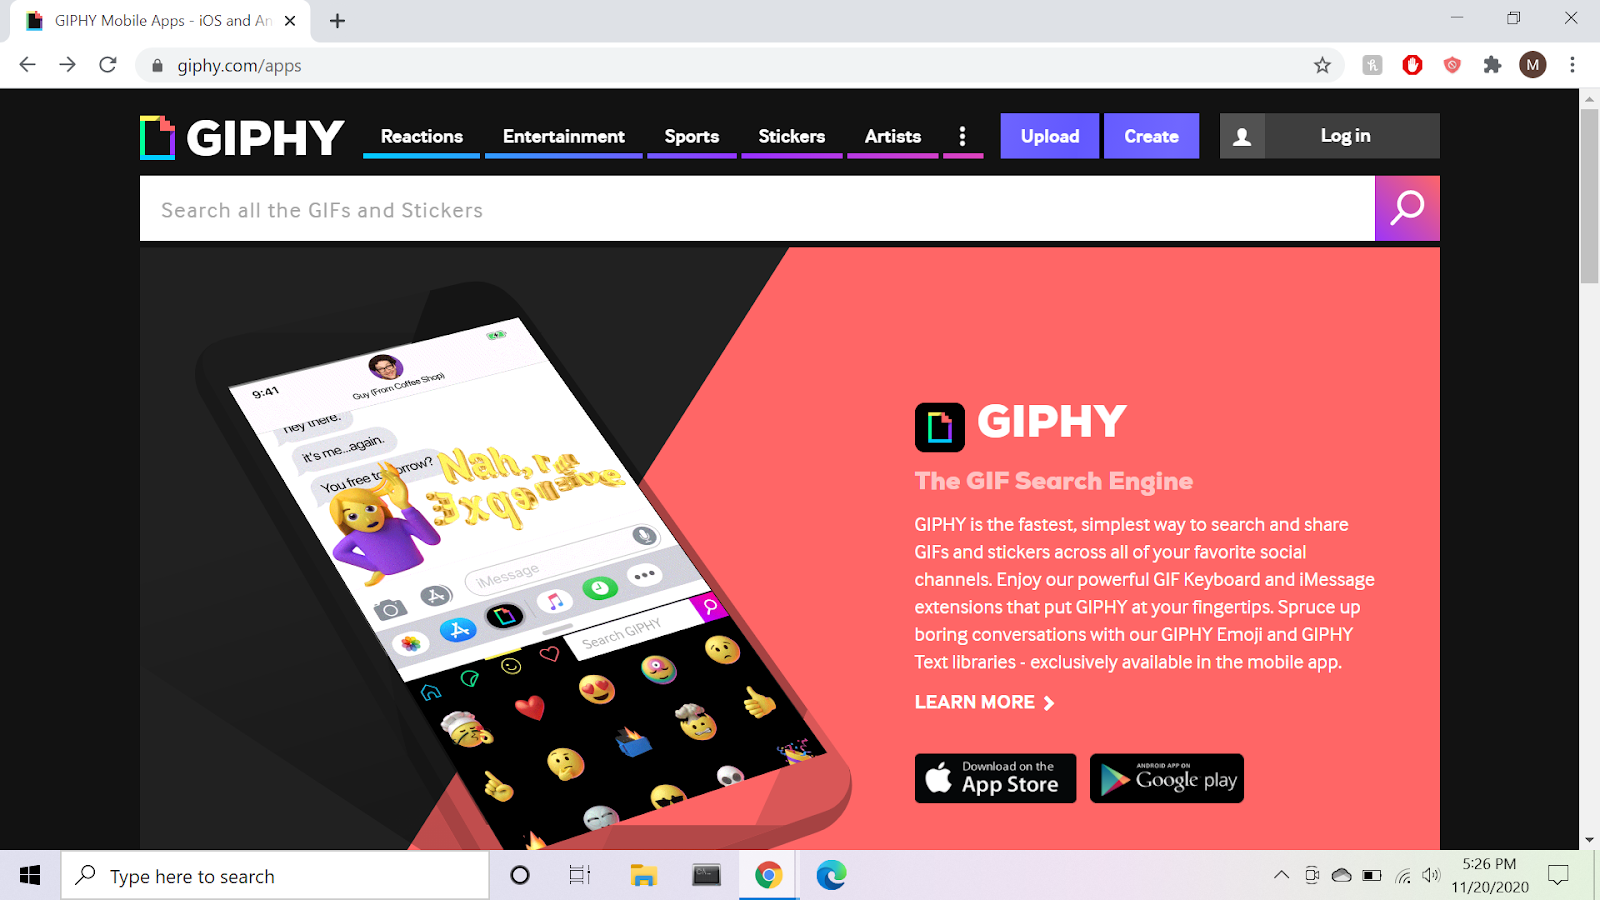
GIPHY is a great tool for GIF making. After you sign up for a free account, you can simply begin by clicking the “Create” button at the top-right corner of the screen, next to the “Log In” button (you must login first, of course).
Step 2: GIF, Sticker, or Backdrop
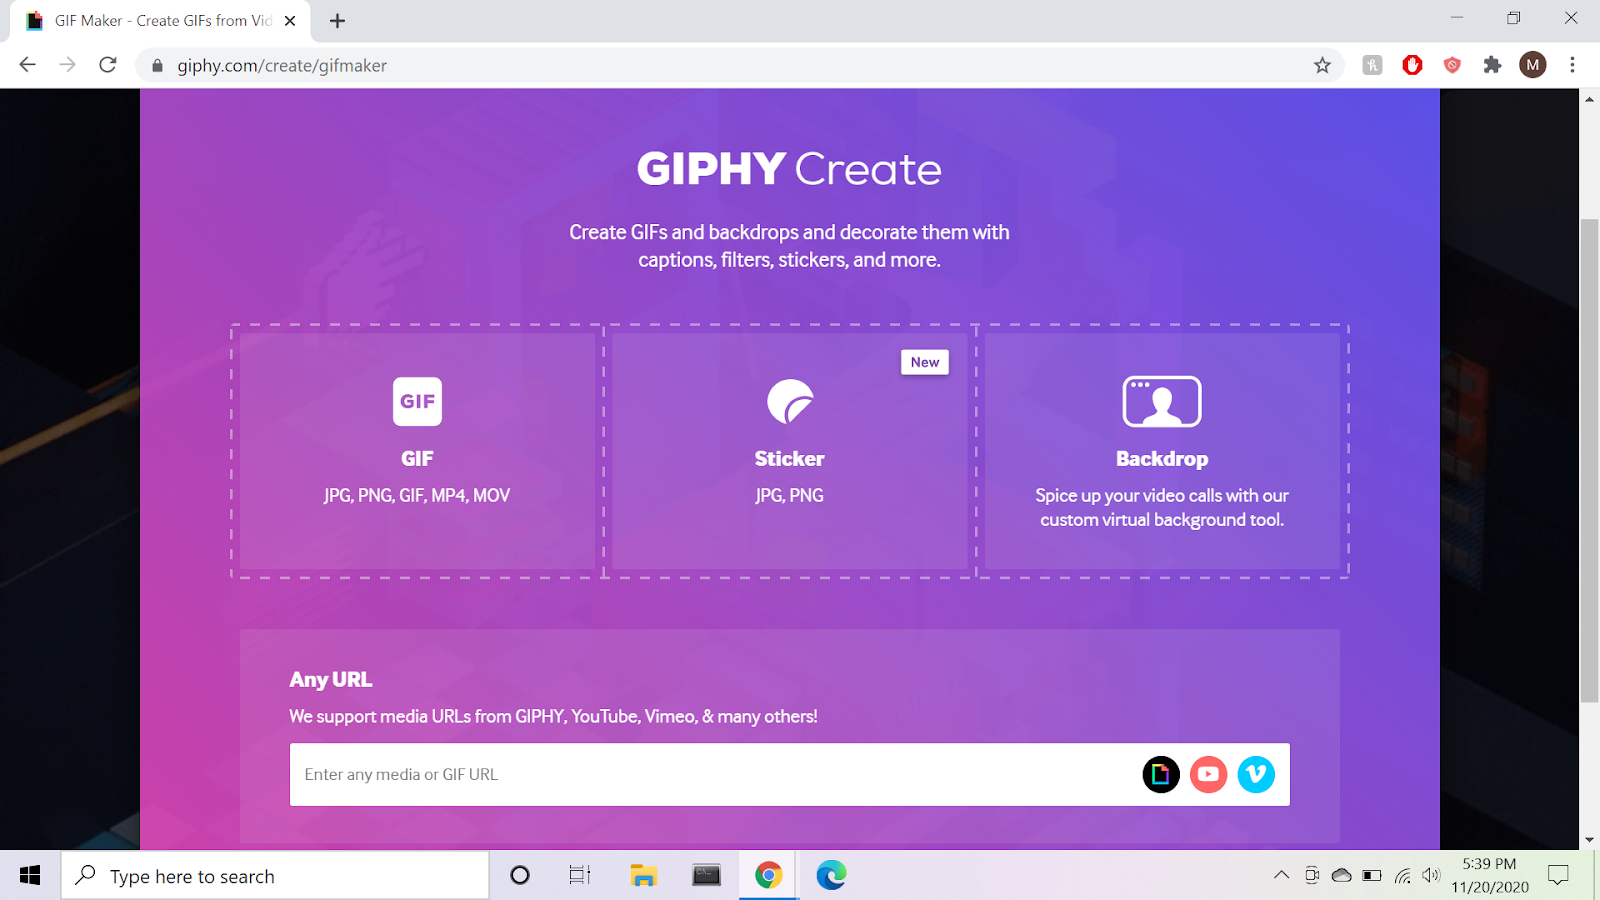
After clicking the “Create” button, you will see a menu that gives you the option to make a GIF, a Sticker, or a Backdrop. Click the option that says "GIF." Notice: Underneath “GIF,” there are other groups of formats: JPG, PNG, GIF, MP4, and MOV. These are the kinds of files you are allowed to use in making your GIFs. You shouldn't run into any compatibility issues since most photos are JPG or PNG while most video clips are MP4 or MOV.
Step 3: Selecting Files
Sign up to receive The Snapshot, a free special dispatch from Laptop Mag, in your inbox.
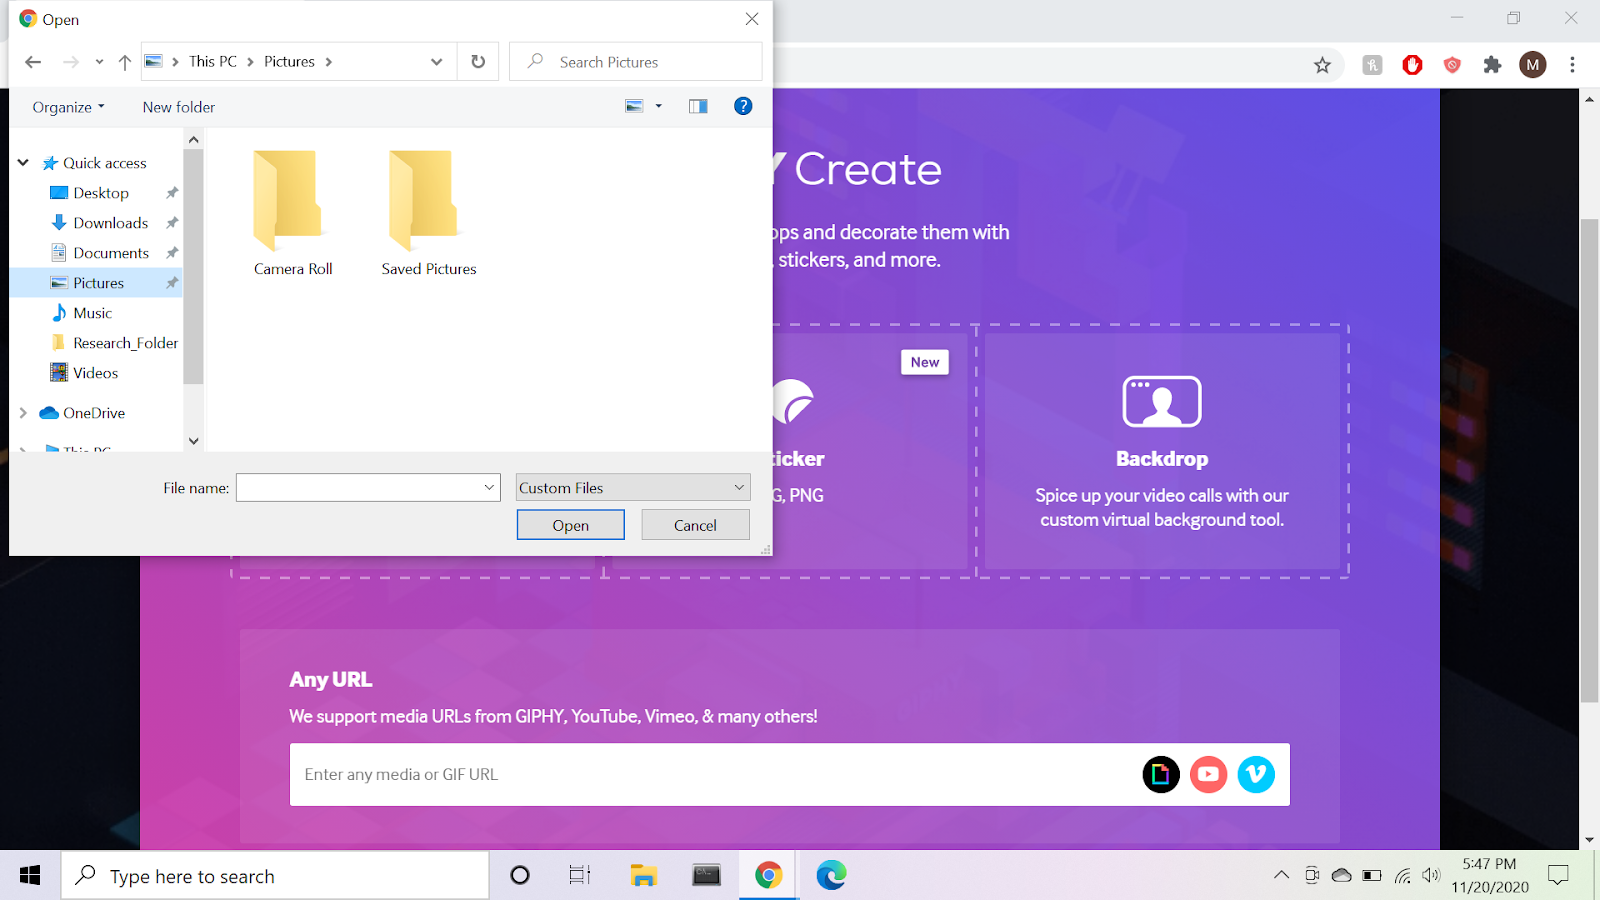
Upon clicking the "GIF" option, a window will appear with the option to select the files you will use (image or video) for your GIF. At the bottom, you have the option to plug in any URL from almost any video site you want in order to make your GIF.
Step 4: Making a GIF with Images
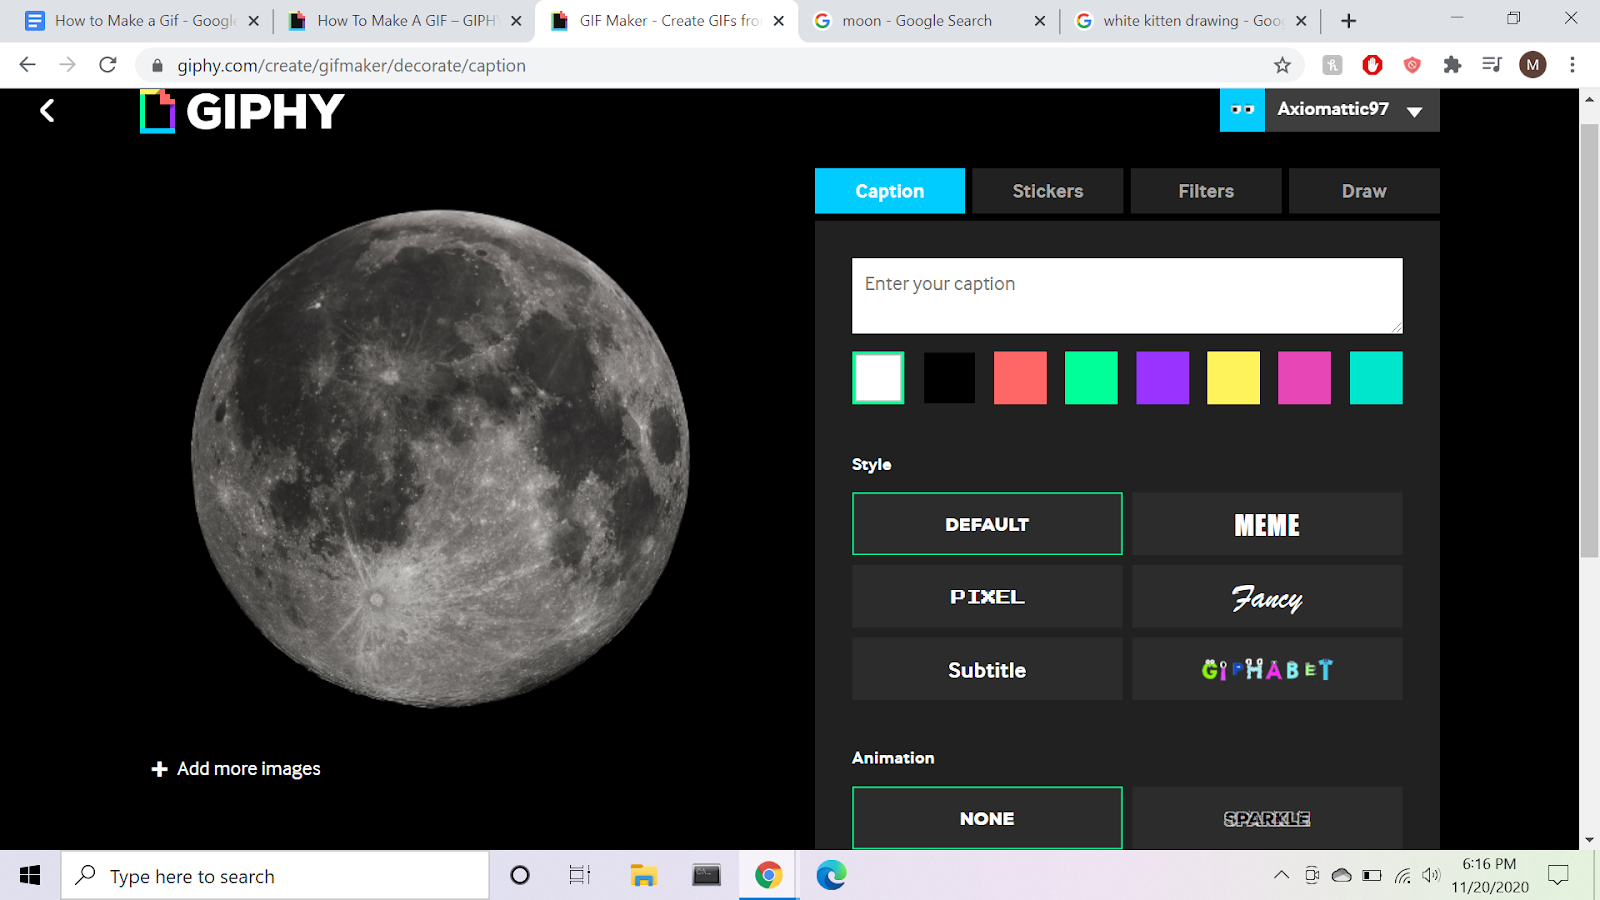
After selecting your image file, you will be taken to a screen that gives you editing options. If you want to make a GIF that switches between images, click the button below your chosen image that says "Add More Images," which will open up a different page. From here, choose another image from your files to use for your GIF by clicking the option that says "Browse Files," in the bottom-right corner of the screen. You will also have the option to adjust how long each image is visible by sliding the “Image Duration” bar to your desired time interval.
Step 5: Making a GIF with a Video

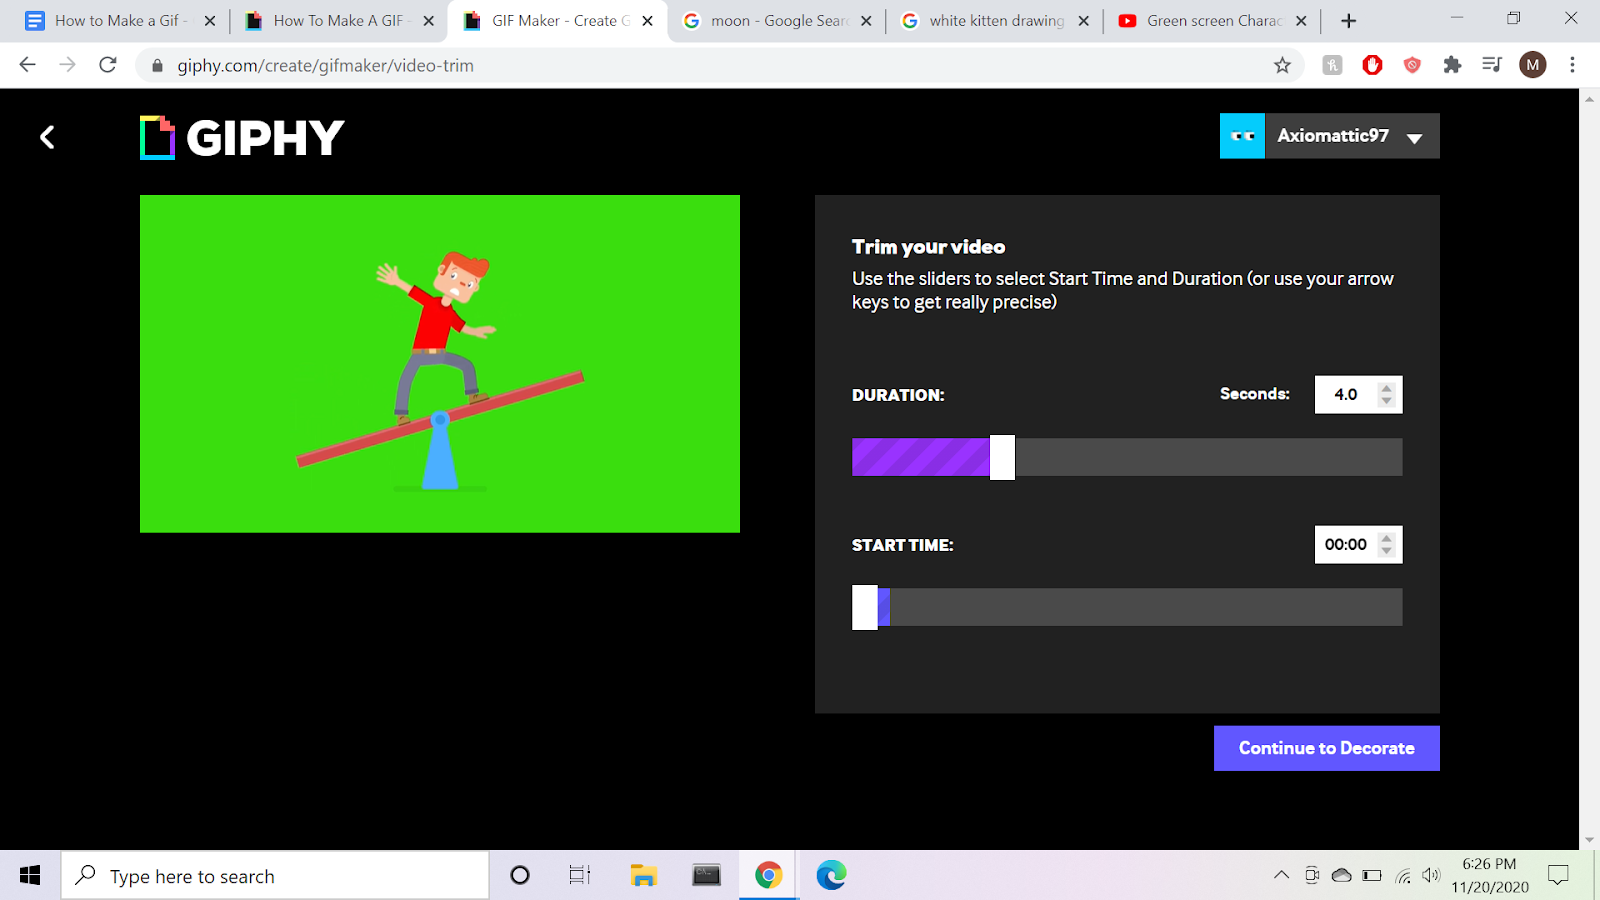
In order to make a GIF from a video on a video sharing website, simply copy and paste the URL of the video into the bar on the GIPHY page from Step 2. This will immediately take you to a page where you can set how long the GIF will last, as well as what point in the video your GIF will start at. This is done by sliding the two bars to your desired time stamps.
Happy GIF Making!
