Knowing how to check VRAM in Windows 11 can help you set your expectations on the capacity of your computer to render images.Your VRAM (Video Random Access Memory) should not be confused with your RAM (Random Access Memory). Yes, they both deal with short-term file storage, but there are many differences. Your RAM stores data for your central processor while the VRAM stores data for your graphics processor.
Your VRAM and RAM work more symbiotically than independently. When your graphics processor is running, its computations are first stored in your VRAM before getting transferred to RAM. By doing so, your PC can dedicate RAM to non-graphics processes, preventing overload. Follow the steps below to know the available VRAM on your Windows 11 computer.
How to check VRAM in Windows 11
1. Checking VRAM in Windows 11 does not require fancy apps nor programs. All you need is your computer’s settings. To open the settings, right-click the Start icon and select Settings from the options available.

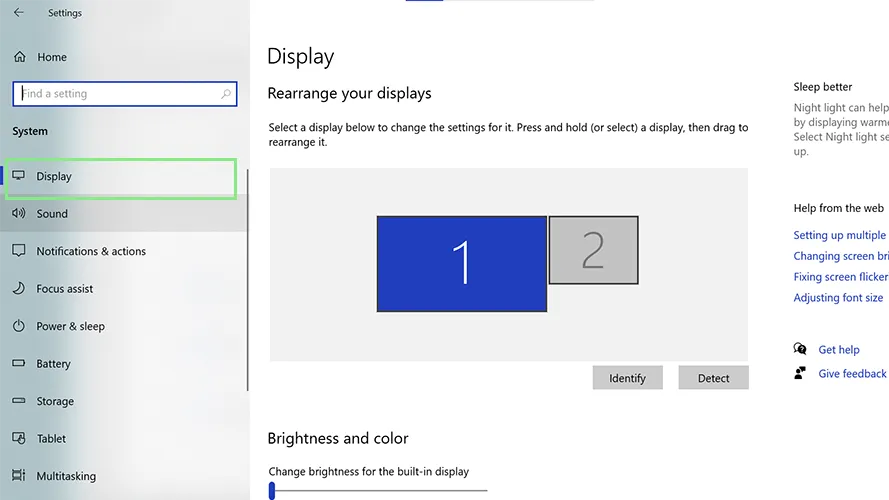
2. Next, click on System and choose Display from the navigation pane on the left. This page will show you all the settings for your computer’s display.

3. Scroll down and select Advanced display settings. You should be redirected to a page with the advanced display settings.

4. Under the Display information section, click on Display adapter properties for Display 1. If you have multiple displays, make sure to choose your main display. A window should appear with the details of your graphics processor.

5. Under the Adapter tab, look for Dedicated Video Memory. This value represents the amount of VRAM on your computer.

