How to add a drawing to a PowerPoint presentation
Let your creativity shine in your presentations
Sign up to receive The Snapshot, a free special dispatch from Laptop Mag, in your inbox.
You are now subscribed
Your newsletter sign-up was successful
Who said that school and business meetings have to be boring? Drawings are quick and easy ways to display information without the buttoned-up feel of graphs and tables. Here, we’ll learn how to add and use Microsoft PowerPoint’s dedicated Draw tab. You will also learn how to add your own drawings.
Studies over the years have proven that visual data aids in retention when delivering a message. For this reason, everyone from teachers to professional speakers tend to make use of images, drawings, or short videos to drive points home when giving a presentation. A drawing in PowerPoint is a great way to grab attention.
Using the Draw feature allows you to add these visual elements once you know how to find the correct tab in PowerPoint. While it’s not immediately obvious how to use the feature, you’re only a few clicks away from first adding the tab, and then drawing in PowerPoint.
How to add the draw tab to PowerPoint
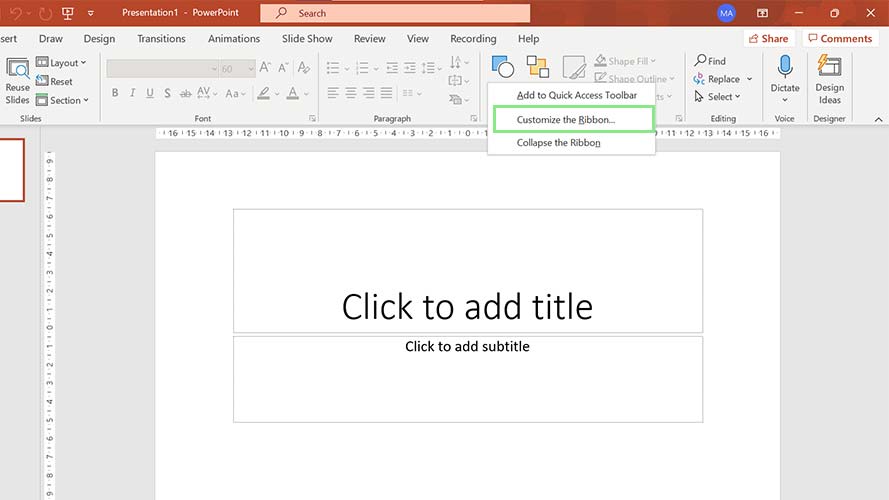
1. To activate the Draw Tab, right-click anywhere on your PowerPoint ribbon. Then, select Customize the Ribbon from the context menu that appears. This step will open the PowerPoint options window in the Customize Ribbon tab.
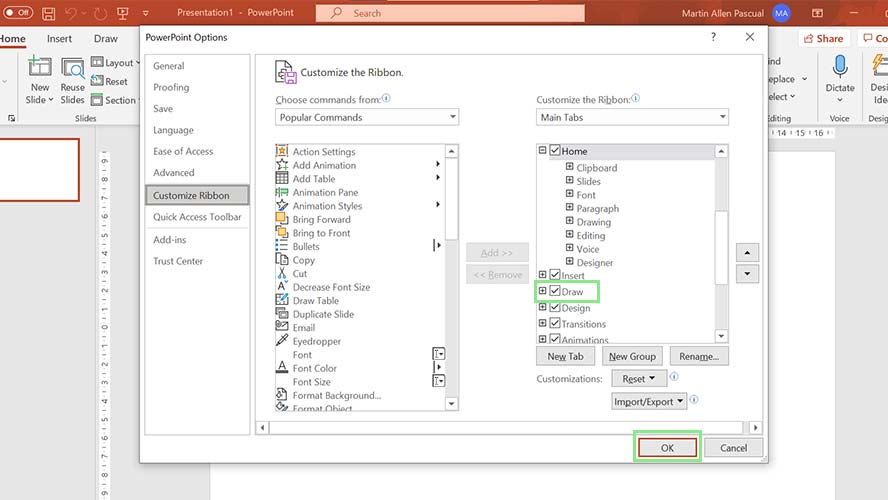
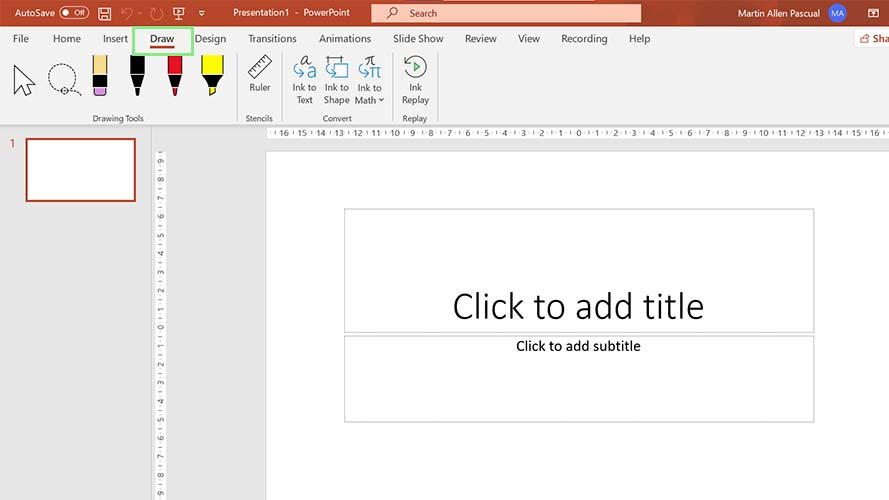
2. Next, tick the checkbox beside Draw under the Customize Ribbon section. Finally, click OK. You should notice that a new tab with the name Draw has been added to your PowerPoint Ribbon.
How to draw in PowerPoint
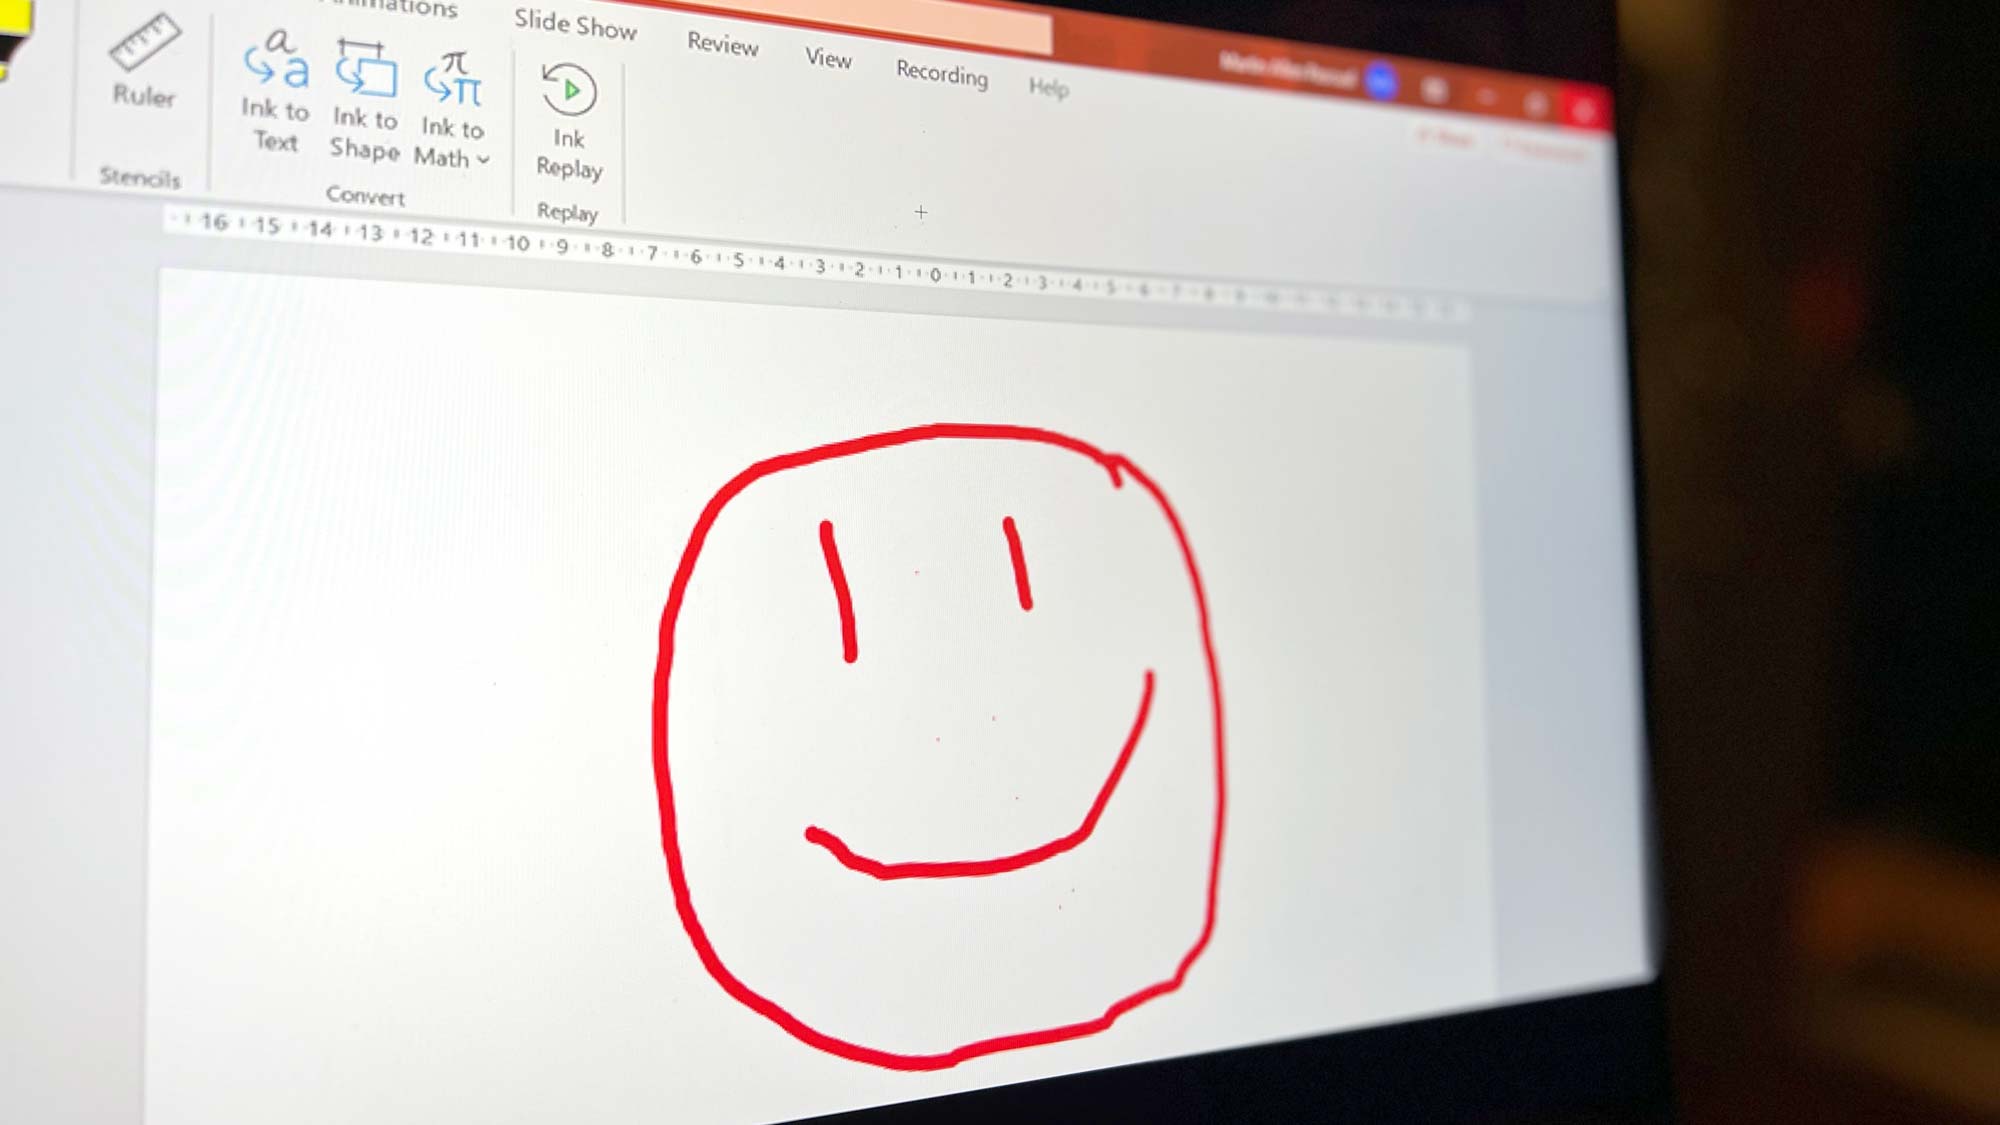
1. To start drawing on PowerPoint, go to the Draw tab at the top of the application.
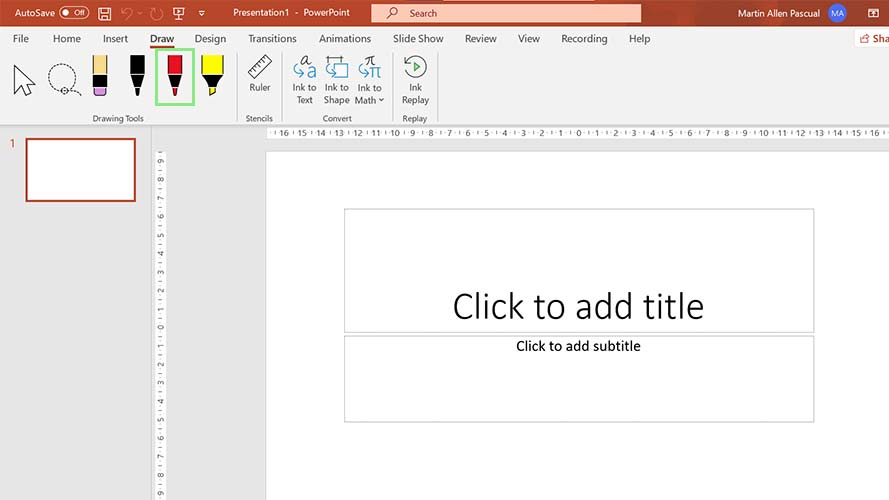
2. Select your preferred drawing medium under the Drawing Tools section. By default, you can choose between a black pen, a red pen, and a yellow highlighter.
Sign up to receive The Snapshot, a free special dispatch from Laptop Mag, in your inbox.
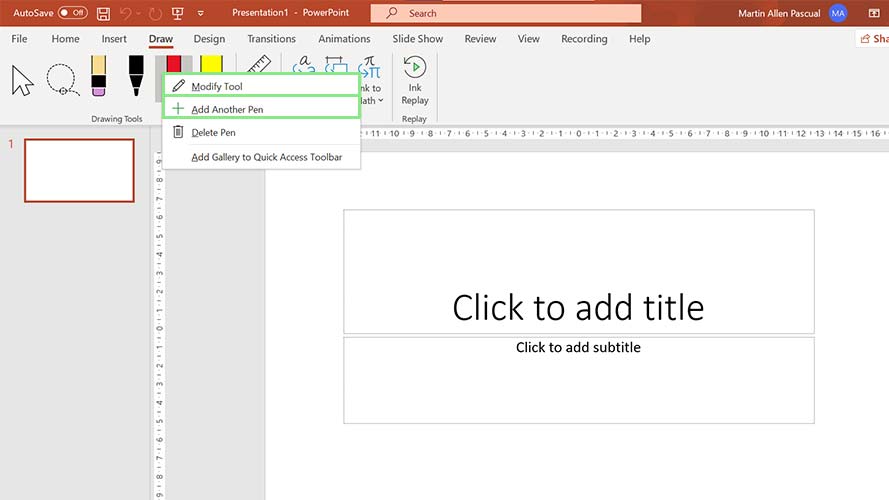
3. To modify your drawing tools, right-click any of them and select either Modify Tool or Add Another Tool.
