How to connect AirPods to Mac — pair your wireless earbuds with ease
Connect your AirPods to your MacBook in just a few simple steps
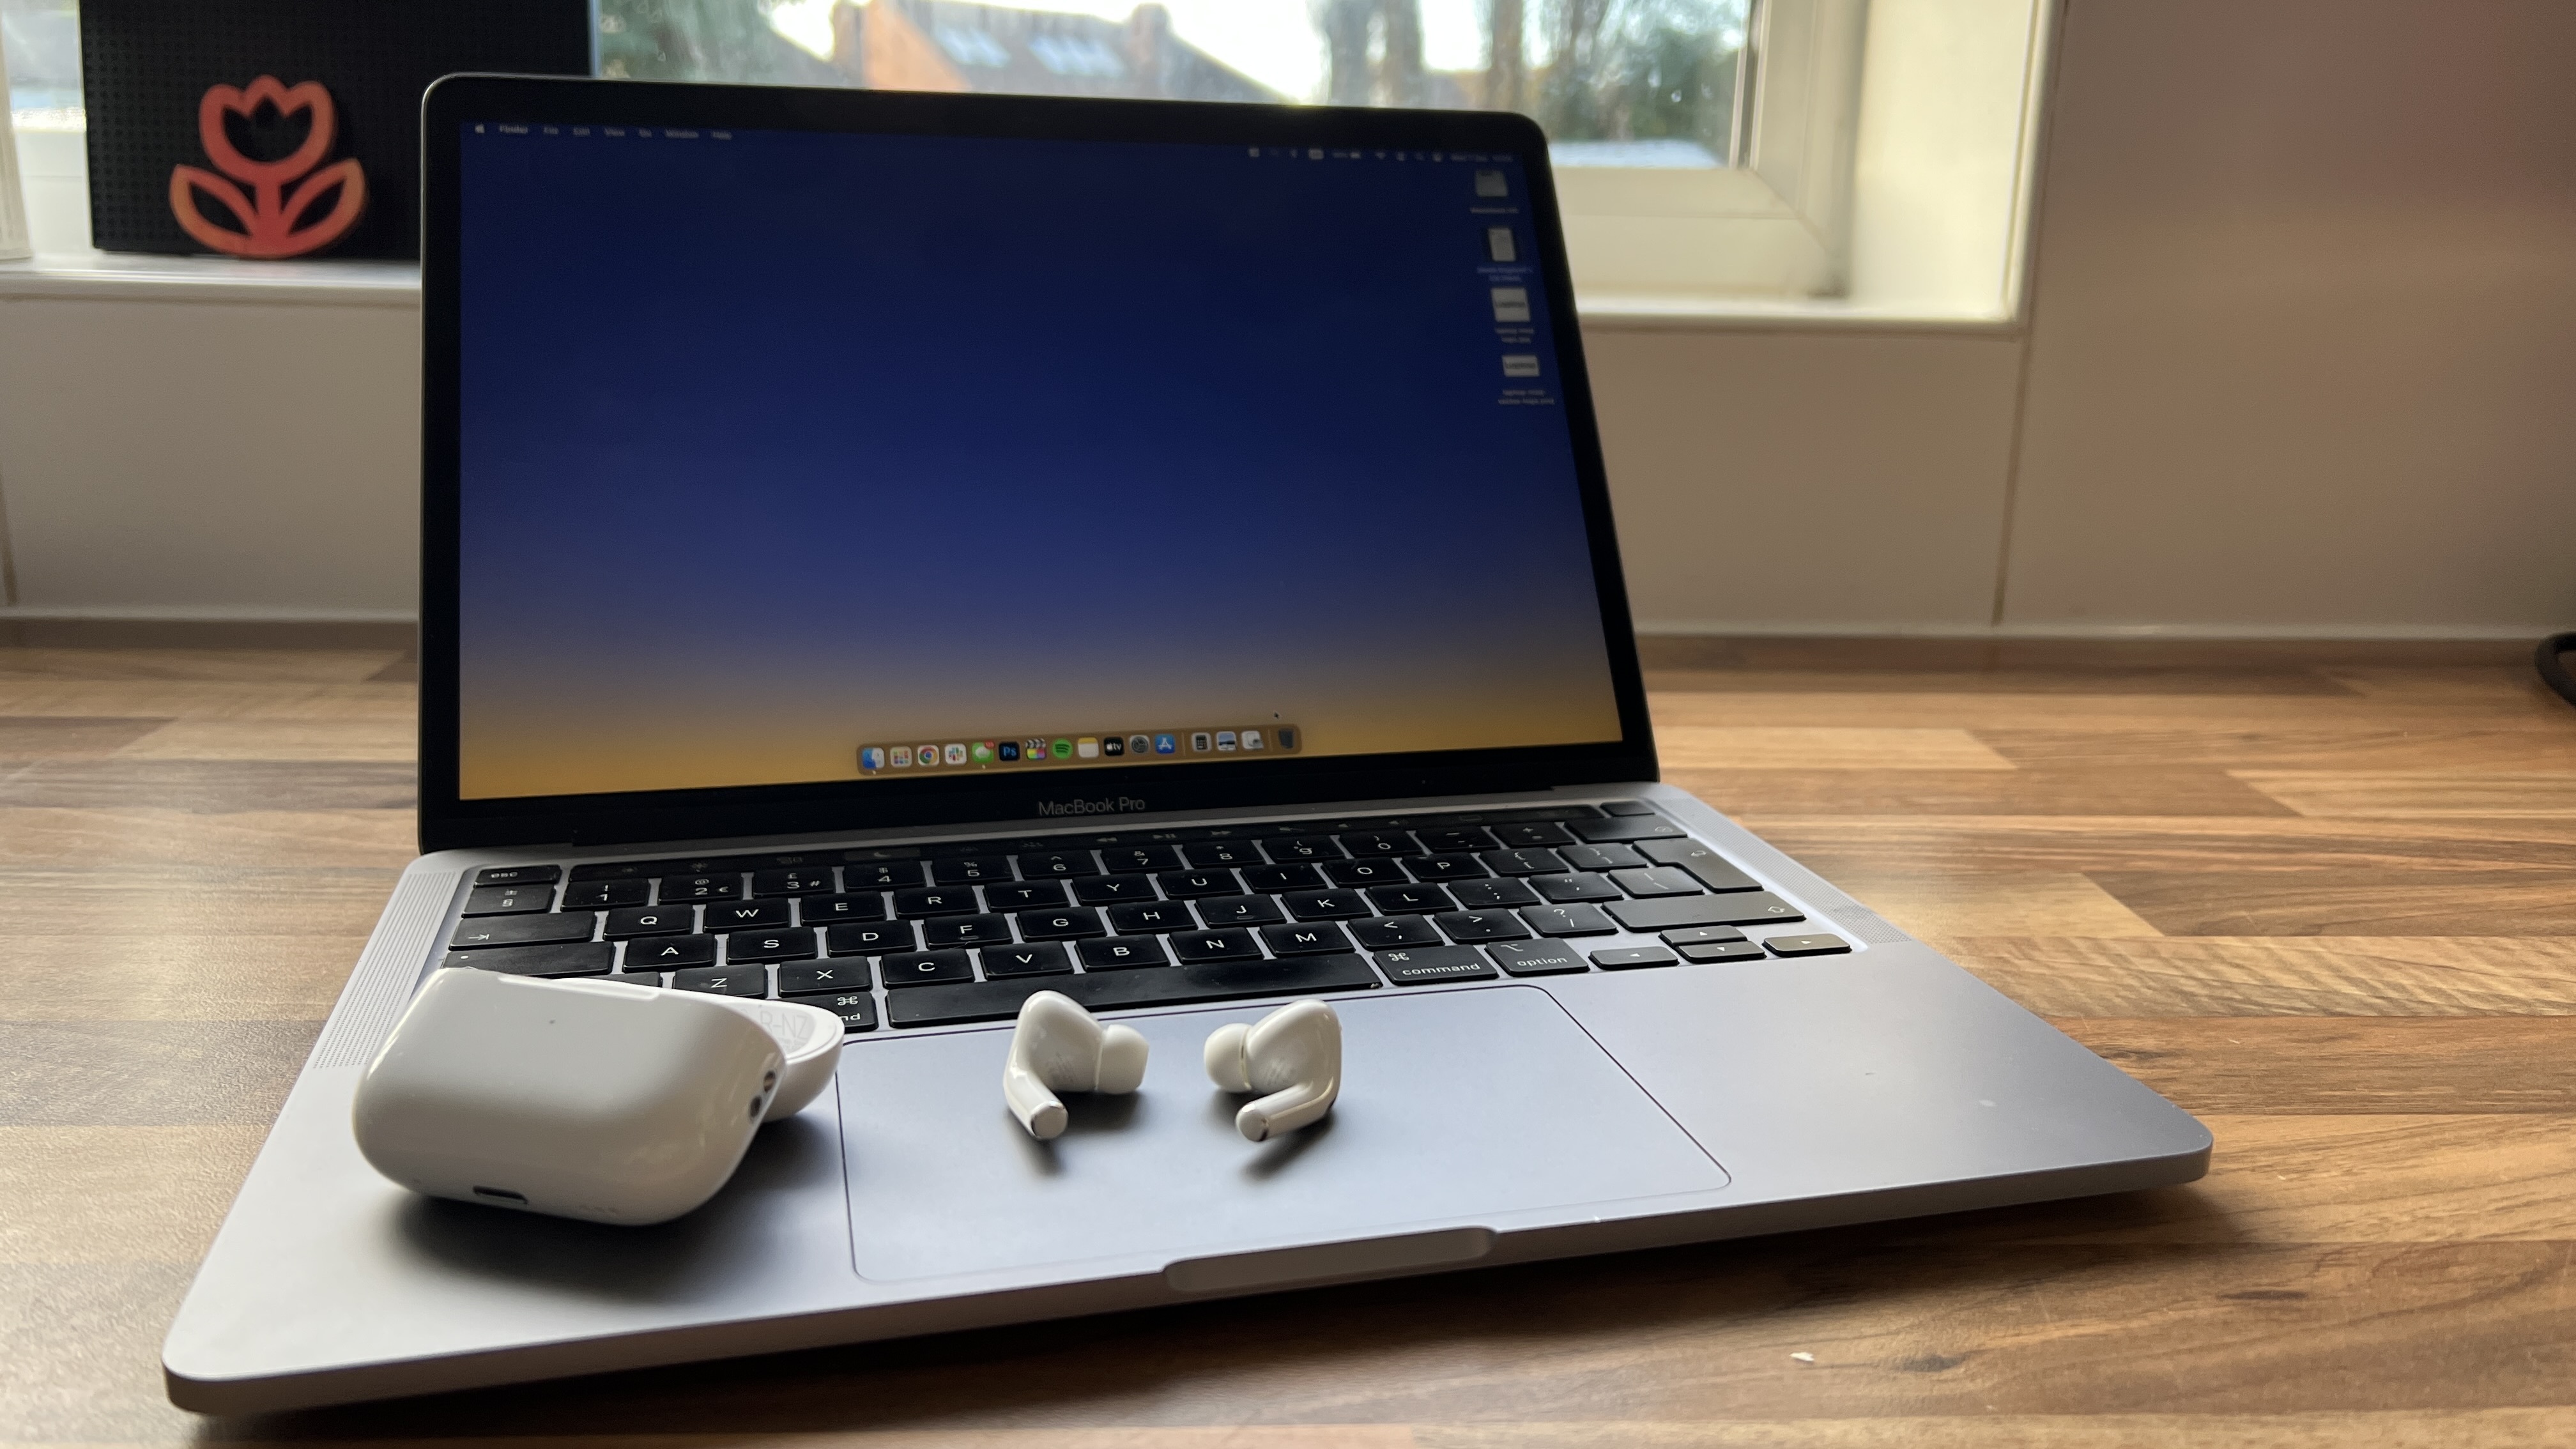
Whether you want to enjoy music from your MacBook or listen to your co-workers on a Zoom call, Apple's lineup of AirPods are highly praised earbuds for casual entertainment and productivity.
But of course, to get the most out of your AirPods, AirPods Pro, or AirPods Max, you’ll need to know how to pair them with your MacBook. The good news is this easy-to-follow tutorial will teach you how. In fact, there are multiple ways to get them connected. Without further ado, here's how to connect your AirPods to your Mac.
How to connect AirPods to Mac
If you are using AirPods, make sure that your Mac has macOS Mojave 10.14.4 or later. The AirPods Pro require macOS Catalina 10.15.1 or later. It’s also worth noting that if you have set up your AirPods with your iPhone (here's how to connect your AirPods to your iPhone), and your MacBook is signed in to iCloud with the same Apple ID, your AirPods will more than likely be ready to use with your MacBook.
All set? Follow the step-by-step guide below:
1. If the AirPods are connected to the same Apple ID as your MacBook and are set up already via your iPhone, open the lid on the case close to your Mac.
2. Your Mac will detect your AirPods and automatically connect to your MacBook. You can go into sound settings and switch over.
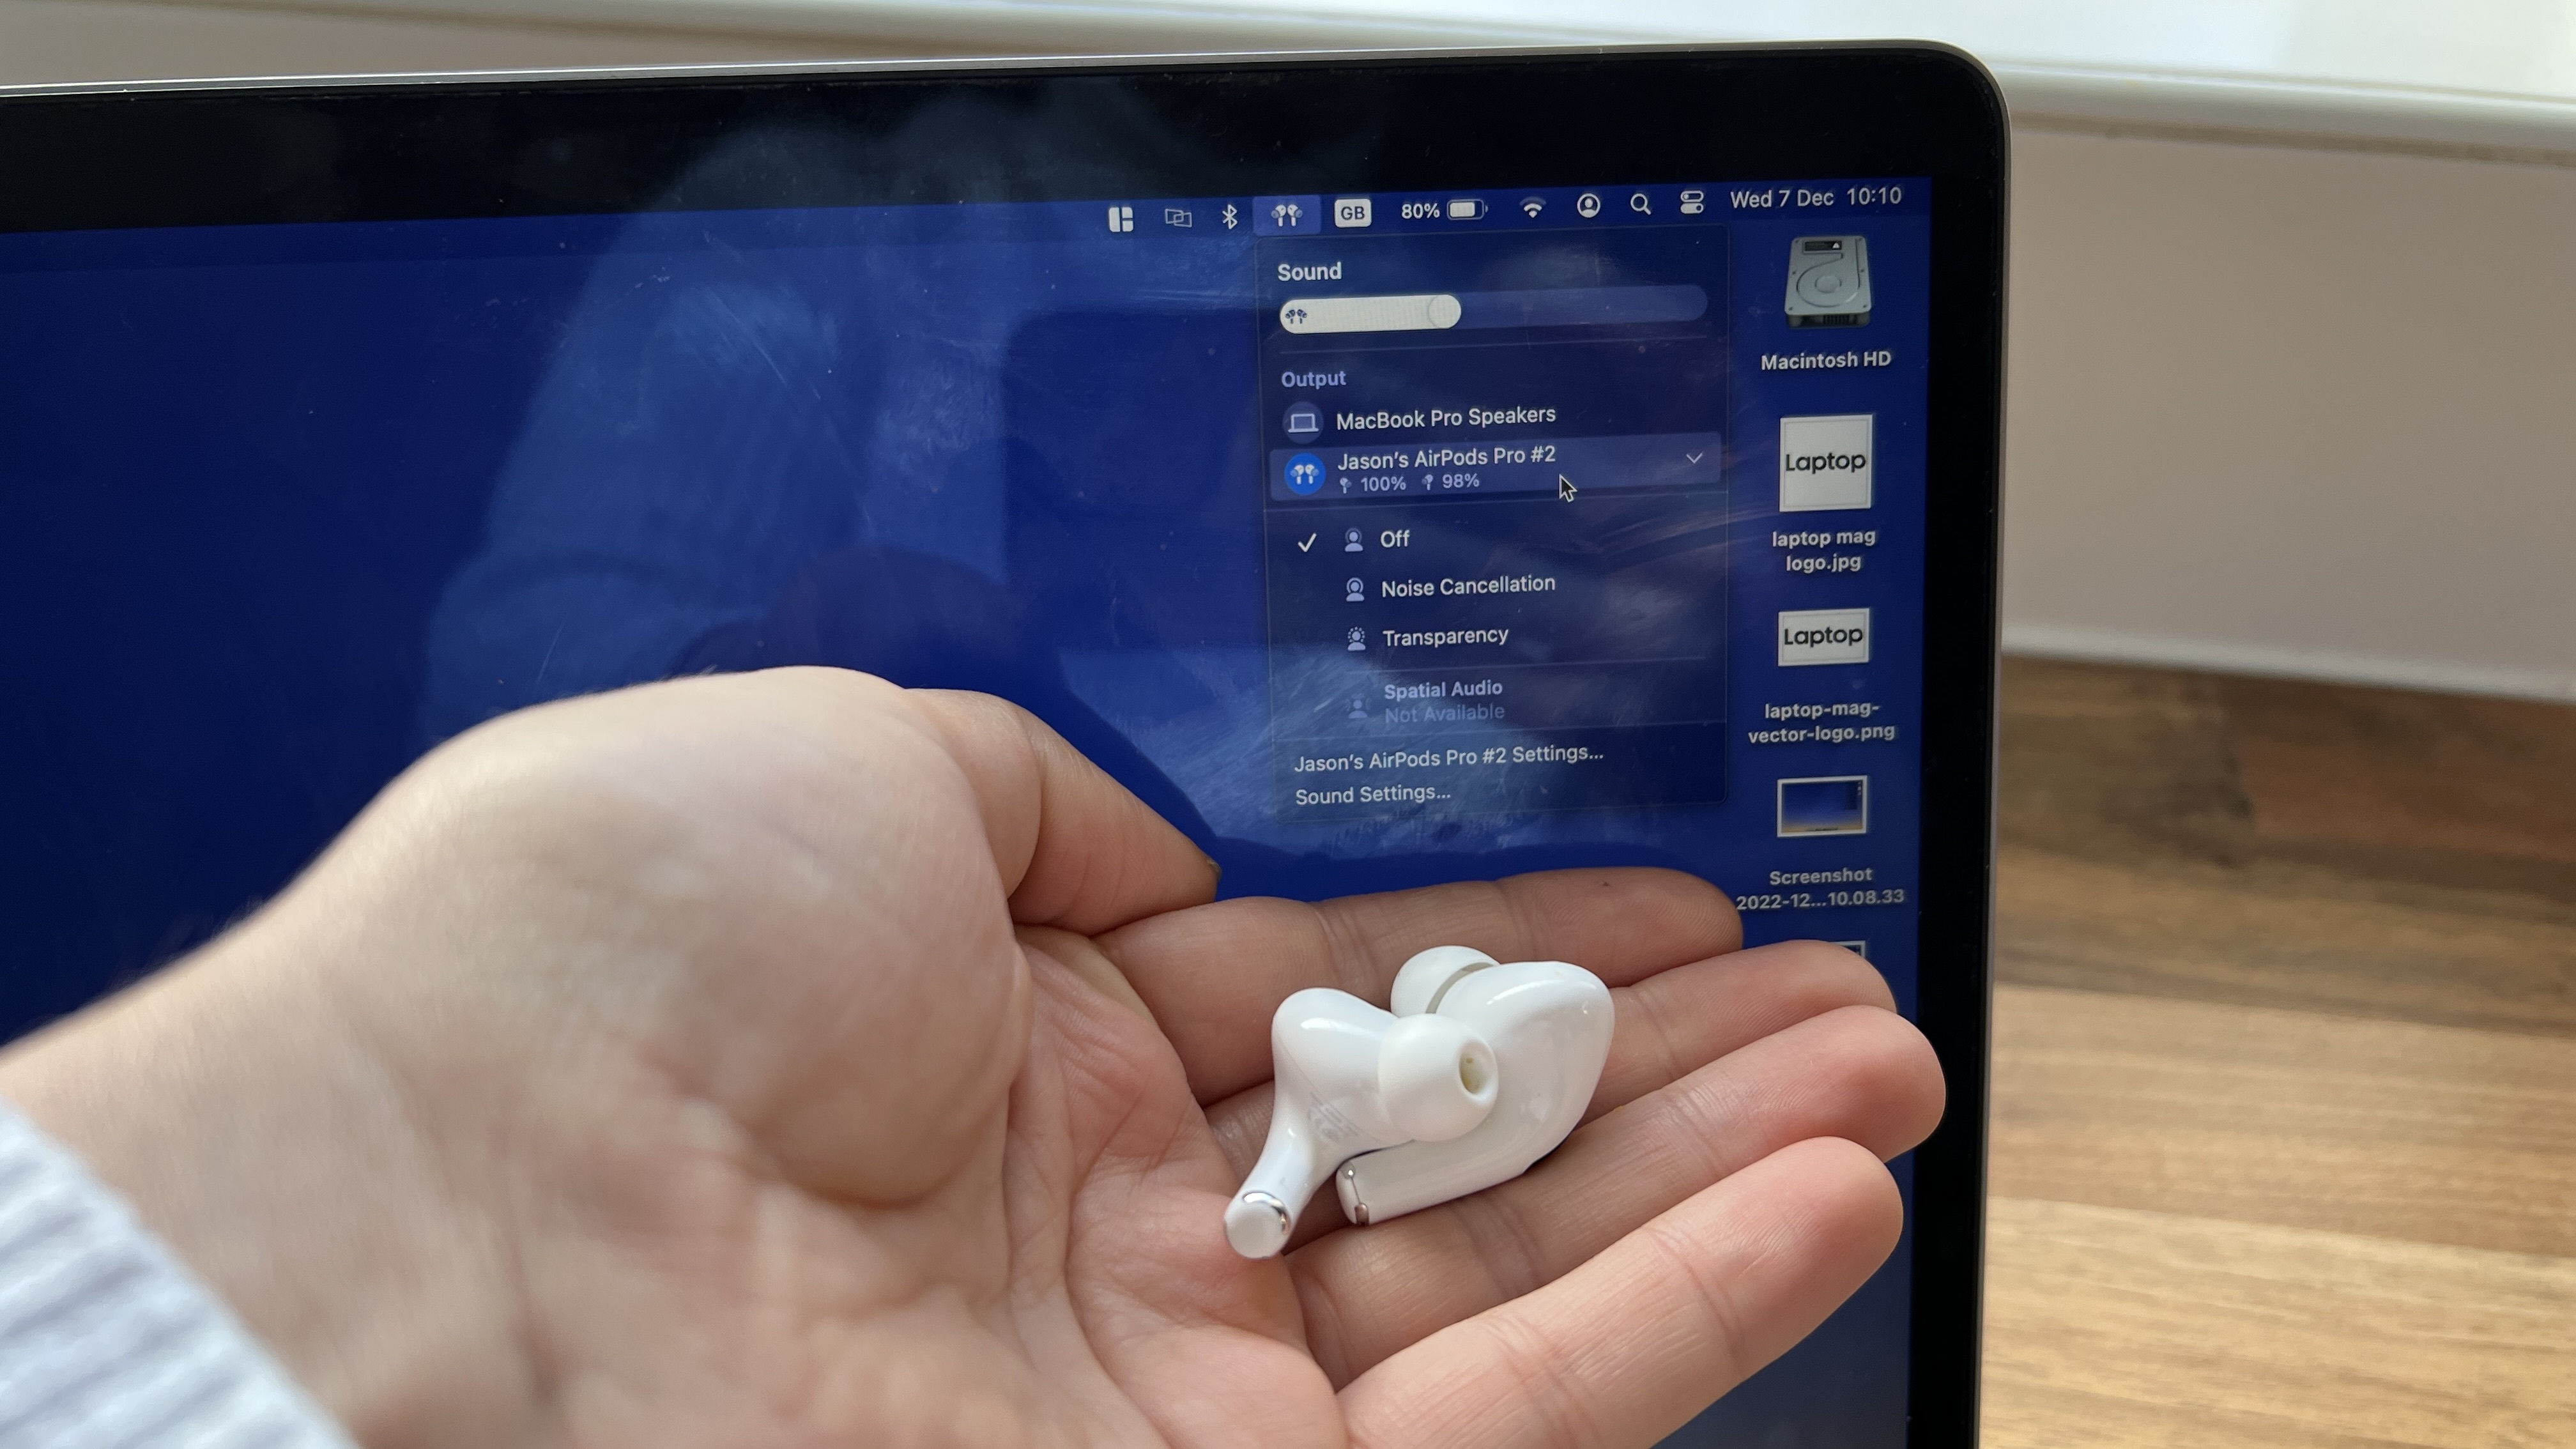
3. If they don’t connect automatically, click the Bluetooth icon in the top bar of your MacBook.
4. Click on the AirPods in your list of Bluetooth devices.
If they aren’t connected to anything and you’re starting fresh, follow the steps below:
1. Open your AirPods case close to your Mac.
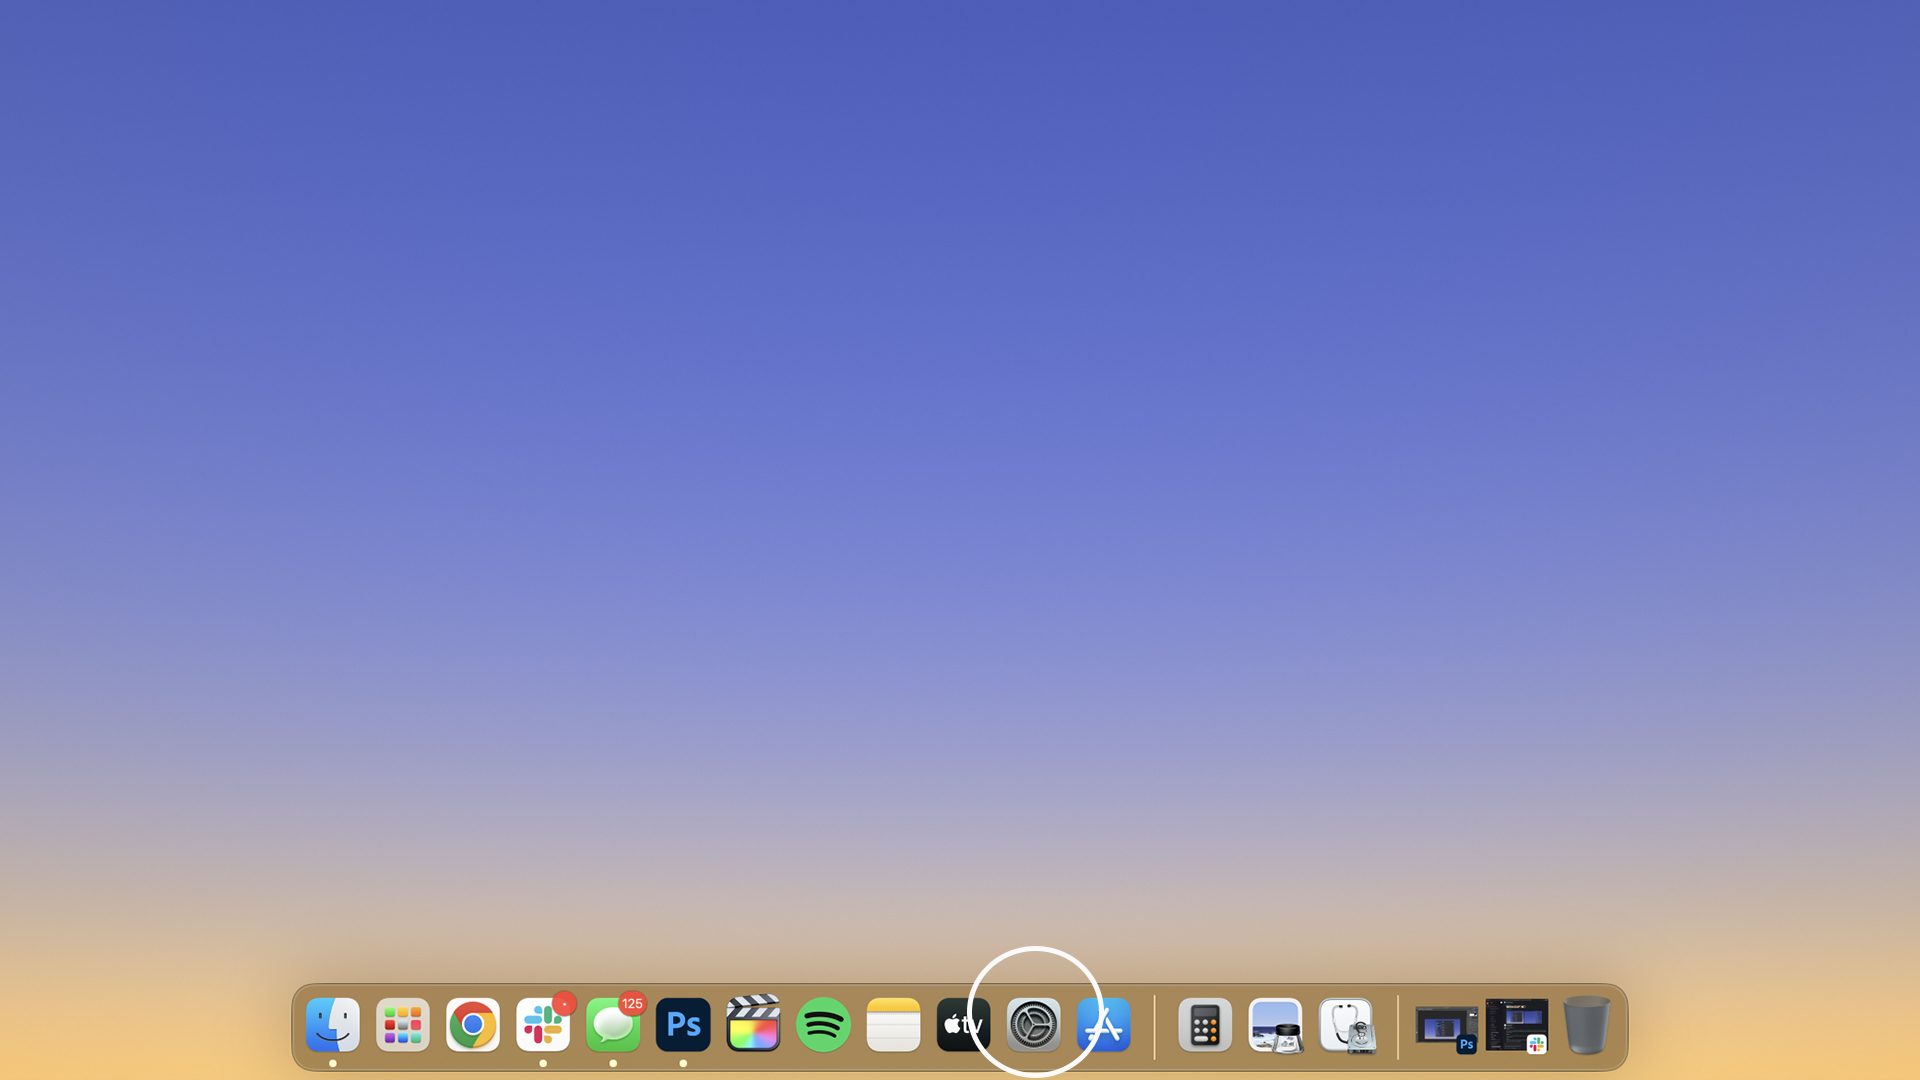
2. Head to System Settings. This can be found in your task bar, or by clicking the Apple Logo in the top left.
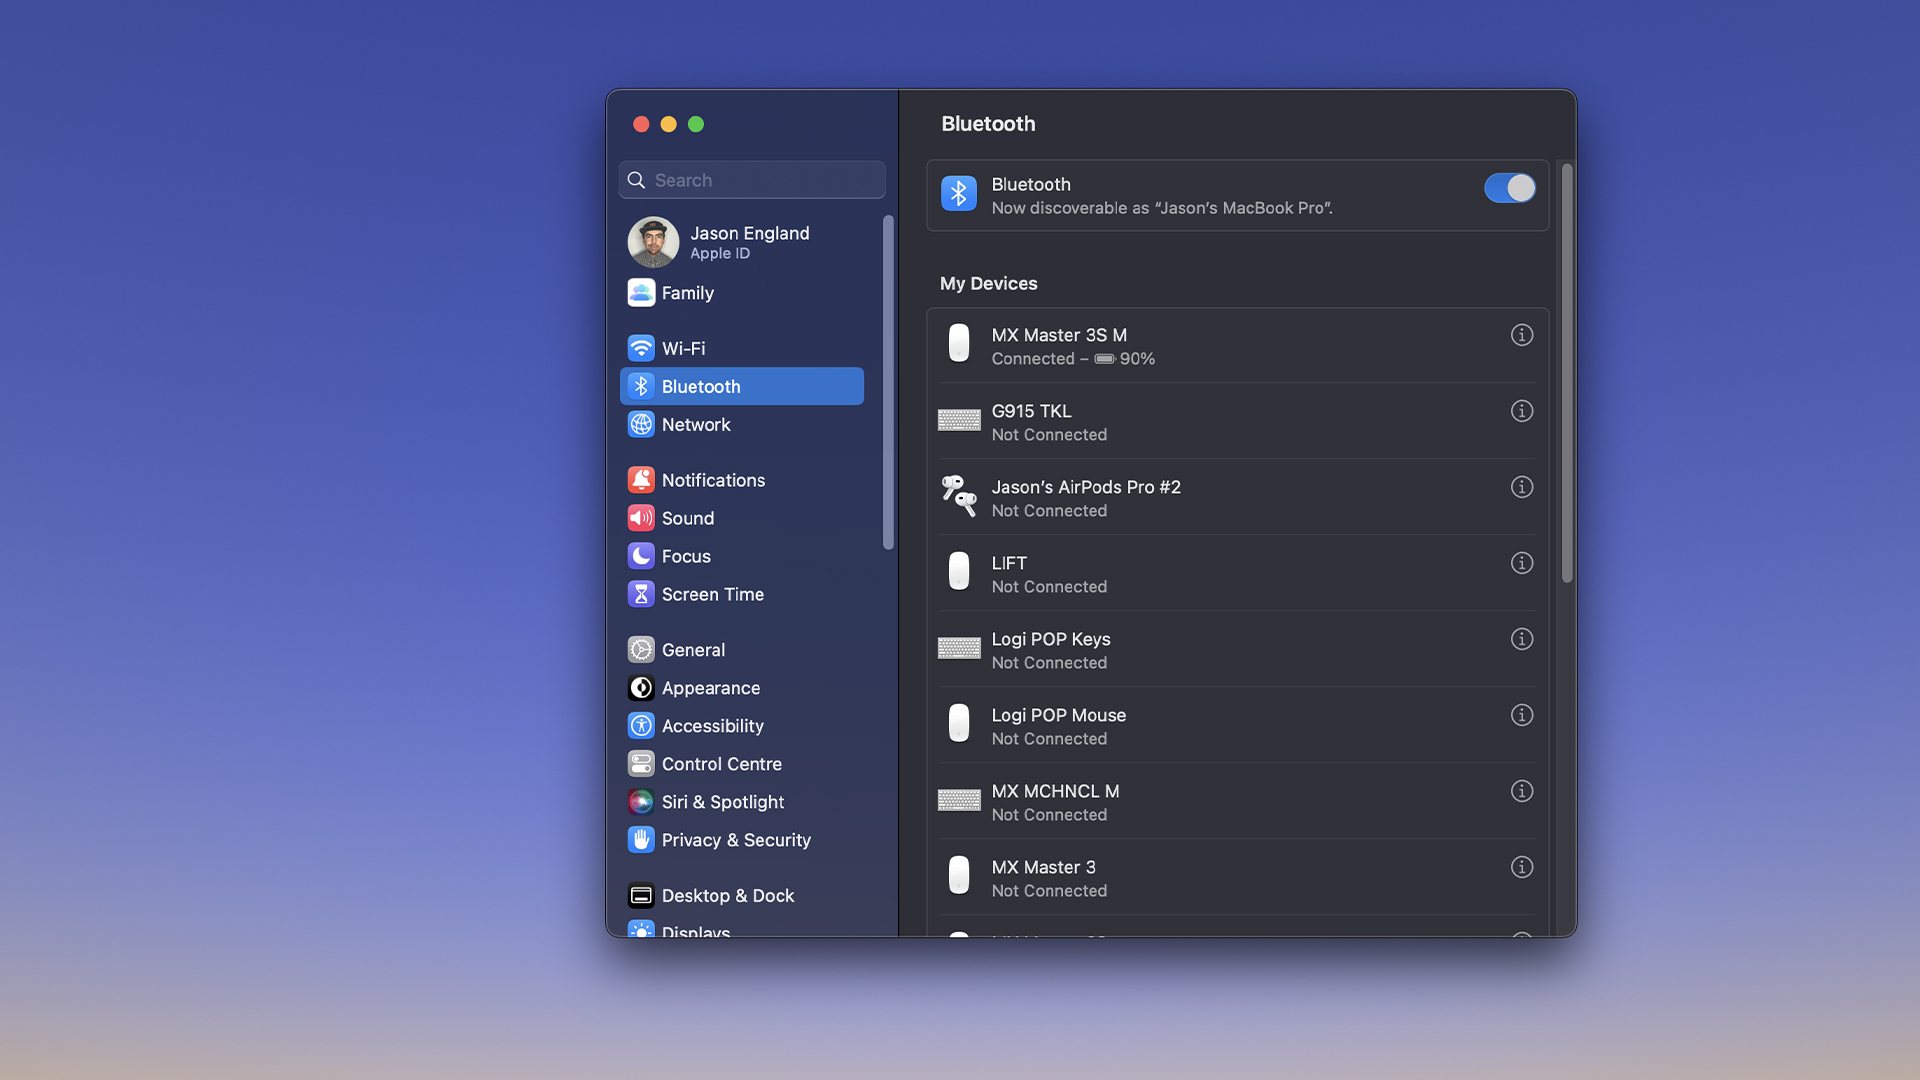
3. Scroll down to nearby devices and click on your AirPods.
Voilà! Now you can enjoy your newly connected AirPods on your MacBook and listen to anything your heart desires. Wondering how to connect your AirPods to your Windows PC instead? We've got you covered.
Sign up to receive The Snapshot, a free special dispatch from Laptop Mag, in your inbox.

Jason brought a decade of tech and gaming journalism experience to his role as a writer at Laptop Mag, and he is now the Managing Editor of Computing at Tom's Guide. He takes a particular interest in writing articles and creating videos about laptops, headphones and games. He has previously written for Kotaku, Stuff and BBC Science Focus. In his spare time, you'll find Jason looking for good dogs to pet or thinking about eating pizza if he isn't already.
- Darragh MurphyEditor
