How to Rotate and Resize Objects in Paint 3D
Sign up to receive The Snapshot, a free special dispatch from Laptop Mag, in your inbox.
You are now subscribed
Your newsletter sign-up was successful
To get the most out of Paint 3D, you’ll need to master the foundational knowledge required to move on to more complex projects. Paint 3D is a remarkably intuitive program, although like most other 3D modeling tools, there’s still a learning curve. But once you master the basics, there’s really no limit to what you can create using one the most innovative applications ever to ship with Windows.
Today we’re going to dive into some foundational bits that you’ll use regularly when working inside Paint 3D: resizing and rotation.
- Open a new document in Paint 3D. Just Open the program, and click New from the welcome screen.
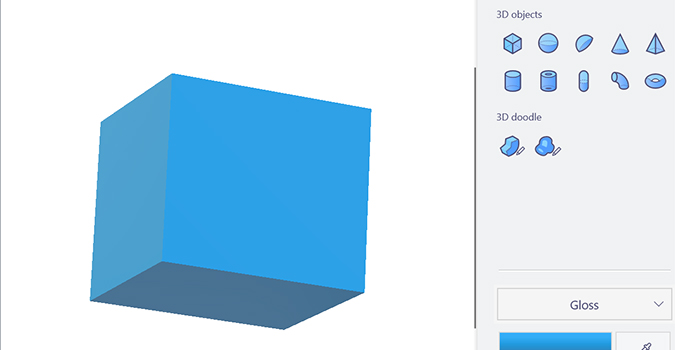
- Click the paintbrush icon in the top menu bar and select 3D shapes. It’s the 3D-looking box icon in the dropdown.
- Choose any of the shapes in the right sidebar and then click and drag on the canvas to place it. Shapes are found under the 3D objects section, but 3D models are placed the same way. 3D doodles require you to actually draw the shape first.
- To rotate images, grab any of the half or semi-circle icons found on the right, top, and bottom sides.
- To resize, drag any of the boxes in the corners (or middle). These are the small boxes on the outermost edges of the shape.
Sign up to receive The Snapshot, a free special dispatch from Laptop Mag, in your inbox.
Bryan covers everything you need to know about Windows, social media, and the internet at large for Laptop Mag. Thanks to his extensive knowledge of operating systems and some of the most popular software out there, Bryan has written hundreds of helpful guides, including tips related to Windows 11 drivers, upgrading to a newer version of the OS, editing in Microsoft Photos, or rearranging pages in Google Docs.

