How to Root the Moto X (All Versions)
Whether you want to erase bloatware, install a custom ROM or run apps that require administrative access such as a video screen capture or remote control app, you'll need to root your Moto X. Rooting is the process of gaining root (aka administrative) access on a device, which will allow you to access the entire file system and alter the device as you see fit. Fortunately, it's easy easy to root the Moto X, no matter what carrier you're using. Just follow these simple steps.
As a warning, please make sure not to update your device with any software updates after doing this procedure as it will cause you to lose root and may even cause the device to crash.
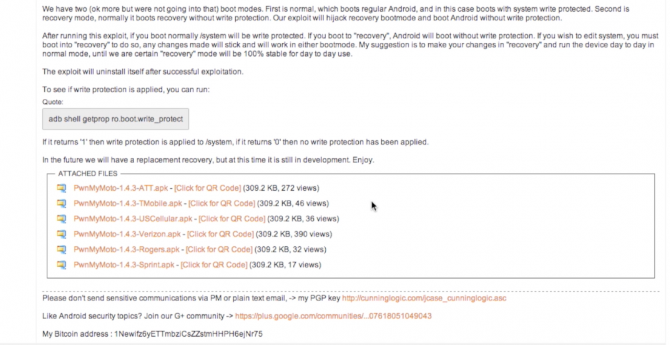
1. Head to the original post here and download the apk file for your version of the Moto X and save it to your desktop.
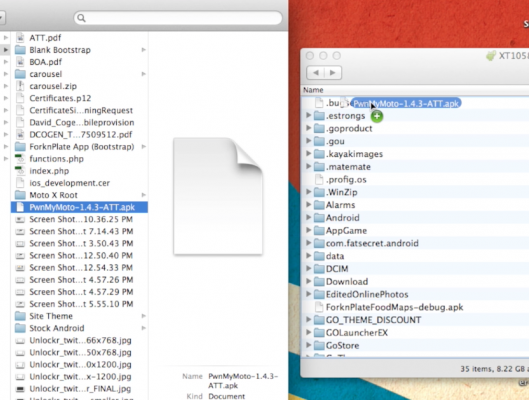
2. Plug in the device and copy the apk file over to its internal storage.
MORE: How to Root Android Phones and Tablets
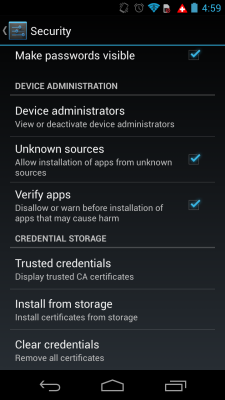
3. Toggle Unknown sources to on under the security section of the settings menu.
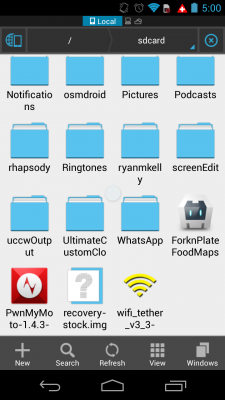
4. Install ES File Explorer from the Play Store.
Sign up to receive The Snapshot, a free special dispatch from Laptop Mag, in your inbox.
5. Open the file explorer app and tap the rooting apk file we downloaded earlier.
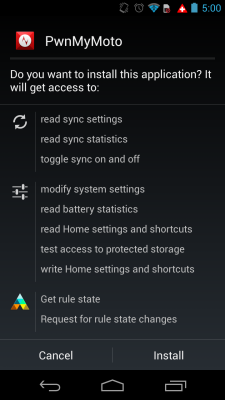
6. Click Install when prompted.
After clicking Install, the device will reboot a few times, just wait for it to finish.
7. Once that is installed, install SuperSU from the Play Store.
David Cogen is a founder of TheUnlockr.com, the popular site for rooting, jailbreaking, hacking, modding, and other how tos to show you how to unlock your device's true potential. They even have a popular ROM repository. Check out TheUnlockr.com for all your Android, iPhone, and Windows Phone how tos.

