How to Revitalize Your Old MacBook Air with a New SSD
Sign up to receive The Snapshot, a free special dispatch from Laptop Mag, in your inbox.
You are now subscribed
Your newsletter sign-up was successful
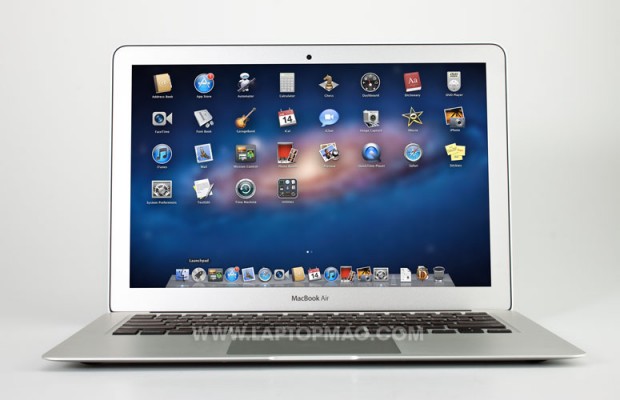
My eight-year-old MacBook Air has been a constant companion, and I would feel lost without it. Of late, however, it has started to feel its age by running slow, and its 64GB of storage is just about filled.
There's hope for my old friend, though. By swapping out its solid-state drive (SSD) storage module, I hope to not only get much more space for pictures, videos, stories, and the flotsam and jetsam of my digital life, but also give the machine a mild performance boost. I have my fingers crossed that this upgrade will add a few more years to my laptop's usefulness.
I'll be using OWC's $230 1TB Aura Pro 6G SSD module to update my 2011 A1370 MacBook Air system; OWC also sells versions for 250GB ($100) and 500GB ($140). For about $30 less, you can get just the SSD module, use your own tools and do without the connection enclosure. Each kit comes with a five-year warranty.
The best part is that the kit comes with everything you need, including tools, the new SSD board, a connection enclosure and even a soft bag for the enclosure. The only thing you'll need is an external hard drive to back up your system, but you probably already have that.
In addition to step-by-step instructions and photos, I'll provide tips and tricks and a few general-maintenance tasks that can help make any MacBook run better and longer. The good news is that every Mac owner can play, because OWC makes similar upgrade kits for a variety of MacBooks.
MacBook Air Technical Specifications
Speed demon
Sign up to receive The Snapshot, a free special dispatch from Laptop Mag, in your inbox.
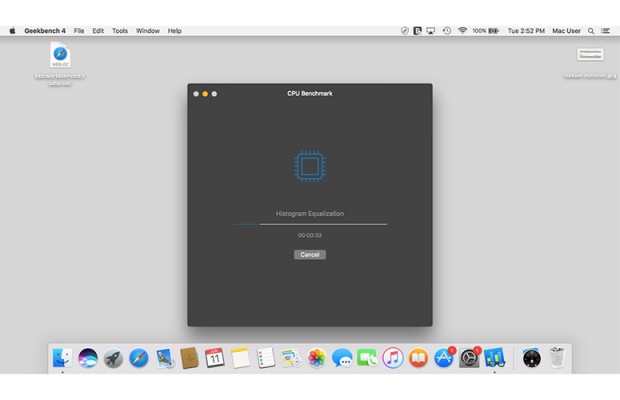
Capable of moving over 500 megabytes per second, the new hardware triples the system's storage performance, and this all looks great on paper. To test how well it works in the real world, I used Geekbench 4's CPU benchmark to compare performance.
With its original SSD, the Air registered a 2,194 and 4,187 on the CPU single-core and multicore tests, respectively. While the Geekbench CPU suite focuses on processing ability, it also tests some storage tasks. Unfortunately, the MacBook's Intel Graphics 3000 video wasn't powerful enough to run Geekbench's Compute suite of general-computing tests.
Finally, I hate to throw things away, and at the end of the process I'll be left with a perfectly good SSD storage module. With the included OWC Aura enclosure, I can make a nice flash drive for storing videos, music or other digital items.
Don't worry if you've never done anything like this. Using the 10 steps outlined below, it's actually easy. Figure it'll take about 1.5 hours from start to finish. Still anxious after reading this guide? There are' online videos that will walk you through the process.
Video: How to Install MacBook Air 11 inch 2010 ssd
In fact, this is a great afternoon or weekend DIY project that could add speed and years to your MacBook. Let's get started.
Step 1: The raw materials
After emptying the box, put all the parts on a table with the MacBook. Look over the instructions quickly, and get a small bowl for the parts that you will remove from the system. You'll need all of them later.
Step 2: Back up the system
Before you get down to the actual upgrade, you need to complete one task: Use Apple's Time Machine software to back up the system on an external drive. This will make it easier to move the Air's contents to the new SSD module. I'm using a homemade 500GB USB drive.
Step 3: Open the machine
Now, it's time to disconnect the system's power adapter. First, close the lid and flip the system over so the bottom panel is facing up. With the kit's 1.2-millimeter P5 screwdriver, loosen all 10 bottom screws. Be aware that the two by the hinge are longer than the others. A bonus is that the tool's tip is magnetic, making it easy to remove each screw without dropping any of them. To keep track of everything, place the screws in your handy bowl.
Step 4: Unplug the battery
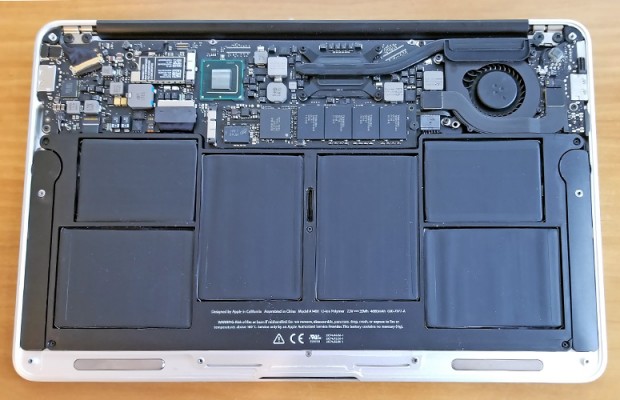
Once the screws are removed, pull the bottom plate off with your fingers. The whole system is now open for view, with the black battery packs positioned along the bottom and the fan in the upper right. To disconnect the battery, pull up on its electrical connector one side at a time. After eight years of use, my system looks a bit gross inside, but I'll get to that later.
Step 5: Out with the old SSD …
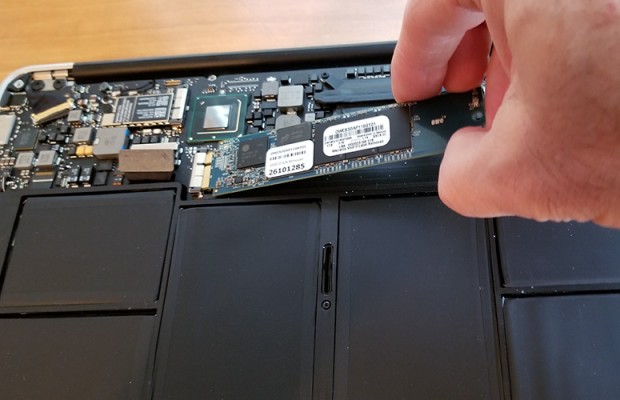
Go to the SSD module. It's a small circuit board that's about 1 inch by 4 inches, located next to the battery packs. Using the T5 screwdriver, loosen the tie-down screw on the right, freeing the module. Finally, lift the end slightly, get your index finger under the board and gently pull the module horizontally to free it from the connector; this might take a little wiggling.
Step 6: … In with the new SSD
Grab the kit's new SSD module and line up the board with the connector so that the notch on the board fits with the gap in the connector. If it doesn't seem to go in easily, try flipping the module over; the board's label should be facing up. After sliding the board into place, make sure it's firmly seated and replace the tie-down screw.
Step 7: Close it up
You're almost done! It's time to plug the battery back in and make sure the connector snaps into place. Next, put the bottom panel back on and replace all the screws. Remember, the longer screws go next to the hinges. Avoid over-tightening them.
Step 8: Fill the new module with the old data
While you could use the old SSD and the enclosure to start the Air and transfer all the files, there's an easier way. You can use the Time Machine backup made in Step 2 to fill the new SSD with all your apps, data and preferences. After plugging in the backup drive, start the system. The macOS Utilities screen should come up.
Step 9: Restoration hardware
From the list, I pick “Restore from Time Machine backup” and then click on the most recent backup. From there, you might want to get a cup of coffee and catch up on your reading, because the process can last at least half an hour. However, the time depends on how much data needs to flow to the new drive.
Step 10: Fire up your new Mac
If everything has gone to plan, your new (old) Macbook Air will be ready for a test drive. After disconnecting the backup drive, start the system up, and all your old programs, preferences and data should be there. To check that the drive is operational, go to the About This Mac page and click on Storage, and the screen will list your spacious new SSD.
So, how did I do? Well, the system feels like it's running better, with fewer slowdowns. It also has 16 times as much storage space as before, so it now feels like a bottomless pit for my digital stuff.
More to the point, after the upgrade, the system's GeekBench 4 benchmark scores rose to 2,390 for single-core and 4,215 for multicore tasks. That's a nice 9% increase on the single-core tests and a marginal boost for the multicore routine. On the downside, those showings are a little less than half of what a new Macbook Air (model A1932) achieves, with scores of 4,180 and 7,403 on the Geekbench tests.
All in all, the $230 and the 1.5 hours it took to complete the work are a small price to pay for the speed and capacity boost that this project gave my once-tired old MacBook Air. At this rate, it might last another eight years.
Speed Thrills
| Row 0 - Cell 0 | Pretest (Geekbench 4 CPU Test ) | After Upgrade (Geekbench 4 CPU Test) | New MacBook Air* |
| CPU Single Core | 2,194 | 2,390 | 4,180 |
| Multicore | 4,187 | 4,214 | 7,403 |
*A1932 model with Core i5 processor, 8GB of RAM and 128GB SSD
Spring system cleaning
During and after the SSD swap, it's a good idea to give the system a good hardware and software cleaning. These six tune-up techniques will go a long way toward making the system look and run as good as new.
Air for Air
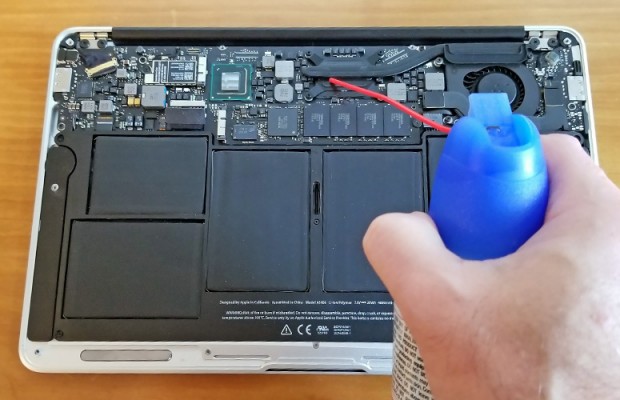
Heat is the enemy of all computers, so while the system is open, you'll want to clear anything that's interfering with the ventilation. With a can of compressed air, I blew out eight years of accumulated dust and dirt. I paid particular attention to the heat sink and cooling fan, making sure the blade spun freely. If it binds or squeaks, you'll have to spend about $20 on a new fan, which takes approximately 10 minutes to install.
Swipe away the grim
The system's case, keyboard and screen have gotten grimy as well. My favorite way to clean computers is to squirt on some Sprayway window cleaner and wipe the machine down with a paper towel. Using cotton swabs around the keys can help as well. On the downside, with a clean case, I can now see all the case's scratches.
Drive cleanup
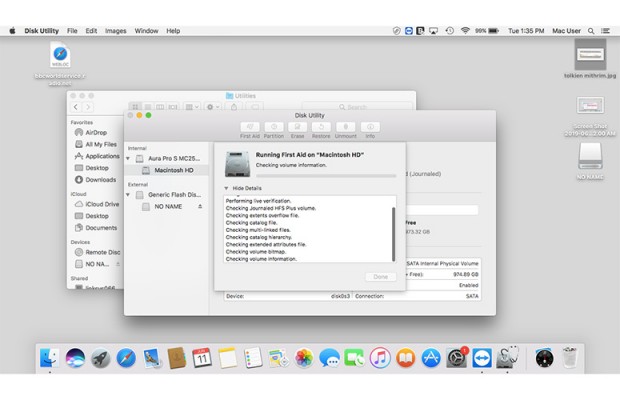
Recent macOS software does a good job of automatically streamlining the operation of the storage drives, so there's no need to defragment the system's drive. On the other hand, it's a good idea to start the drive off right by checking for errors with the Disk Utility's First Aid applet. It will repair any problems it finds.
Whittle the widgets
When the macOS software added the ability to use widgets, at first it was eye-opening and, at least for me, addictive. These addons, take a lot of system resources, however. To disable them and free up some performance, open the computer's System Preferences and click on Mission Control. In the middle, open the Dashboard section and change the setting to Off.
Stay virus-free
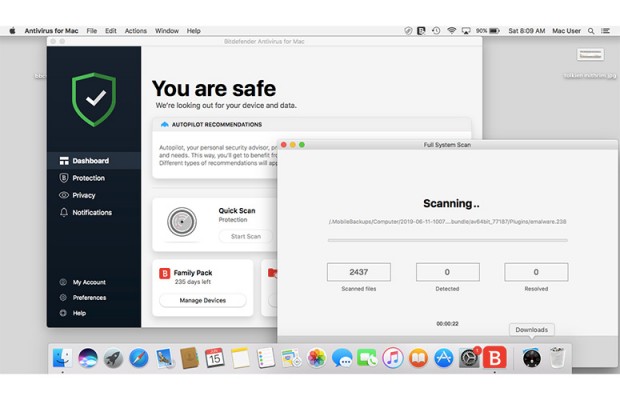
My new storage module is malware-free, and I intend to keep it that way, with Bitdefender Antivirus for Mac. The program combines traditional scanning with advanced behavioral monitoring and artificial intelligence. You'll pay $35 to protect up to three Macs, but I use the $55 Family Pack, which covers up to 15 PCs, Macs, Androids, iPads and iPhones.
Up to date
Make sure that the system is set to get every Apple update; you can do so by opening the machine's App Store and going to the Menu bar to get to Preferences. Check all the boxes to have Apple stream and install all updates. On the downside, doing this can lead to a restart at inconvenient times, but the system will not only run smoothly, but also keep potential hackers at bay.
Recycling an SSD flash drive
One of the best parts of the OWC Aura kit is that it comes with an enclosure that can hold and connect the old SSD using an included USB cable. It's a little large, but there's nothing like getting a free flash drive.
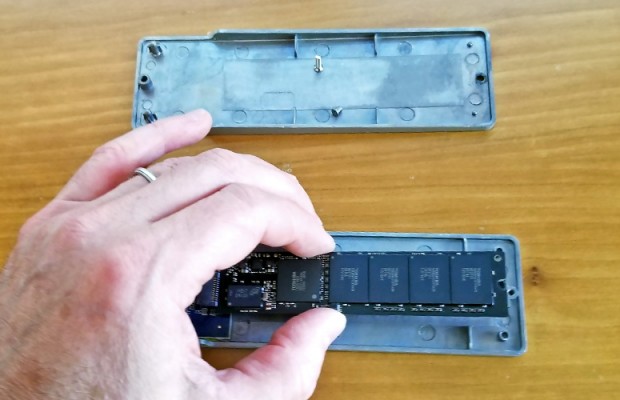
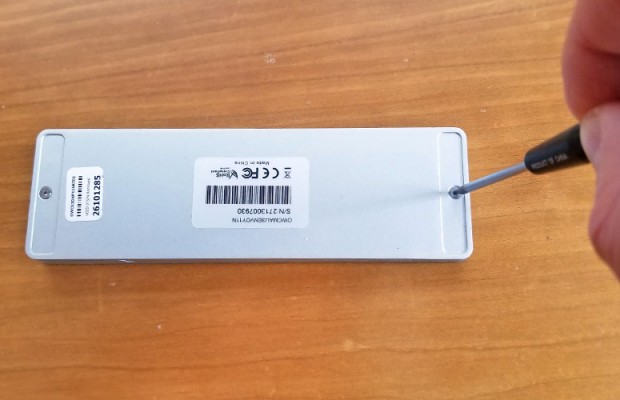
In my case, once the Macbook Air project was finished and the system was running fine, I took the old SSD and slid it into the included enclosure's connector. The board needs to sit firmly and its end should fit snugly into the black foam at the other end of the enclosure. Don't worry that there is no screw to hold the board in place.
Snap the case together and install the long screw first at the thick end. It not only holds the case together, but also keeps the board in place. The short screw goes on the thin end, and the soft rubber feet are for the indented, rectangular areas.
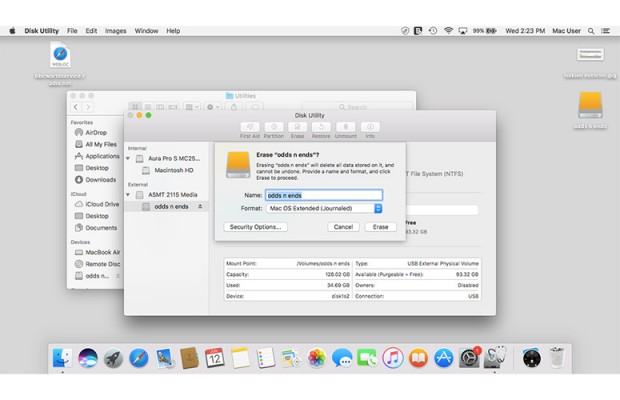
Using the included cable, plug the enclosure into the MacBook Air and open the system's Disk Utilities app. Click on the Erase tab, fill in the drive's new name and click Erase.
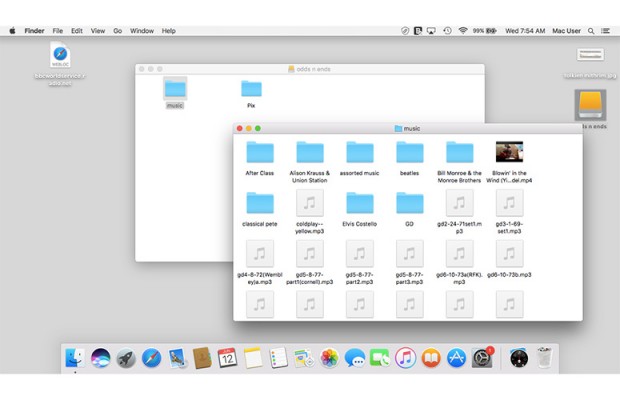
In a minute or two, it'll be ready. After doing this, I now have 60GB of space free for everything from videos to music to vacation pictures. On the downside, with the system's storage boosted to a terabyte, it's unlikely that the recycled external drive will be big enough for backups.
Credit: Laptop Mag
