How To Take Screenshots on Your Android Device Using the SDK
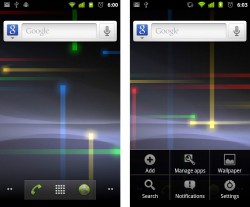
You have an app you've developed and need to show off some screenshots. Maybe you really want to show a friend how awesome your homescreen looks. Or, perhaps you want to post on DamnYouAutoCorrect.com. Regardless of the reason, sometimes you need to take a screenshot of your Android device's screen. Unfortunately, Android doesn't do this easily or on the phone like the iPhone. Instead you have to setup drivers, the SDK, and manually connect to the device to take screenshots. Here's how to set everything up so you can get the perfect shots you need.
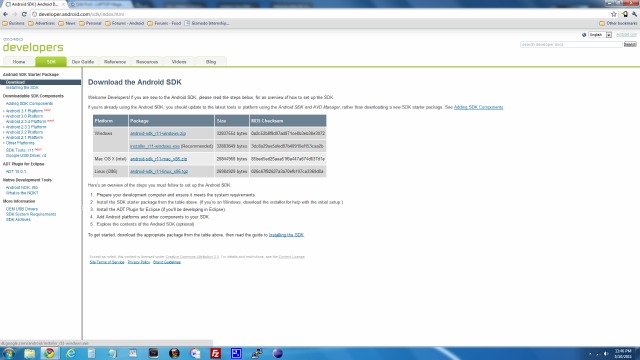
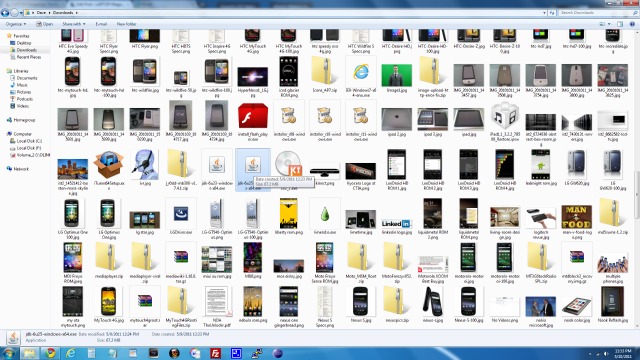
1. Get the Android SDK from Google.
Android SDK (using Windows download the .exe version)
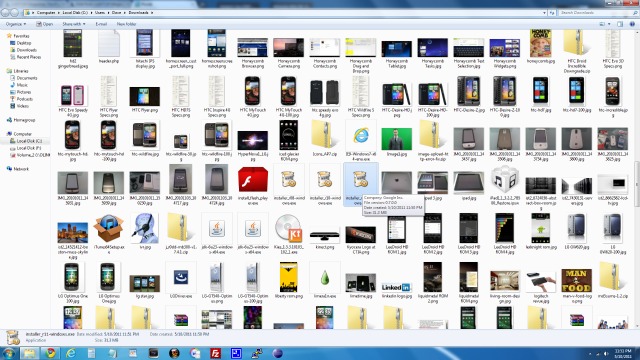
2. Double click the .exe file and follow the prompts.
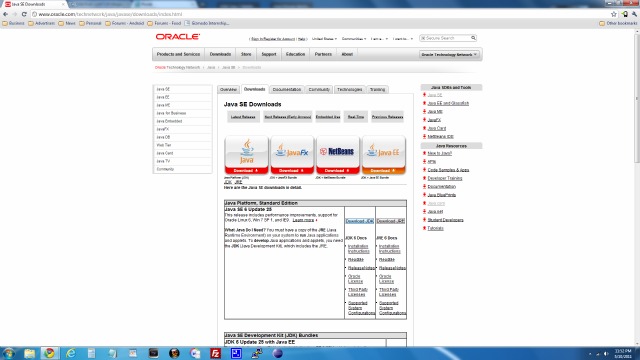
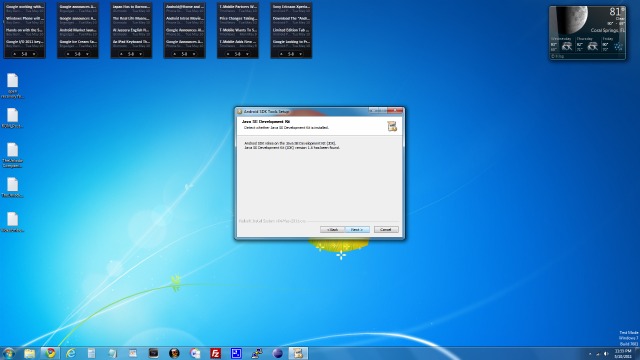
3. Download and install the JDK for your operating system if necessary. It will automatically check to see if you have the Java Developer Kit installed, if you don't it will ask you to install it.
4. Double click the JDK.exe.
5. Reselect the Android SDK installation program and click Back, and then Next again. It should pass the JDK section now.
Sign up to receive The Snapshot, a free special dispatch from Laptop Mag, in your inbox.
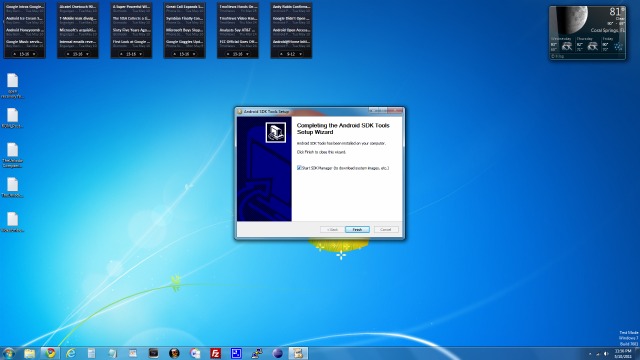
6. Check the box that says Open SDK Manager after Installation.
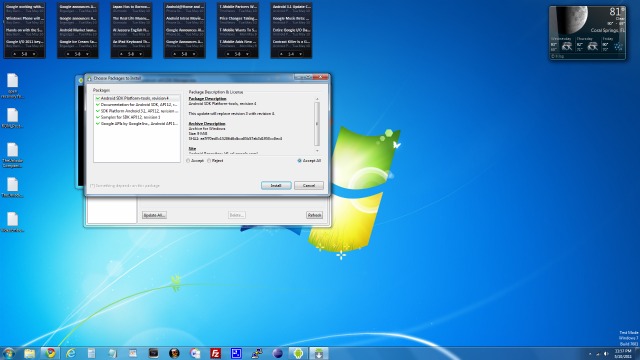
7. The Android SDK Manager will automatically open and look for updates.
8. Select Accept All, and click Install.
10. Enable USB debugging on your phone under Settings > Applications > Development.
11. Plug the phone in via a USB cable. Windows should automatically install the drivers.
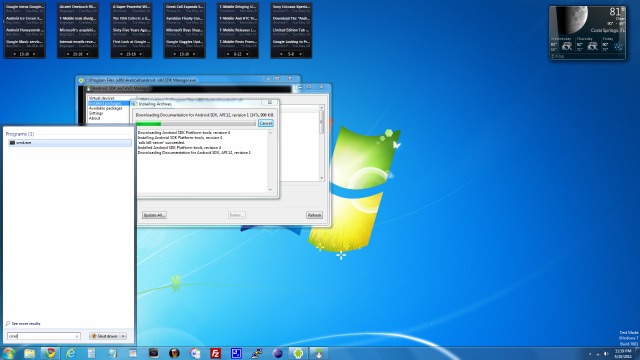
12. Check to see if the drivers are installed. Open a command prompt window by typing cmd and hitting enter in the search box of the Start menu.
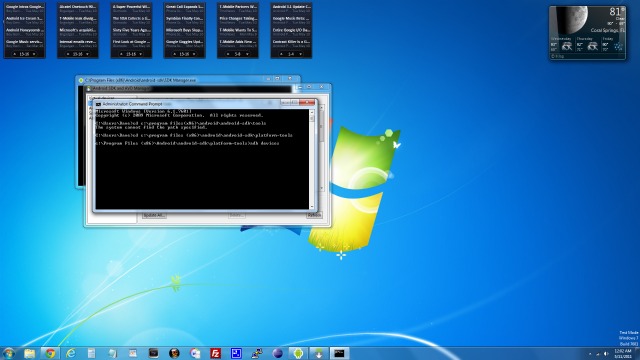
13. Type the following into the command prompt while tapping enter at the end of each line:
cd C:\Program Files (x86)\android\android-sdk\platform-tools
(If you have 32 bit Windows, type cd c:\program files\android\android-sdk\platform-tools instead)
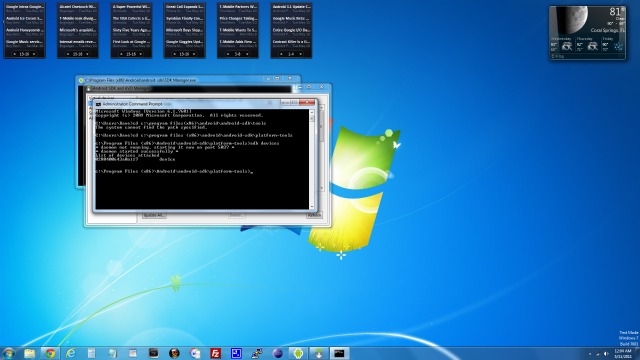
adb devices
14. Look at the "List of Devices Attached." If your tablet or phone is on the list, you can skip step 15. Otherwise, go to the next step to manually install the drivers.
15. Do this step if you did NOT get a serial number in the last step.
A. Unplug the device.
B. Go to PDANet and download the PDANet latest installer. (This is a program used to tether your Android phone to the desktop, but we use it here to install the ADB drivers manually which it usually does on installation).
C. Install it and wait for it to completely finish.
D. Plug your device back in (make sure USB Debugging is still checked on on the device) and it should say installing drivers.
E. Redo step 4 and see if you get a serial number now. If so continue to Section III. If not, then redo this step but instead of installing PDANet, Google your device name and the words "adb drivers" after it and find it's drivers manually. Install them and then try adb devices again to see if you get a serial number.
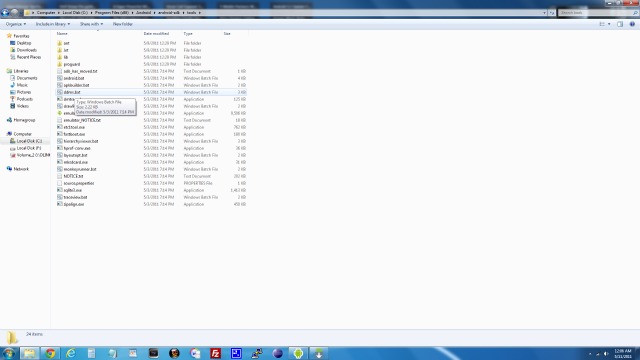
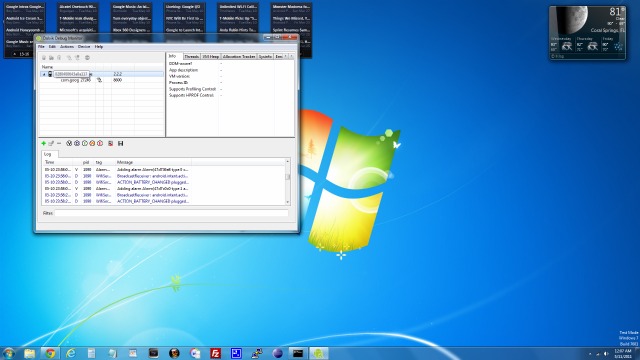
16. Launch ddms.exe in the Android SDK Tools folder on your computer. Davlik Debug Manager will open.
17. Select your device in the Davlik devices pane.
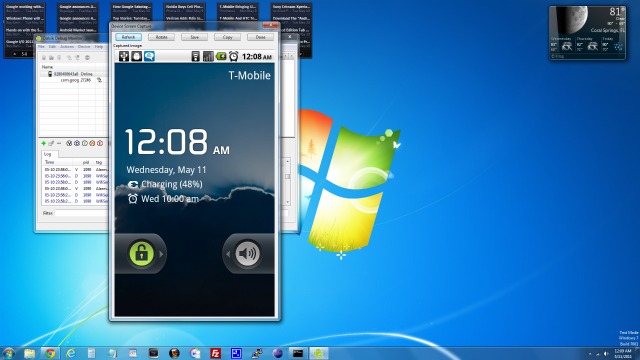
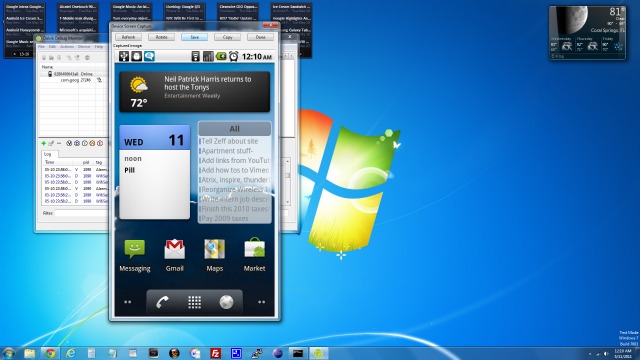
18. Select Screen Capture from the Devices menu. Your device's screen will show up on your computer.
19. Click refresh to show the current screen on your phone.
20. Select Save whenever you want to save the screenshot to the computer or Copy to copy the image to your clipboard.
David Cogen is a Founder/CEO of TheUnlockr.com, the popular site for wireless how tos, reviews, and news. David loves technology and the only thing he loves more than technology is teaching it to others. Check out TheUnlockr.com for all your Android, iPhone, MeeGo, and Windows Phone how tos.
