How to Disable Guest Networks on Your Router
Many wireless routers allow you to create two networks, one network for your personal devices and a guest network for folks who are just visiting. These guest networks are typically not secured networks, and are therefore susceptible to unwanted connections. Further, the more people who are able to successfully connect to your network, the more your network slows down to accommodate more users. For most people, you’ll simply want to disable your guest network, and here’s how you can do it.
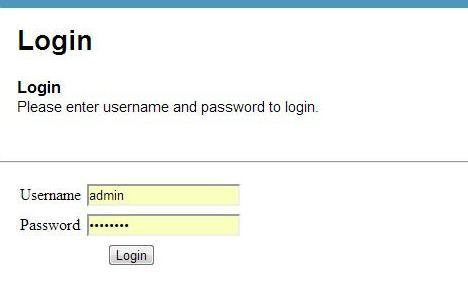
1. Log into your account. Open your browser and enter the manufacturer’s default IP address, typically located on the underside of your router or in the user manual or a custom one that you set. Using your username and password, log into your router settings page.
2. Open the Wireless tab to edit your wireless settings.
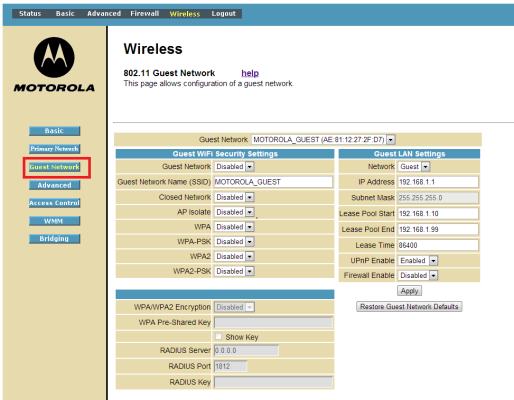
3. Click on the guest network tab to edit the settings.
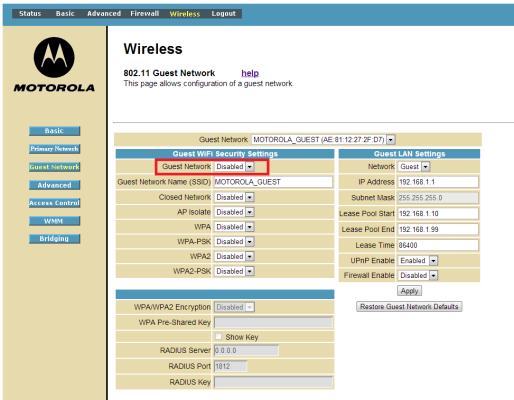
4. Click disable in the drop-down menu or checkbox, depending on our router.
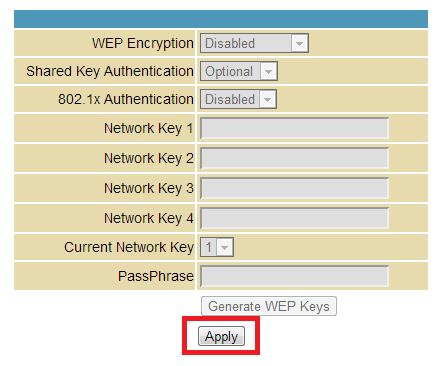
5. Click Apply. Your router may reboot.
Sign up to receive The Snapshot, a free special dispatch from Laptop Mag, in your inbox.


