How to Change Your Router’s IP Address
No matter how clever your username and password, login credentials can be cracked. For an added layer of security, you can change your router’s IP address. Manufacturers typically use a basic IP address (192.168.0.1 is used for many), which is used to access the router login page. By changing part of that IP address, unwanted guests will need your username and password, plus they’ll need to guess your customized IP. Here’s how to make your IP address more secure.
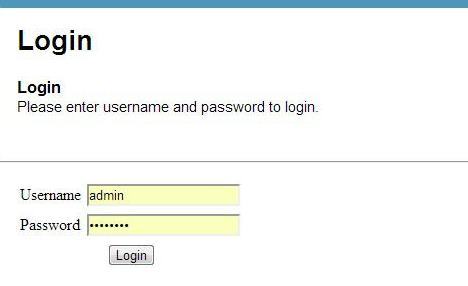
1. Log into your account. Open your browser and enter the manufacturer’s default IP address, typically located on the underside of your router or in the user manual. Using your username and password, log into your router settings page.
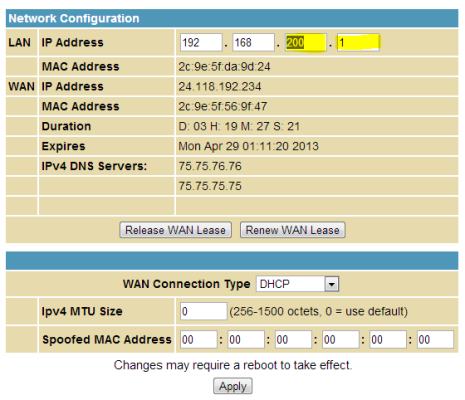
2. Open the basic setup tab. The location of this option will vary by router, though it should be fairly easy to find on a general settings tab. On our Motorola Surfboard SGB6580 cable router, the option can be found under Basic > Setup under the subheading Network Configuration.
3. Change one (or both) of the last two numbers in the IP address. Here, you’ll want to change one or both of the last two numbers of the IP address in the LAN IP Address field. You can use any integer between 1 and 254, giving you 64,516 possible IP combinations and making it much more difficult for someone to guess your router’s IP address. For example, I changed the default IP of 192.168.200.01 on my router to 192.168.200.36. Be sure to write this number down, as you’ll need it to get into your settings tab once the changes take effect.
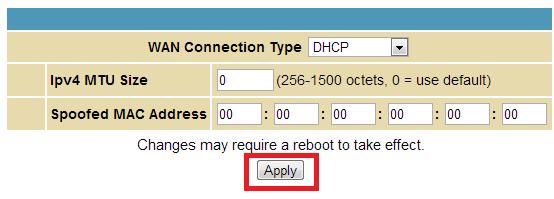
4. Click Apply, and wait for your router to reboot. Once you’ve finished selecting your IP and have written your selection down someplace safe, click the Apply button and wait for your router to reboot. Check that the changes took effect by using your new IP to access the router settings page.
Sign up to receive The Snapshot, a free special dispatch from Laptop Mag, in your inbox.


