How to Find Your Wireless Router’s Web Address
You plug in your brand-new wireless router. You plug the Ethernet cable from your DSL or cable modem into the router’s WAN port (or Internet port, as it might be labeled). You plug the Ethernet cable from your desktop PC into one of the router’s LAN ports. You sit back, relax, and enjoy your brand-new Internet connection.
Easy, right? Suppose you want to set up some of the router’s more advanced features – like, say, a wireless network or two (likely the reason you purchased it in the first place). Or maybe you need to get a little fancier and enable some port forwarding for games or applications, parental controls to keep the young ones offline during homework time, or a firmware update or two to ensure that your router is as up-to-date and secure as can be.
Most of the time, your router’s manufacturer tells you how to access the device’s Web-based configuration page right in the manual itself (if it’s not printed on the underside or rear of the router as-is). In case you’re misplaced that, we have a few other techniques you can use to pull up your wireless router’s Web address.
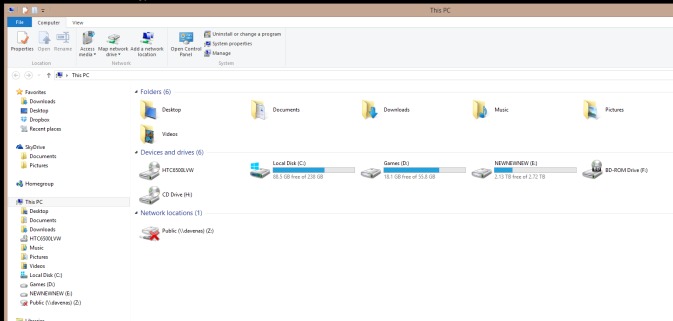
1. Pull up File Explorer. Open up a new window in Windows Explorer (File Explorer, for Windows 8 folk) by hitting the Windows Key + E shortcut on your keyboard. You can also pull up your Start Menu and start typing “explorer,” which should give you a handy shortcut.
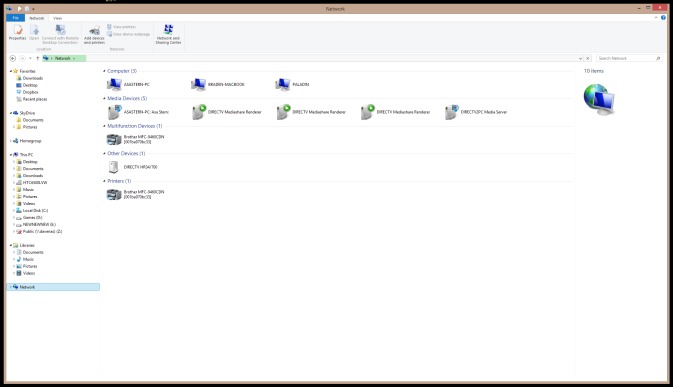
2. Click on the Network icon. If you’re lucky, Windows will self-identify your wireless router within Windows/File Explorer itself. From there, you need merely right-click on your router and select the View Device Webpage in order to pull up your device’s Web-based configuration screen. Type in the appropriate login/password combo to log in (either one that you set awhile back, one that’s printed in your router’s manual or one that’s printed on the router itself).
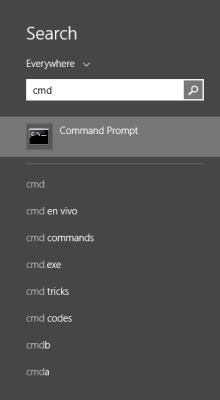
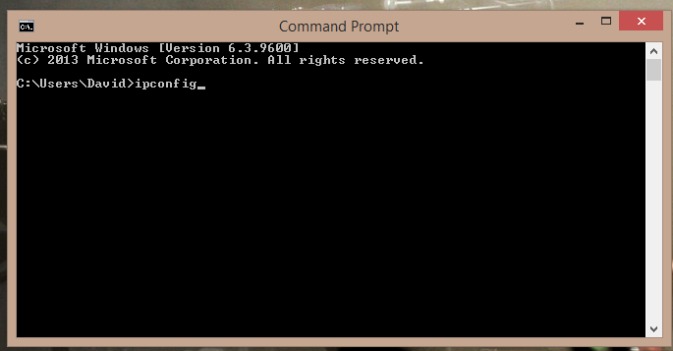
3. Pull up a Command Prompt. If that didn’t work, here’s option two: Pull up your Start Menu and either start typing “cmd” (Windows 8 users) or do a quick search for Command within the “Search programs and files” field (Windows 7). If you’re running a version of Windows prior to that, use whatever method is most applicable to you – or go find the Command Prompt shortcut within your Accessories folder. (You can also open up a Run Window by hitting Windows Key + R on your keyboard, and then type in “cmd” and hit Enter.)
4. Summon Your Gateway. Once you’re in the Command Prompt, type this and hit Enter once you’re done: ipconfig
Sign up to receive The Snapshot, a free special dispatch from Laptop Mag, in your inbox.
MORE: 9 Tips to Stay Safe on Public Wi-Fi
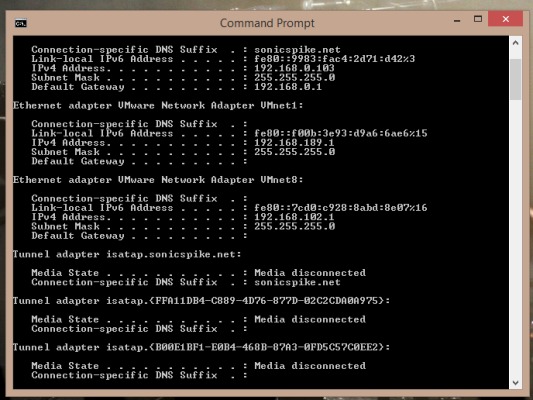
5. Read the Numbers. You’ll now see a bunch of text related to your various network adapters and what-have-you. Scroll up until you see the very first listing for Ethernet Adapter Ethernet, “Ethernet adapter Local Area Connection,” or whatever the very top listing happens to be called on your system (which will vary with the parameters of your particular connection). Under the line that says IPv4 Address, it should have a few numbers – likely starting with a 192.168, if your home network is set up like most routers’ defaults.
6. Use the Gateway. Within this chunk, look for the IP address that appears on the Default Gateway line. It should start with the same three sets of numbers as your IPv4 address. In a default setup, this is often 192.168.1, or 192.168.0, or maybe even 192.168.100. You, however, want all four numbers: 192.168.1.1, we’ll say for the sake of example.
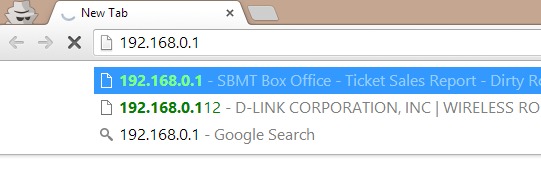
7. Open a Web browser. Then type the IP address of the gateway that you just found directly into the address bar. Do not type http:// or anything before it. Just type the numbers. In our case, we’d just simply type 192.168.1.1 into the address bar, since that’s the example IP address in the Default Gateway line from before. Hit Enter.
8. Troubleshooting your router. If you’re still stuck, there’s a chance that you might have flipped off your router’s DHCP server at some time previous. If that’s the case, and you’re using your router as a dumb switch / access point, then the above techniques won’t work. To find your router, you can always use a freeware network discovery app to discover its IP address. Or, if you don’t mind reconfiguring, you can simply reset its settings to default by holding in its physical reset button for around 8 to 10 seconds or so. That’ll pop your router’s DHCP server back on, assigning your device a conventional IP address located within the router’s available range and giving you the opportunity to access its Web-based configuration via the aforementioned methods.
Remember: When in doubt, you can always reset. And for added security, you can alter your router's IP address.
