
Setting up a Chromebook for parents who are used to MacBooks or Windows PCs may seem daunting, but it's simpler than you think. Google’s operating system, Chrome OS, is easy to navigate and offers a straightforward computing experience — minus the complexities and the learning curve of a traditional platform.
While Chromebooks are more user-friendly than most laptops, there are several steps you can take to make the process of switching from Windows 10 to Chrome OS easier before handing one over to your parent. Here are seven tips for preparing a Chromebook for a parent.
Adjust the Screen Density
The content on your Chromebook’s screen (e.g. text and buttons), by default, is rendered based on what the OS thinks will look best on the display’s size and resolution. But in case the elements are too small or too large for your parent’s vision, you have the option to customize them.
To do that, visit your Chromebook’s “Settings” page and under the “Device” section, click “Displays.” Adjust the “Display Size” slider to edit the screen’s density to your liking.
Make the Cursor Easier to Spot
Mouse cursors are tiny and can be especially difficult to locate for aged eyes. On Chromebooks, you can apply several additional tweaks to make them easier to spot.
Head back into “Settings” and navigate to Advanced > Accessibility. Select “Manage accessibility features.” Scroll down until you find the “Mouse and touchpad” category.

Here, you have a bunch of settings to personalize the look of the cursor. For starters, you can enlarge its dimensions with the “Show large mouse cursor” toggle. Underneath it, there’s a dropdown to switch up the color of the cursor.
You also have the option to show a red border around the cursor whenever it’s in motion. Turn on “Highlight the mouse cursor when it’s moving” to do that.
Unlock the Chromebook with an Android Phone
If the person you’re setting up the Chromebook for has an Android phone, they don’t need to remember the PIN code or password to sign in. Chrome OS allows you to unlock your computer by simply bringing your Android phone into its Bluetooth range.

Go to Settings > Connected Devices and click the “Set up” button to pair the Android phone. Follow the on-screen instructions and once you’re done, return to this same page. Activate the toggle beside “Smart Lock” and you’re all set.
Now, whenever you are on the login screen, your Chromebook will look for the connected Android phone. When it discovers the device, it will turn the little lock icon green, indicating you’re authenticated. All you need to do is press the Enter key to log in.
Bring Back the Caps Lock Key
Most older users are accustomed to the good ol’ Caps Lock key, a feature Chromebooks don’t have. Instead, you’re forced to make do with a keyboard shortcut to type in all-caps.
Fortunately, there’s an alternative: you can repurpose one of the built-in special keys like Search as Caps Lock. For accessing this, head over to Settings > Device > Keyboard and select “Caps Lock” in the “Search” dropdown.
Speak to Type
On Chrome OS, the keyboard isn’t the only way to type. You can dictate text to your Chromebook as well.

To switch it on, visit Settings > Advanced > Accessibility and under “Keyboard and text input,” toggle the “Enable dictation” option.
Once it’s activated, you can press “Search + D” on any text field to speak what you’d like to type instead of using the keyboard. Alternatively, you can hit the new mic button at the bottom-right corner of your screen. If you’re not satisfied with the input, you can press the “Esc” key to delete everything the computer has interpreted.
Enable Startup Sound
Chromebooks don’t play a startup sound when they boot up. But if your parent misses that nostalgic tune or needs it to know when their computer is ready to use, you can choose to manually enable it from the settings.

Open your Chromebook’s “Settings” and go to Advanced > Accessibility > Manage Accessibility Features. Scroll down to the bottom and switch on the “Play Sound on Startup” option. The Chromebook will now play a brief startup chime on the login screen.
Display Navigation Buttons in Tablet Mode
Gestures for navigating on a Chrome OS tablet can feel awkward for folks who are not accustomed to Chromebooks. Therefore, if the Chromebook has a convertible design, it’s best to revert to the traditional set of navigation buttons.
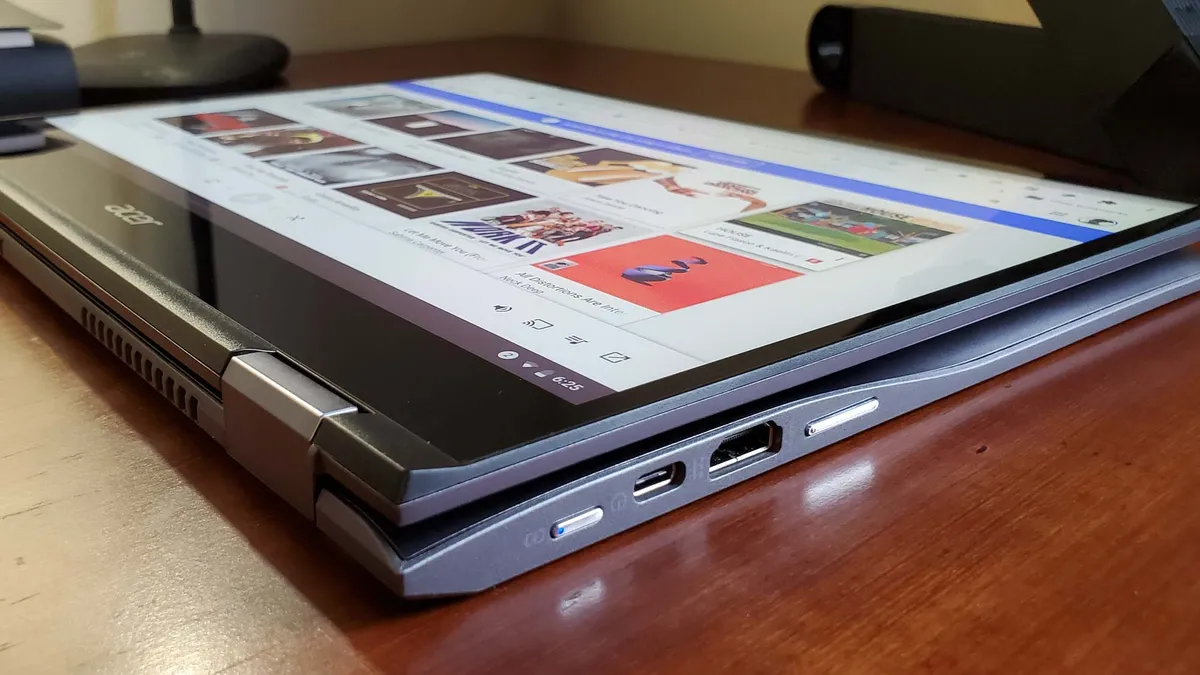
To do that on Chrome OS, visit Settings > Advanced > Accessibility and select “Manage accessibility features.” Go to the bottom of this screen and in the “Mouse and touchpad” section, enable “Show navigation buttons.” When you do this, your Chrome OS will show the standard back and home buttons on the dock.
