How to install fonts in Windows 11
Add your own font to your documents

Within Microsoft Word, Excel, or any text-processing application, we often use a certain font we have grown accustomed to. Some choose the relaxed Arial, the formal Times New Roman, or the easy-on-the-eyes Calibri. However, there are times when we wish to reach out of our comfort zone and try other fonts.
Unfortunately, even with the hundreds of fonts already available on Windows, it can sometimes be difficult to find the exact design we want. It is pretty unlikely that your Windows 11 system has a font that looks like it came straight out of a comic book. So the best way to fix this is to download fonts online and install them directly on your machine.
There are many popular websites where you can download free fonts. If you are feeling generous, you can also pay for some really good fonts, such as those in DaFont, Font Squirrel, and 1001 Fonts. Just double-check the usage rights on the fonts — don’t get into any trouble! Whichever path you choose, you will need to follow the same steps below.
How to Add Fonts in Windows 11
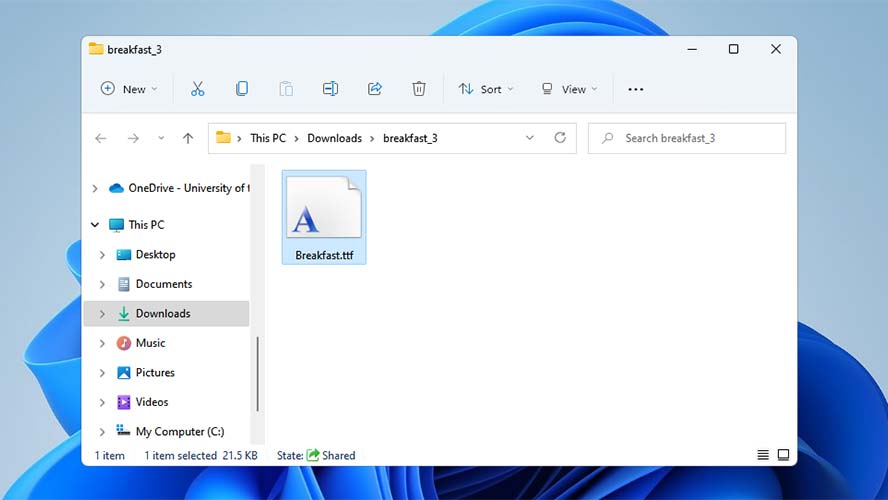
1. Installing a new font is very straightforward. If you have already downloaded your new font, locate its folder and double-click it. Your computer may require you to have administrator rights to install a new font.
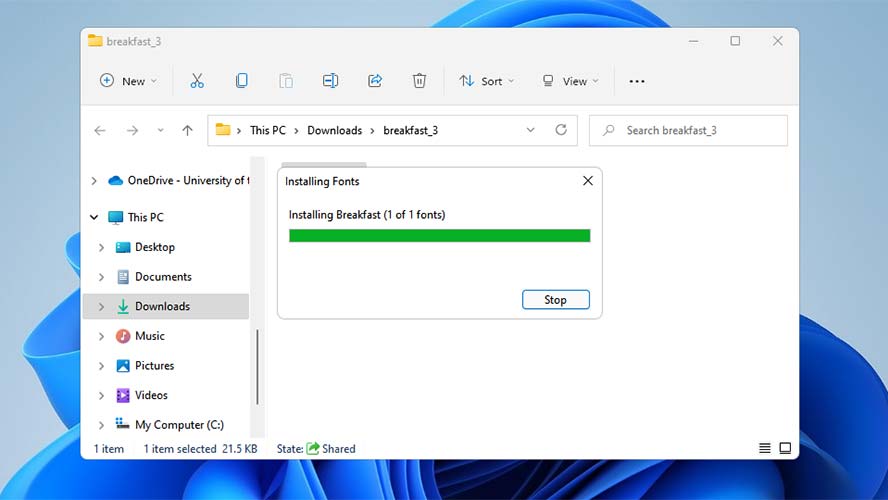
2. Next, wait for your new font to be installed. You will see a loading bar while it is being installed. Once it’s done, you should now see your new font in your text applications.
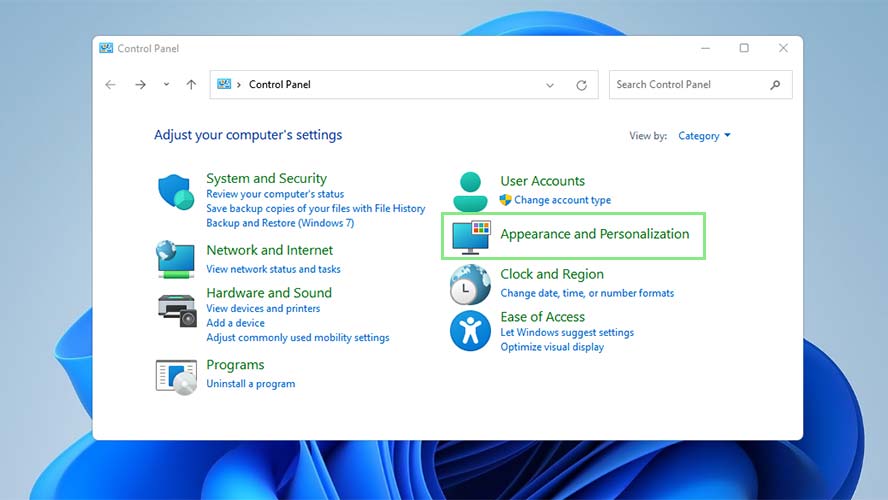
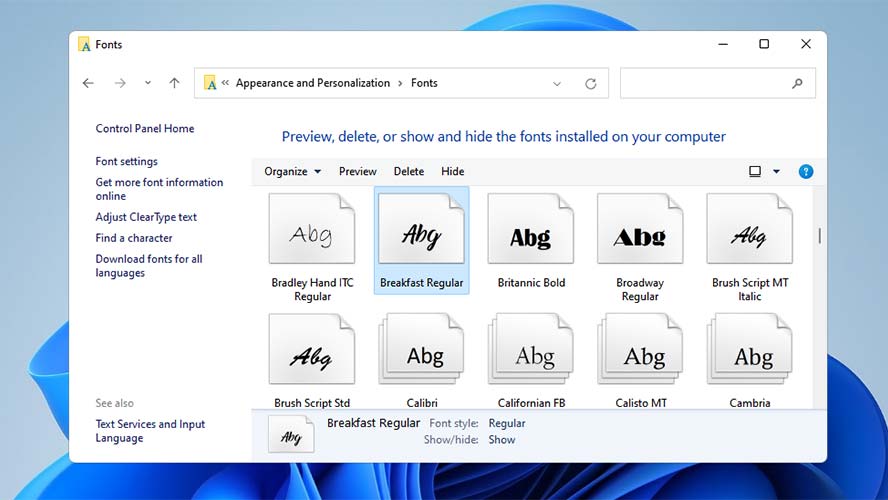
3. You can also simply copy and paste the font into the main font folder, which you can find using your Control Panel. To do so, open your Control Panel.
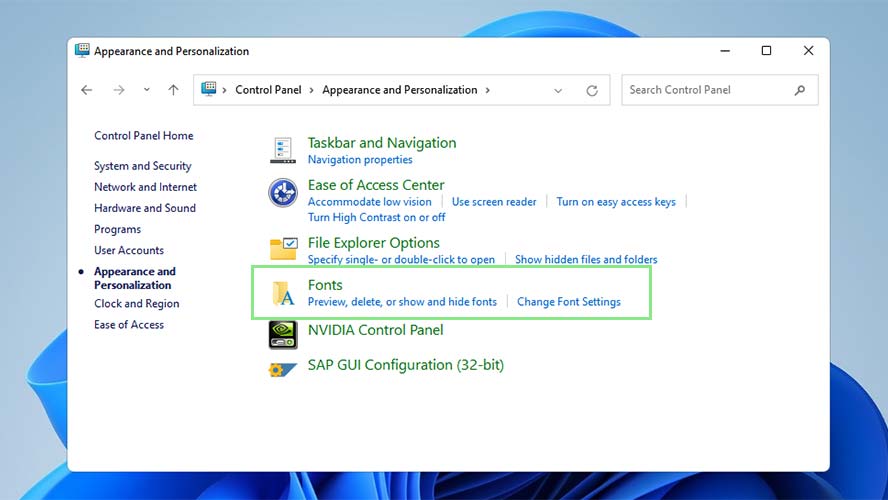
4. Go to Appearance and Personalization and select Fonts.
Sign up to receive The Snapshot, a free special dispatch from Laptop Mag, in your inbox.
5. Paste your new file to the folder that just opened. Make sure the file you are pasting has a .TTF or .OPF file extension.
